How to Merge and Center an Excel Row With Sorting and Selection Properties
If you have a merged cell within your Excel sheet and you need to sort out the merged areas, it will be impossible if you have used the Merge & Center feature. So, follow the steps below to ensure you can still manipulate data on your sheet.
Step 1: Select the cells that you need to merge.
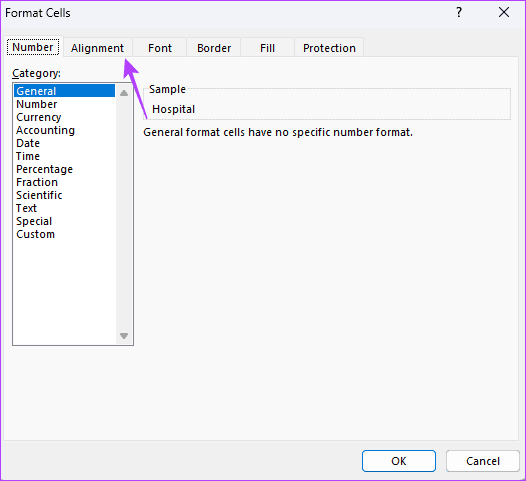
Step 2: Press Ctrl + 1 to open the Format Cells dialog. If you use a Mac, press Command + 1.
Step 3: Click on the Alignment tab.
Step 4: Under the Text alignment section, change the value of Horizontal to Center Across Selection.
Step 5: Lastly, hit the OK button.

Alternatively, you may follow the steps below:
Step 1: Select the cells that you need to merge.
Step 2: Press Ctrl + 1 to open the Format Cells dialog. If you use a Mac, press Command + 1.
Step 3: Click on the Alignment tab.
Step 4: Select Left (Indent) or Right (Indent) in the Horizontal dropdown, then adjust the indentation value as needed.
Step 5: Lastly, click OK.

Now, you have no hindrances across your rows when you want to select. You will no longer get error problems when sorting using the column header.
Related Posts
 How to Delete All Photos from Your iPhone (Without Losing Them for Good)
 How To Merge Tabs in Excel
 How to Merge PowerPoint Files into a Single File
 How To Merge Tabs in Google Sheets
 How To Merge Two Faces Easily with Several Different Tools
 How to Open the Merge Editor in VS Code
 How to Revert a Merge in Git
Disclaimer: Some pages on this site may include an affiliate link. This does not effect our editorial in any way.