Method 1. Change Notepad Background Color
While not much color customization is available, the Notepad app allows you to switch between dark and light modes and use the default Windows theme. These are the steps to change the Windows 11 Notepad background color.
Step 1: Launch Windows Notepad.
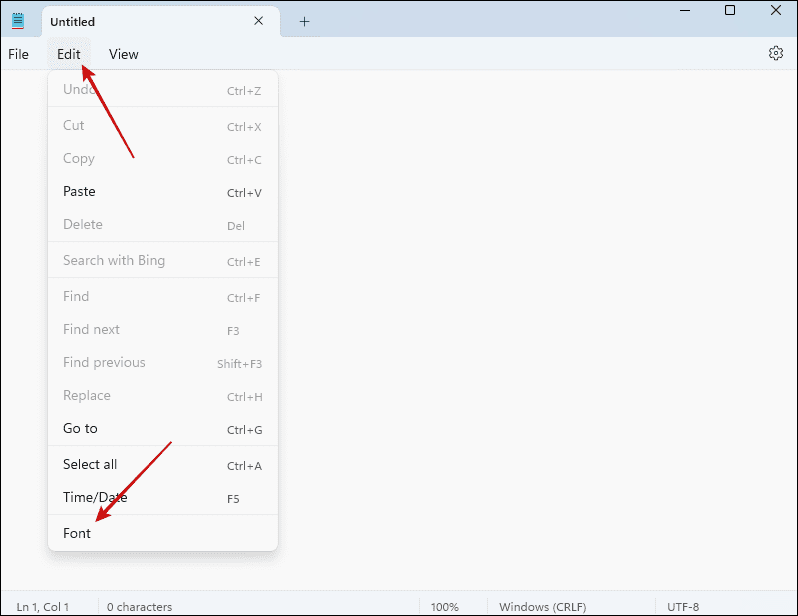
Step 2: Click the Edit menu and select Font.
Step 3: Expand the App theme option and choose Light, Dark, or Use system setting.
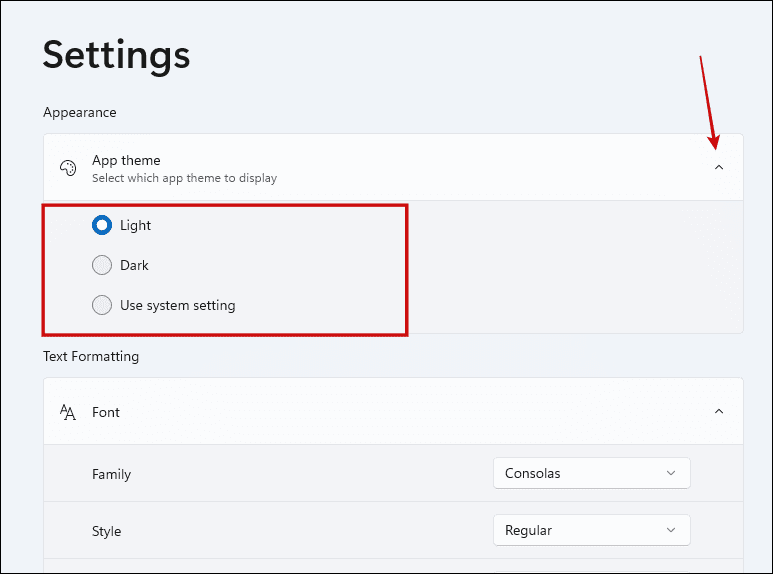
The background color should be updated accordingly.
Method 2. Change the Font Style, Family, and Size
The default font size and style may become unexciting, especially after you have used it for a while. To update these, follow the steps below.
Step 1: Launch the Windows 11 Notepad.
Step 2: Click on the Edit menu and select Font.
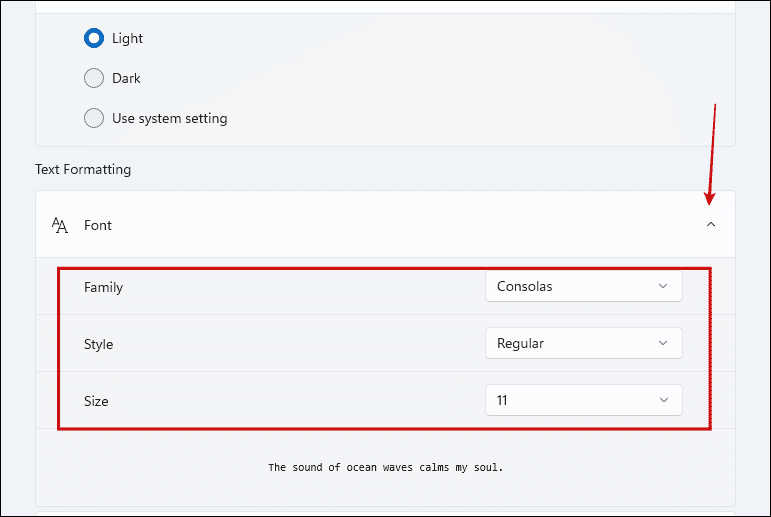
Step 3: Expand the Font category and adjust the options by choosing settings from the Family, Style, and Size drop-down menus.
- Family: This refers to the font type.
- Style: This includes options for Regular, Italic, Bold, and Bold Italic.
- Size: This option allows you to adjust how big or small texts appear on Notepad.
Method 3. Enable or Disable Word Wrap
By default, when you type on Notepad, a long line of text may seem cut off as the cursor does not automatically appear on a new line at the end of the window. By default, enabling Word Wrap will fit text within the window. Follow these steps to enable or disable the function.
Step 1: Launch Notepad.
Step 2: Click on the Edit menu > Font.
Step 3: Under Text formatting, toggle on or off Word Wrap.

Method 4. Enable or Disable Spellcheck and Autocorrect
Advanced word processors use spellcheck and autocorrect to ensure you make fewer grammatical blunders. Notepad has this function. Autocorrect will fix common spelling mistakes, and spellcheck uses your default system language to guide spelling on the app. To enable it, follow these steps:
Step 1: Launch the Notepad application.
Step 2: Click the Edit menu > Font.
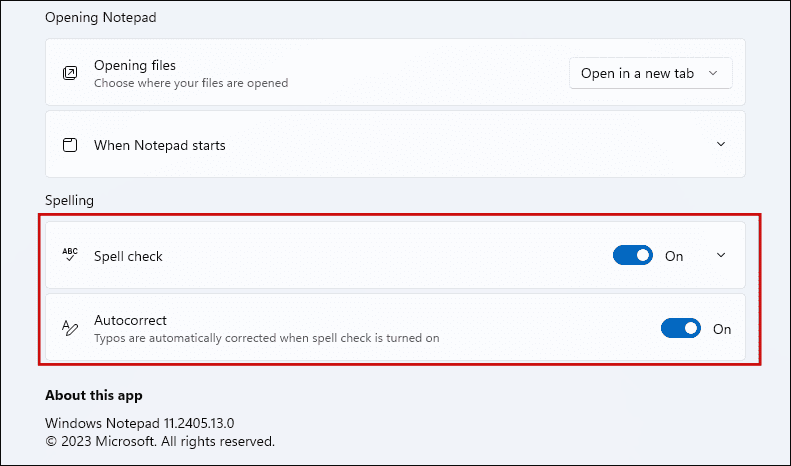
Step 3: Enable the toggles for Spell check and Autocorrect under the Spelling section.
Method 5. Update File Opening Options
Pressing Ctrl + N will open a new tab, and Ctrl + Shift + N will open a new window. However, if you want to open a new file using the Ctrl + O command or by double-clicking the new file, you do not have liberty on how it opens (Tab or Window). You can choose your defaults with these steps.
Step 1: Open the Windows Notepad app.
Step 2: Click the Edit menu > Font.
Step 3: Under the Opening Notepad section, choose Open in a new tab or Open in a new window from the Opening files drop-down.

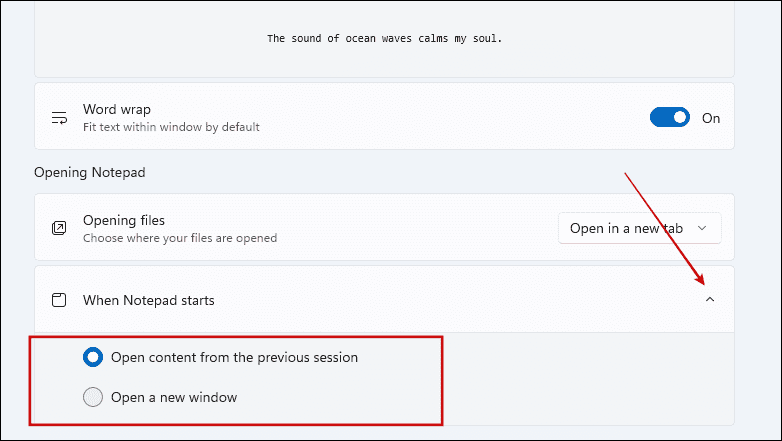
Method 6. Open Notepad From Previous Session
You may want to continue from your last session the next time you open Notepad. To ensure that the previous session opens by default when you launch the app, follow these steps:
Step 1: Launch Notepad.
Step 2: Click the Edit menu > Font.
Step 3: Under the Opening Notepad section, expand When Notepad starts and select Open content from the previous session.
Method 7. Update Page Setup
Notepad page setup gives several options that define what your document pages will look like. To open your page setup, follow these steps:
Step 1: Launch the Notepad app.
Step 2: Click the File menu > Page setup.

Step 3: In the open window, customize your paper size and source, choose between Portrait or Landscape orientations, set margins, and header and footer options.


Disclaimer: Some pages on this site may include an affiliate link. This does not effect our editorial in any way.