Device Links
Google Photos backups are an absolute lifesaver when migrating to another device or if you need to free up storage on your iPhone or fix no space on Android. All too often, smartphone users store every precious photo and video but never back them up. Not only does this cause issues if your phone encounters a problem, but it can also take several hours to transfer all of your photos from one device to another.
That’s where Google Photos steps in, making backing up your photo library *relatively* painless. Whether you’re concerned about losing your photos, preparing to get a new device, or simply trying to free up some precious space on your phone, Google Photos is one of the best cloud services to do the job.
Here’s our handy guide to using Google Photos to back up your photo library.
How to Back Up Photos in Google Photos
Storing your photos in Google’s cloud storage is simple, but the instructions vary depending on your device. You can sync the app across all of your devices and even use it to delete all images from the device once the backup is complete.
Look at how you can back up your photos for each device.
Back Up Your Photos in Google Photos from an iPhone or iPad
- Install the Google Photos app on your iPhone or the desktop app on your Mac.
- With iOS, Google Photos will need permission to begin a backup. You can select the option allowing Google Photos to access all images or the ones you want to get backed up.
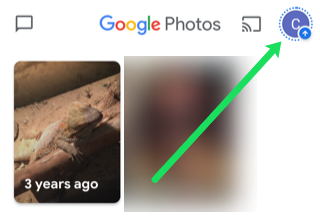
- Once you’ve selected your photo permissions, the backup will begin, as evidenced by a blue ring around your profile image in the upper right-hand corner of the app.

For Mac PCs, you have to nudge Photos in the right direction: select the folder where your photos are stored.
4. If you want to turn automatic syncing off, open the app and select “Menu > Settings > Back up and sync,” which you can tap to turn on or off.
CAVEAT ALERT: Be wary of using Apple’s iCloud Photo Library. Sometimes your photos stored in the cloud are visible on your device but not technically stored there. As such, Google Photos might be unable to see and save said content. An easy yet slightly irritating solution is ensuring every file gets saved on your smartphone/computer. Annoying, yes, but it’s a foolproof plan.
How to Back Up Photos in Google Photos on a PC
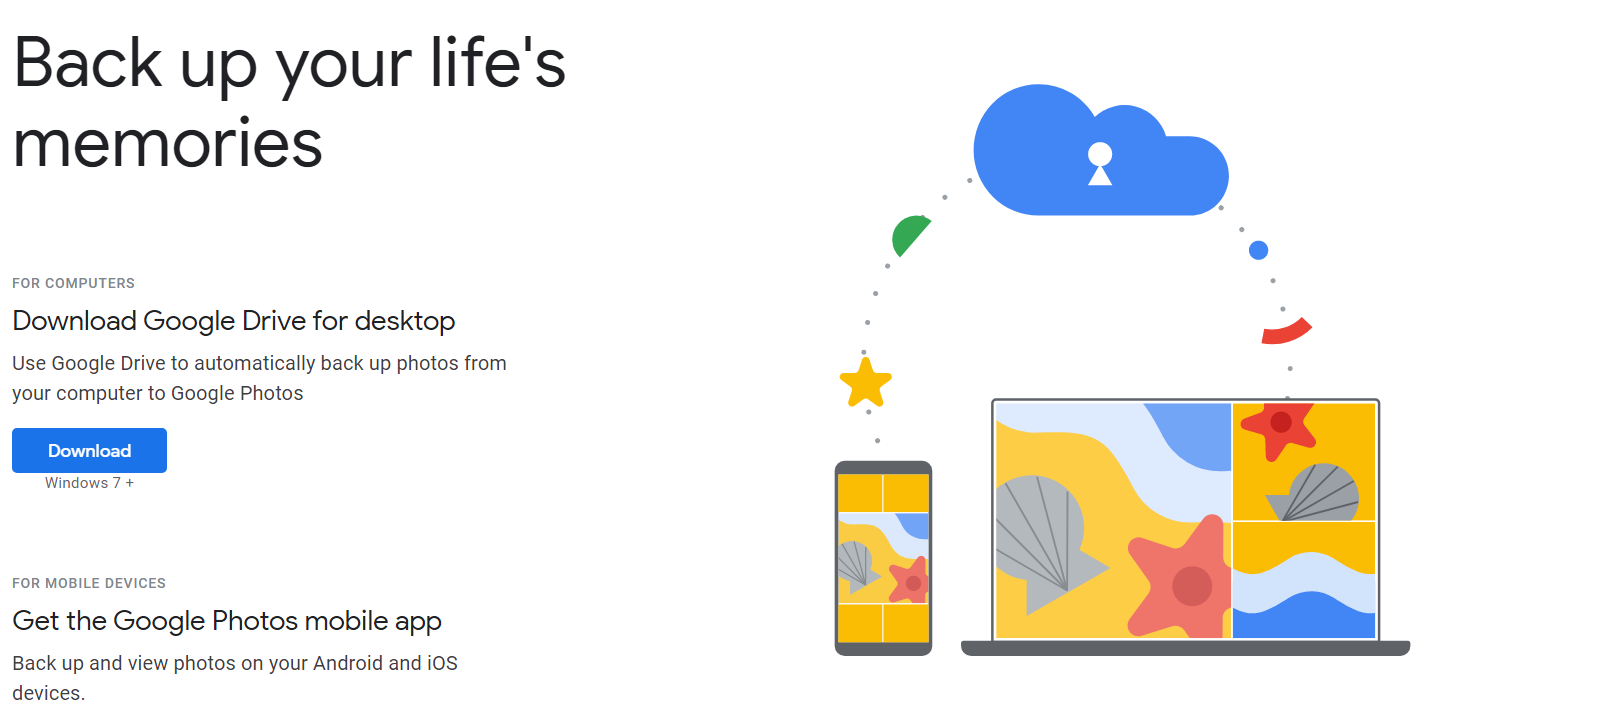
- Install Google Drive, the Google Photos desktop uploader for backing up and syncing folders and files.
- Sign in with the Google Account you’ll be using for Google Photos.
- Select which folders you’d like to continuously back up to Google Photos and then Back up to Google Photos.
- Select the photo and video upload size you’d prefer.
- When ready, select Done > Save.
How to Back Up Photos in Google Photos on Android
- Download Google Photos from the Google Play Store – Pixel device users should have it as standard.
- Once installed, Google Photos will ask for permission to back up your various folders online. Pick which folders you’d like it to have access to on your phone, and then it automatically backs them up.
- If you want to back up photos to free up storage space on your phone, opening Google Photo’s Free up space tab will let the app erase any images it’s backed up from your device to give you some more room.


How to Make Sure Your Photos are Saved
Now that you’ve gone through the backup process, you’re probably ready to move on with a reset of your device or to start deleting photos. It’s good to check that everything is saved securely in Google Photos before making any changes.
Google Photos can be tricky because it may show your images in the app, but they may not be saved just yet. To verify that all of your photos are stored, do this:
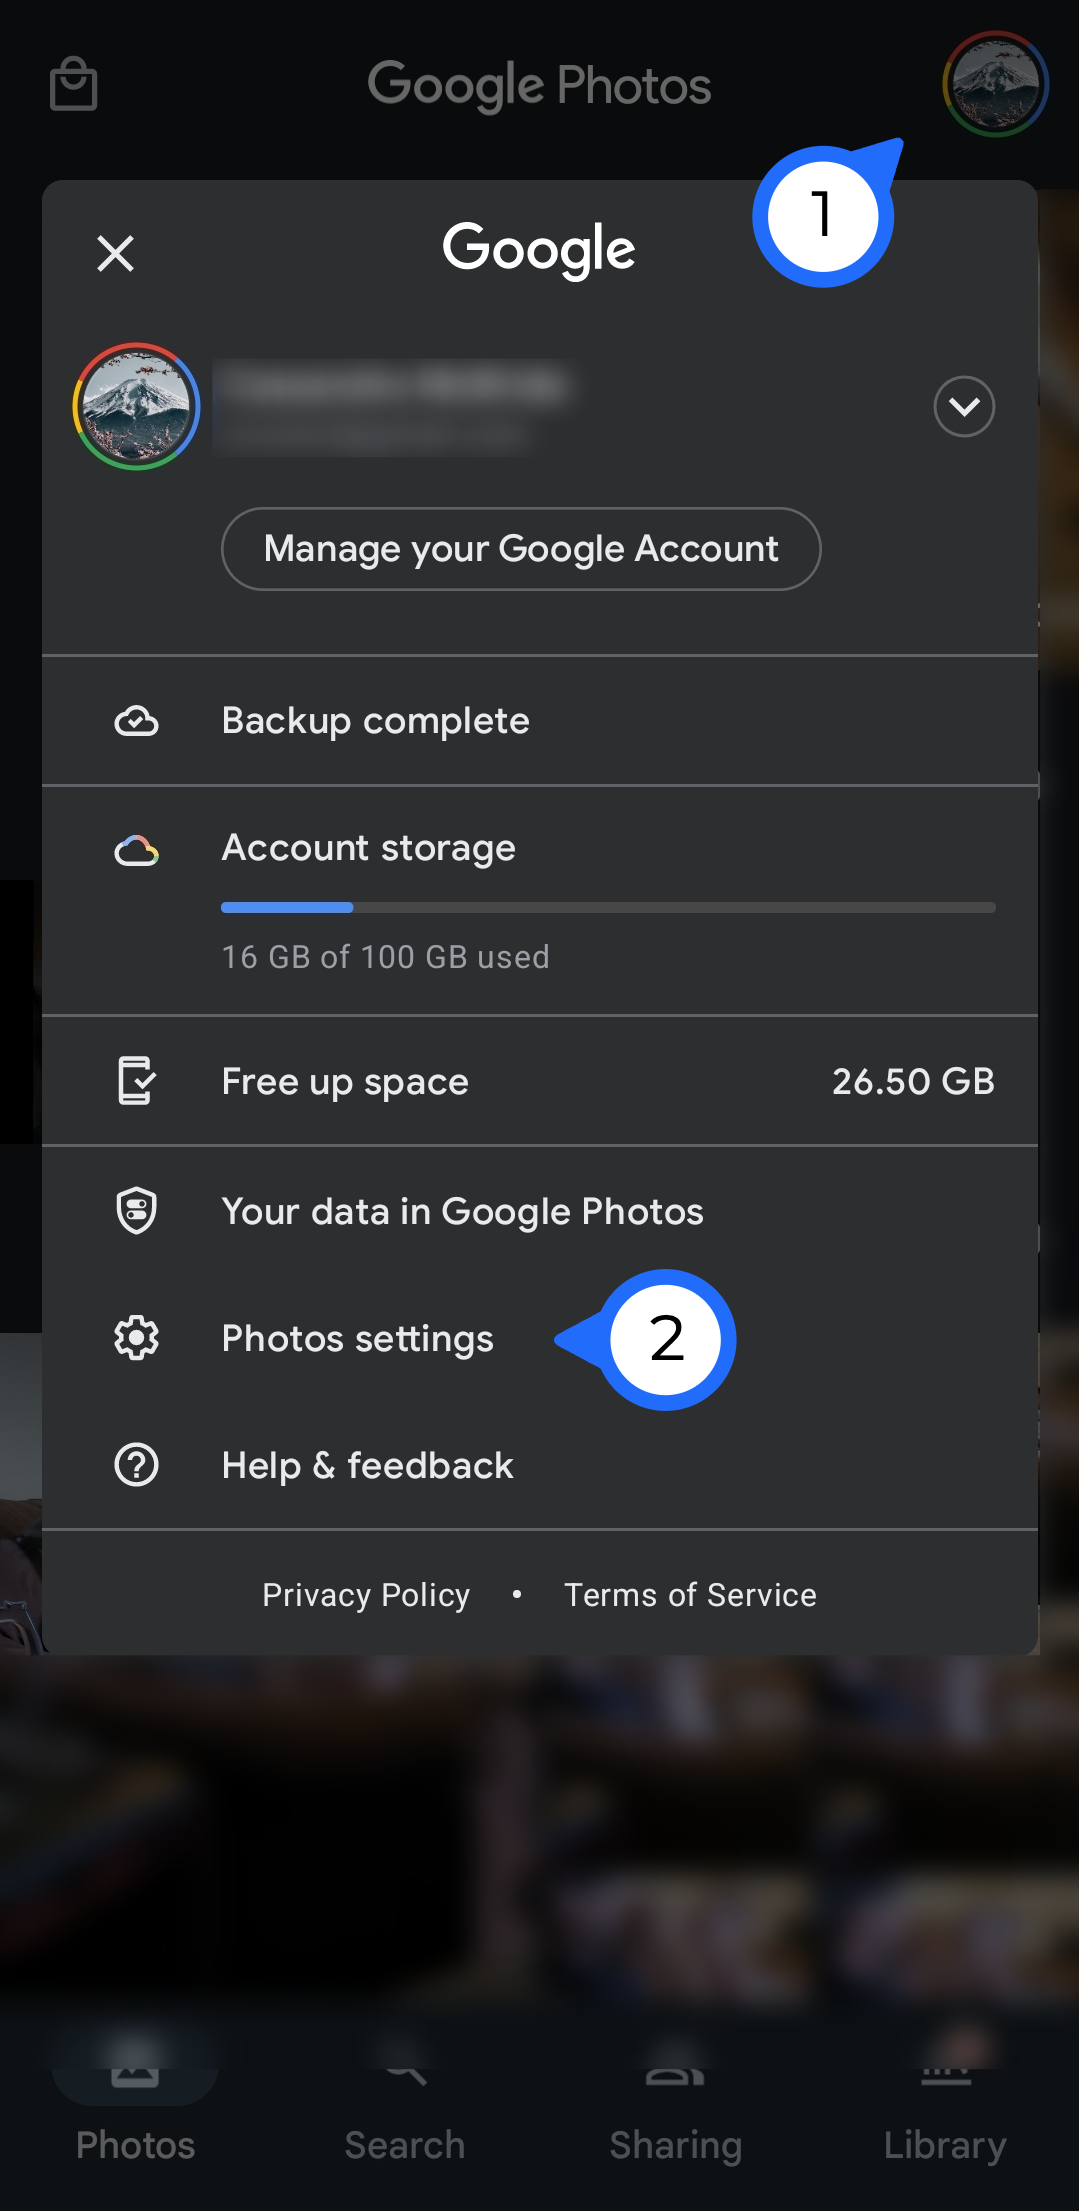
- Open the Google Photos app and tap on the profile icon in the upper right-hand corner.
- In the menu that appears, you will see how many images have yet to back up. If this number is zero, everything on your device is saved in Google Photos. If this menu shows that some photos have yet to backup, make sure you’re connected to WiFi (unless you turned on mobile data) and wait a little longer.

Google Photos Backup Settings
Google offers a few backup settings to help consumers customize their experience. Perhaps you want to preserve your cellular data; perhaps it’s more important to ensure everything is immediately backed up. Whatever your needs, this section will teach you about Google Photo’s backup settings.
Here is how to access your Google Photos settings:
- Open Google Photos and tap on your profile icon in the upper right corner.
- Tap on Back up & sync.
- Now, you will see various backup options to choose from.

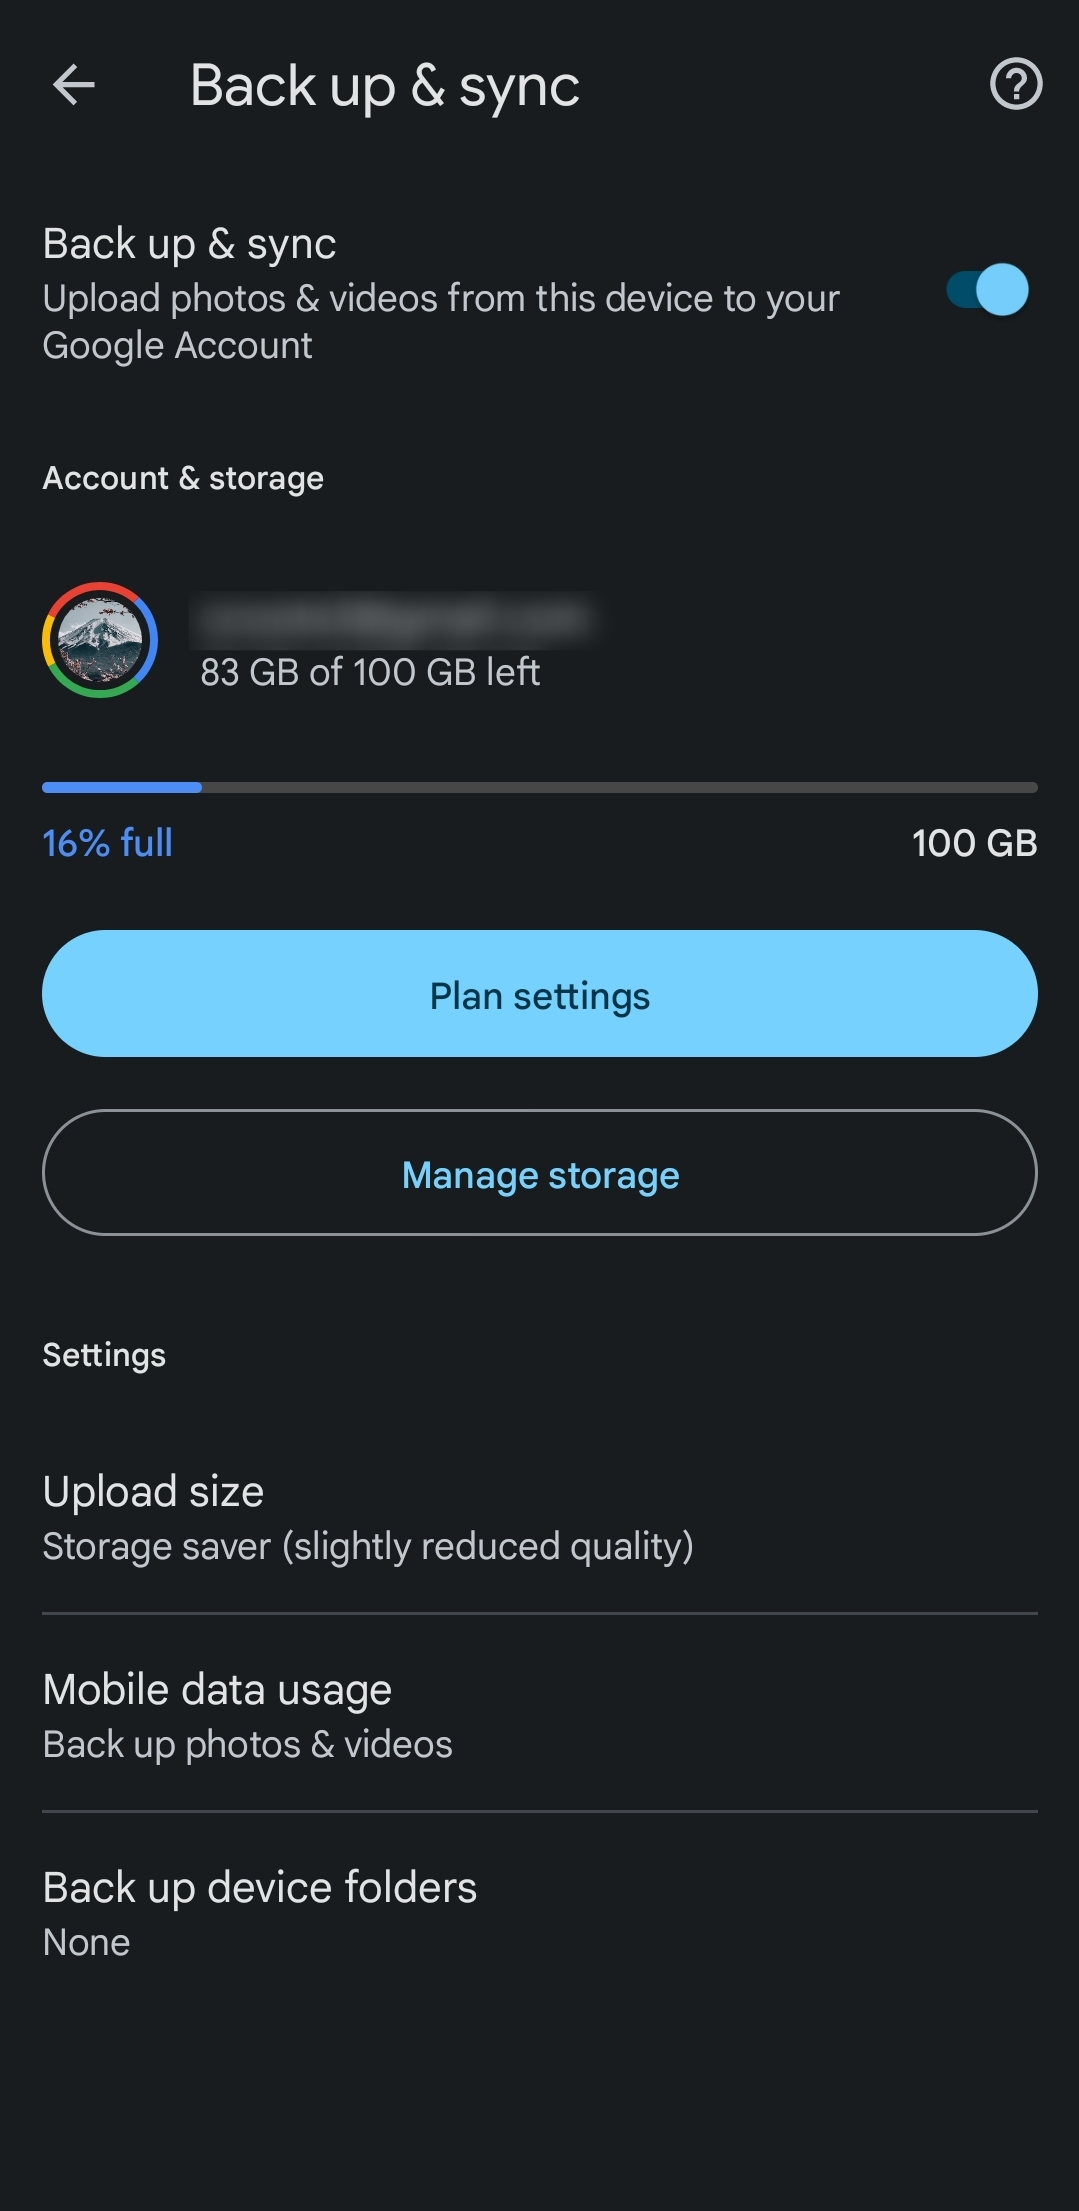
On the Back up & sync page, you can choose these options:
- Upload Size – You can save storage by choosing Storage Saver (16MP, HD video, & prints up to 24X16 in.). Or, Original quality (Full resolution and larger prints).
- Mobile Data Usage – Select the Data limit for backup (No data, 5MB, 10MB, 30MB, or Unlimited). You can also toggle the Back up videos over data switch to allow video backups outside of WiFi or Back up while roaming to backup photos and videos while roaming. Do remember that your choices in this section can impact your cellular data bill.
- Device Folders – Your mobile device may automatically create folders to organize your images (Facebook, photo editing apps, etc.). Toggle the options next to the folders you want to categorize images in Google Photos.


Google Photos Backup FAQs
Here are the answers to more of your questions about Google Photos.
How do I retrieve my pictures from Google Photos?
Once everything gets backed up, accessing your photos is easy. You need to open the Google Photos app and sign in using the same Gmail account where everything got saved.
Once logged in, you should see all of your photos in the Google Photos app. Tap on an image or album and select the “Share icon” to send the pictures to another person or save it somewhere else.
Can I save all Google Photos to my phone at once?
Yes. Whether you’re using an iOS or Android device, you can save all of your photos, but it will take some time. iOS users need to long-press a photo to initiate the option to select images. Then, tap the iOS share icon to save all selected photos to your device.
Android users need to follow a similar process as iOS. Using the Android share icon, you can save to your device or share the photos with another cloud service or contacts.
Does Google Photos cost money?
At one time, Google offered free unlimited photo storage. Unfortunately, in 2022, Google limits the free storage to only 15Gb. Although the cost of saving your most precious images and videos is easily justified, users today will need to sign up for a subscription for more storage.
Google charges $1.99/mo. for 100Gb of space, $2.99/mo. for 200Gb, and $9.99/mo. for 1TB of storage.
In closing, Google Photos makes it easy to keep all your essential photos backed up, but always check to ensure that all images got uploaded to the cloud. Sometimes, it may still be uploading the files, but it looks like they already reside in Photos. Now that you know how to back up your photos correctly, why not take advantage of the free storage available with a Google account?

Disclaimer: Some pages on this site may include an affiliate link. This does not effect our editorial in any way.