Device Links
It’s hard to imagine a proper company meeting without whiteboards. And online meetings are no exception. These boards help brainstorming sessions run smoothly by serving as a powerful visualization tool.
Google Meet has an excellent built-in tool called Jamboard that serves that very same purpose. But how exactly do you use an online whiteboard such as Jamboard?
Fortunately, doing so is not a complicated task, and this article shares everything there is to know about the topic. We’ll provide step-by-step instructions and tips on using a whiteboard in Google Meet on a PC, iPhone, and Android device.
How to Use a Whiteboard in Google Meet on a PC
Google Meet is packed with many features, and the whiteboard tool Jamboard is one of the best ones. Plus, it’s completely free to use, regardless of your subscription status.
To use the whiteboard in Google Meet, you need to start a video call first. Follow the steps below for more details:
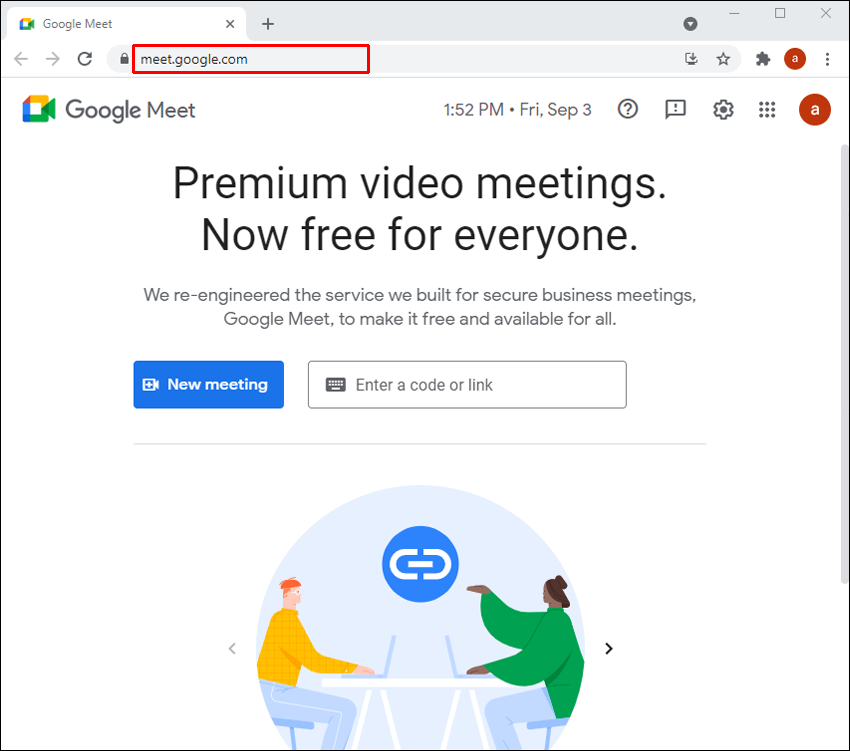
- Navigate to Google Meet.
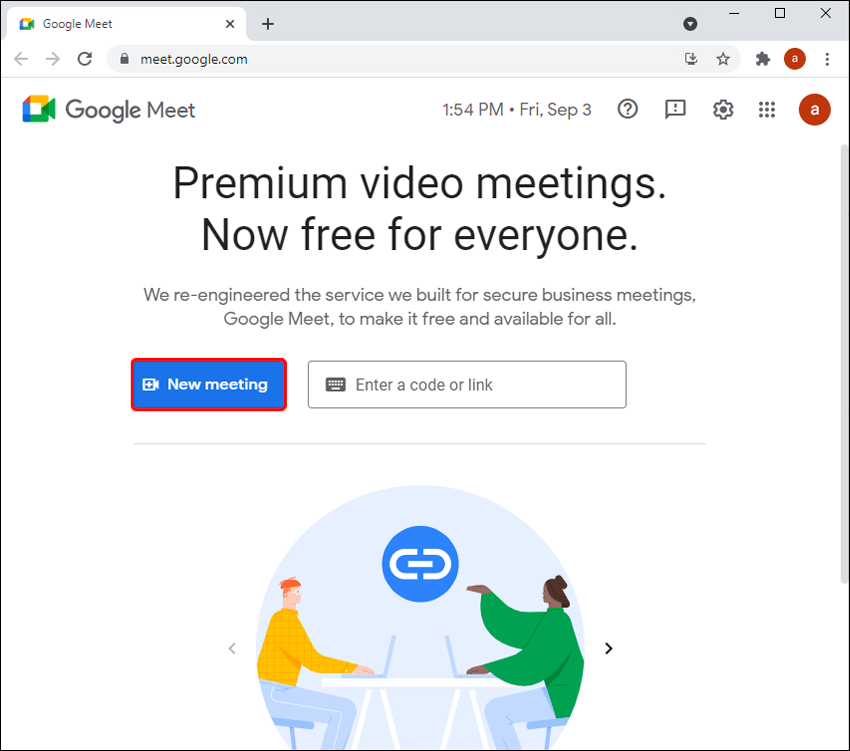
- Join or start a new meeting.

- Tap on the “Activities” button from the bottom right-hand side of the screen. It’s the button with a tiny triangle, square, and circle on it.
- Click on “Whiteboarding.”
- Choose from the two options. You can either create a new whiteboard by clicking on “Start a new whiteboard” or load an existing one from your Drive by clicking on “Choose from Drive.”


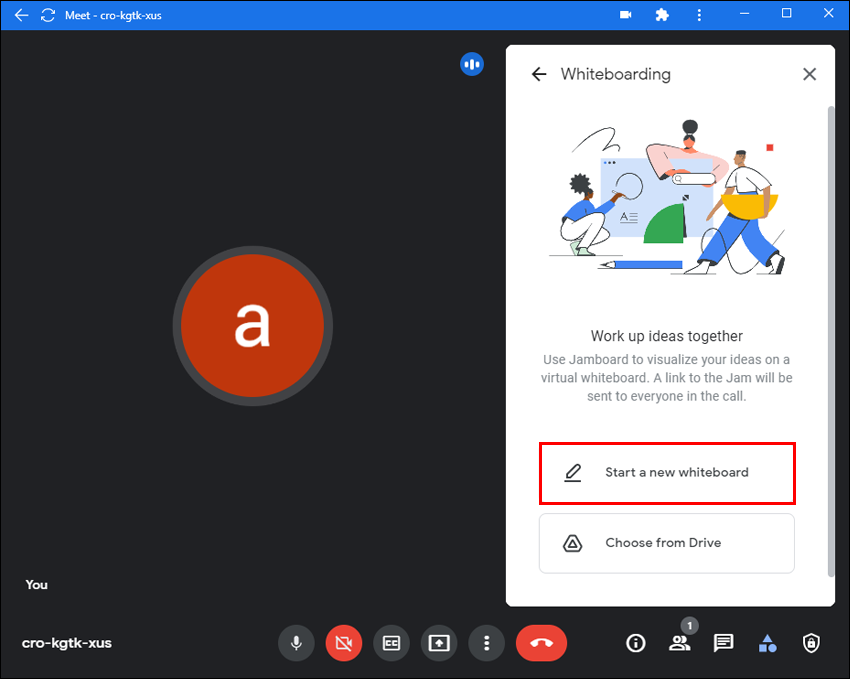
The whiteboard will now appear on the main screen.
As you launch the whiteboard, it’s important to understand basic access permissions:
- All calendar-invite participants, as well as those in the same organization as the whiteboard host, have edit access once the Jamboard gets shared.
- Participants who are not on the calendar invite but are part of the organization will have edit access when they’re invited to the meeting.
- Google Workspace for Education participants have view-only access by default. To change this, you need to grant them editing access. You also need to give access to participants who join the Google Meet after the Jamboard was shared.
Here’s how to do so:
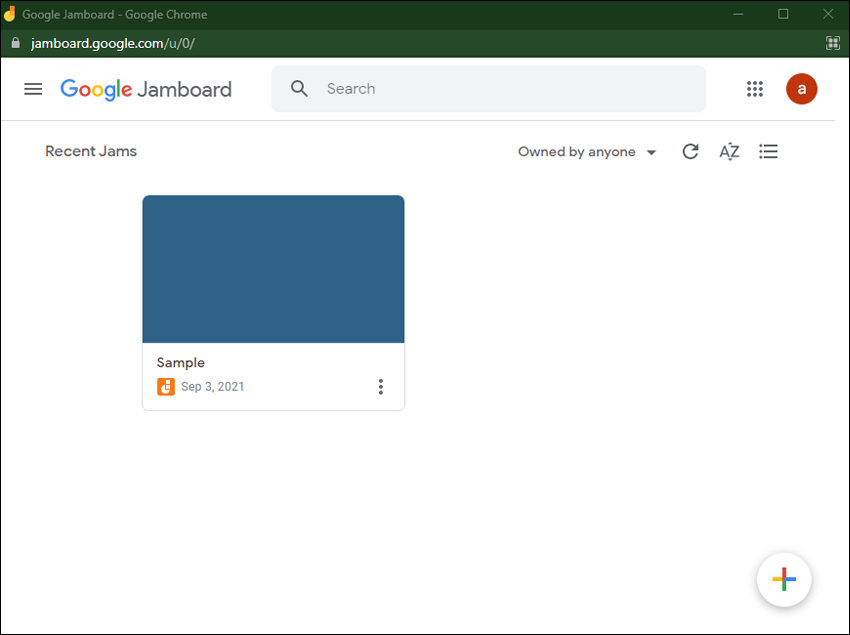
- Start a new jam.
- Click on the three horizontal lines to open the menu.
- Select “Share.”
- Enter the person’s email address and select “Send.”


Basic Jamboard Tools
Once you’ve started the Meet and have your Jamboard on, you’ll see a toolbar at the bottom of the screen that lets you interact with your whiteboard.
You can write or draw on your jam by selecting the “Draw” option from the toolbar. You can also add different shapes by selecting “Assistive drawing tools” under “Draw.” If you want to add a note, select “Insert note” from the toolbar.
Insert an image by selecting “Choose image” from the toolbar. You can either add an image from the Image Search, Web Search, add Stickers, or take a photo from your camera.
Send Jams as PDFs
Another helpful feature with Google Meet Jamboard is sending the whiteboard as a PDF after the meeting is over. Here’s how to do so from the Jamboard:
- Open the jam.
- Click on the three horizontal lines to open the menu and select “Send a copy.”
- Choose between “All frames (PDF)” or “Current Frame (PNG).”
- Enter the email address of the recipients.
- Click on “Send.”
You can also share jams from your computer:
- Open a jam you want to send.
- Click on the three vertical dots and select “Download as PDF” or “Save frame as image.”
- Send the file through Google Mail or another program.

How to Use a Whiteboard in Google Meet on an iPhone
Unfortunately, Google Meet’s whiteboard is not yet available on mobile devices. You can either use the Jamboard app or the Google Meet app, but you need to do so separately. And if you try opening Google Meet from your browser, you’ll be redirected to the Meet app instead.
That’s why it’s best to switch to your computer if you absolutely need to use Google’s Jamboard and grant editing access to everyone. If not, you can use the share screen function on your device and have the Jamboard app or any other third-party tool serve as your whiteboard. You can download different apps from your App Store that have a whiteboard tool such as Miro, Microsoft Whiteboard, etc.
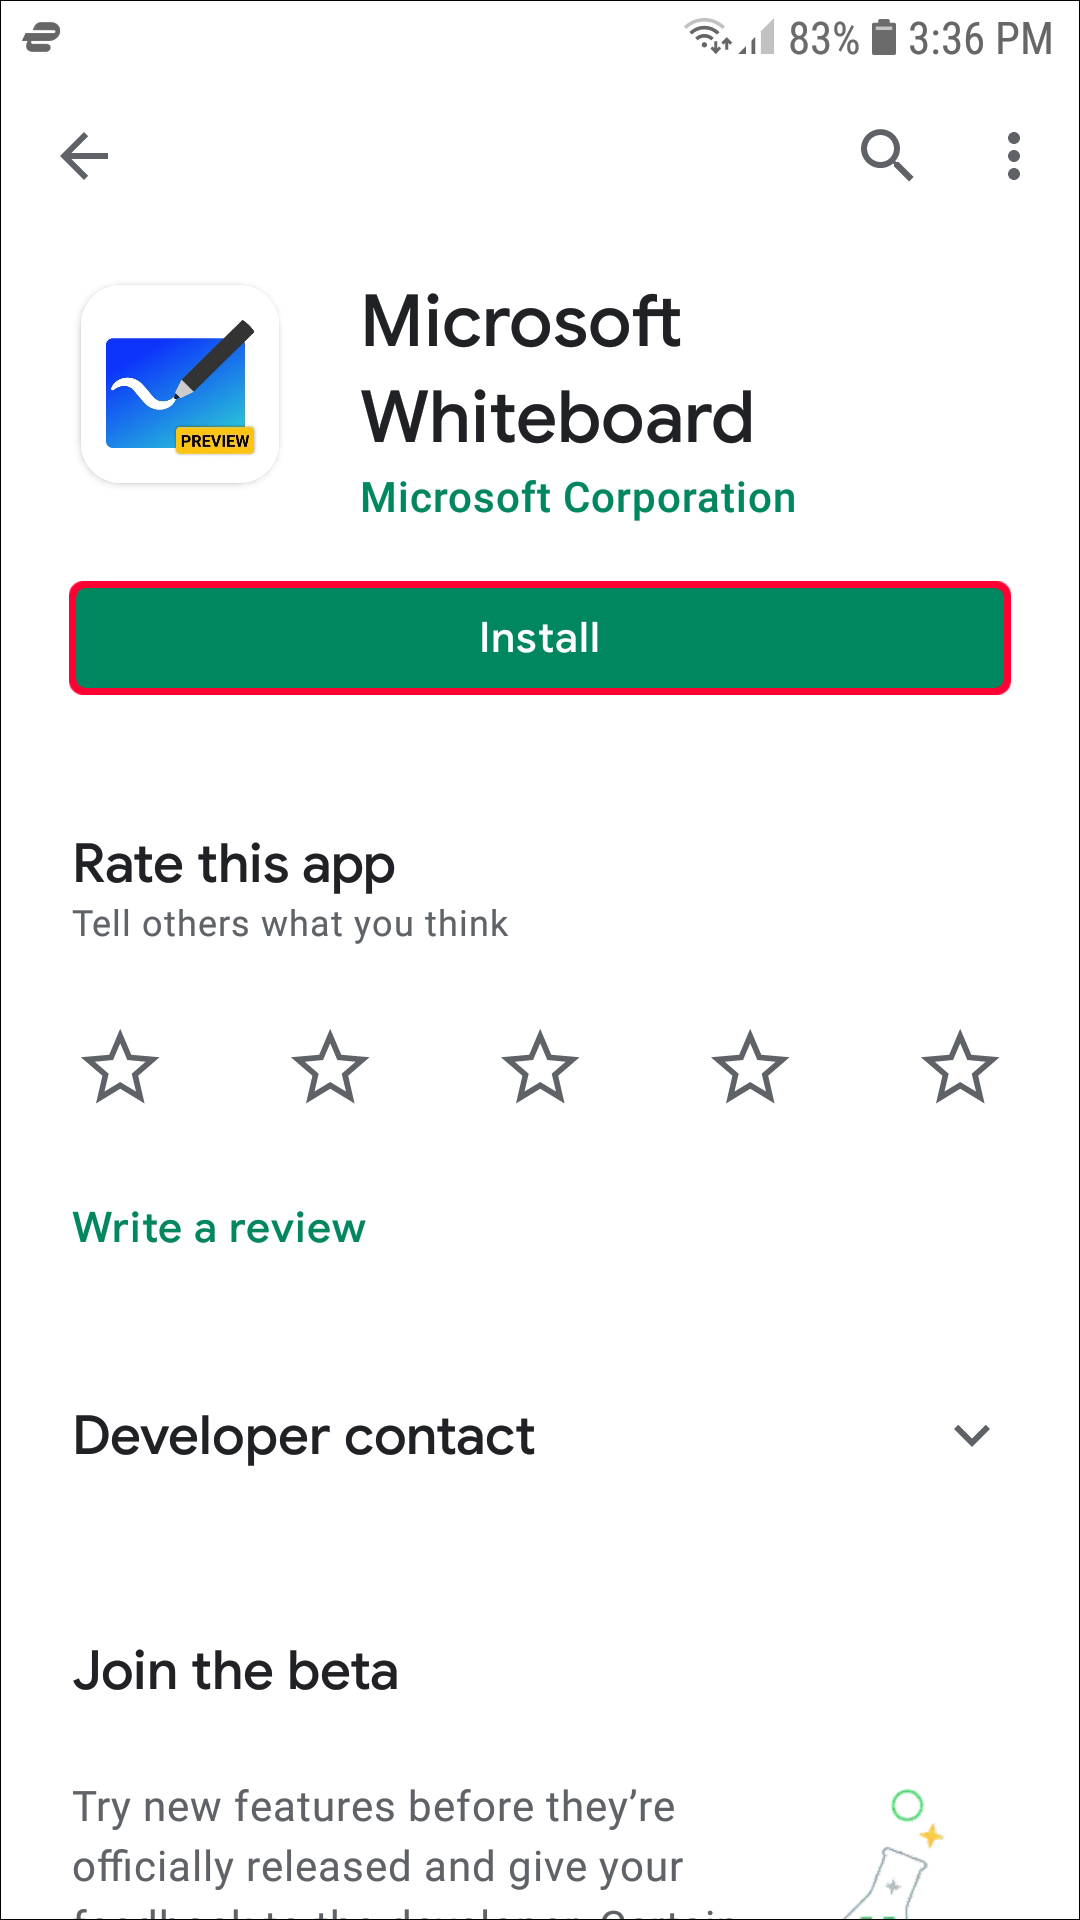
We based the steps below on the Microsoft Whiteboard app because it’s one of the most straightforward options to use, but you can use any software you find convenient.
- Navigate to the App Store and download the Microsoft Whiteboard app.
- Start a group call on your Google Meet app.
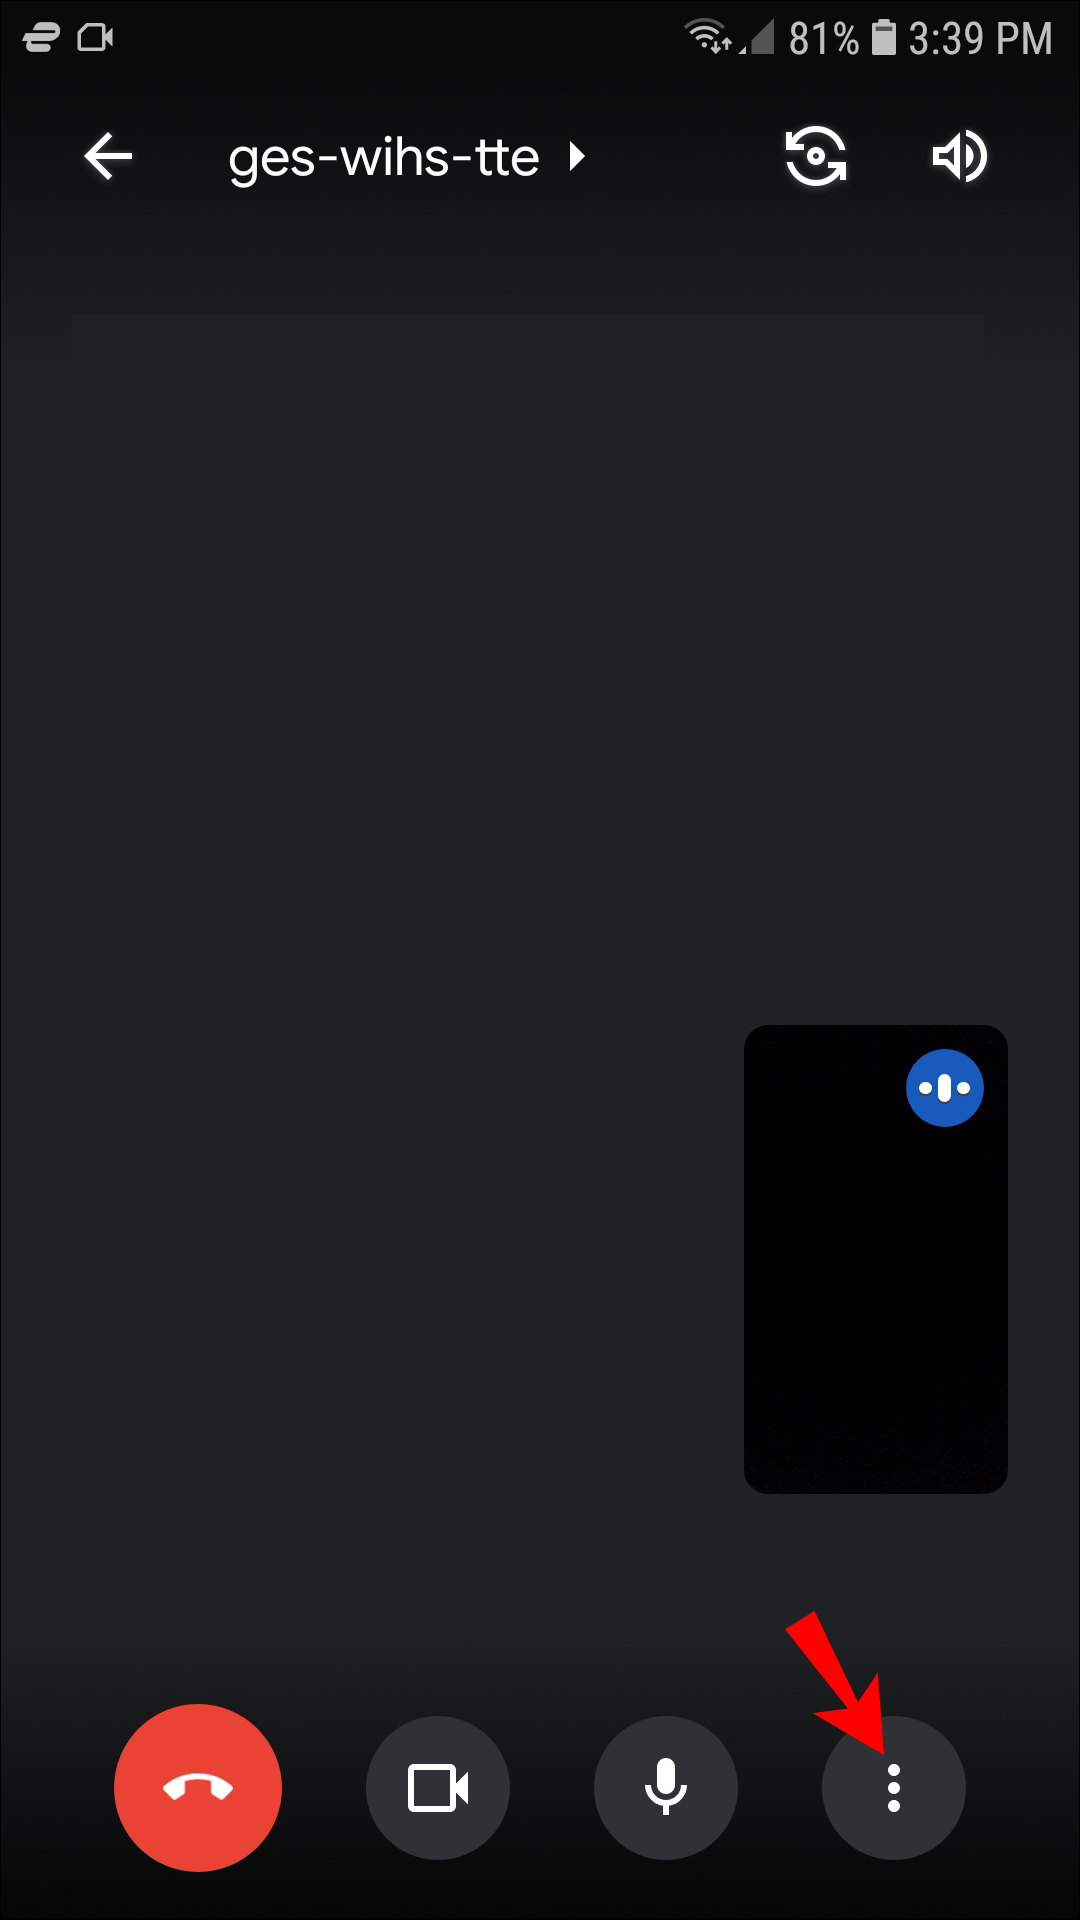
- Tap on the three vertical dots from the bottom right-hand of the screen.
- Tap on the “Share screen” option from the menu.
- Select “Start sharing” to confirm.
- You’re now sharing your screen with everyone in the meeting. Navigate to the home page of your iPhone and launch the Microsoft Whiteboard app.
- Everyone in the meeting will be able to see the whiteboard.


You can now jot down your ideas, write notes, or visualize data during your Google Meet for everyone to see. Unfortunately, others won’t be able to edit the file since you’re the only one with access to it.
How to Use a Whiteboard in Google Meet on an Android Device
If you’re an Android user and want to start a Jamboard during your Google Meet, you can’t do so directly from the app. There’s still no update that allows smartphone users to create whiteboards during meetings. If you try opening Google Meet from your browser, you’ll be redirected to the Meet app instead.
However, there’s a workaround. You can use third-party whiteboard tools and share your Android device’s screen for the Meet participants to see. This option works great if you’re the only one who needs editing access to the whiteboard. If you need others to participate as well, you’ll have to switch to your computer.
Some popular whiteboard apps for Android users include Miro, WhiteBoard, and Microsoft Whiteboard. We used the Microsoft one for the example below, but you can download any app you find most convenient.
- Navigate to the Play Store and download the Microsoft Whiteboard app.
- Start a group call on the Google Meet app.
- Tap on the three vertical dots from the bottom right-hand of the screen.
- Select “Share screen” from the menu.
- Tap “Start Broadcast” to confirm.
- You’re now sharing your screen with all meeting participants. Go to the home page of your Android device and launch the Whiteboard app.
- Everyone in the meeting will be able to see the whiteboard, but they won’t have editing privileges.


Make Brainstorming More Efficient in Google Meet
Whiteboards can be real lifesavers when it comes to jotting down ideas during meetings. Their ease of use makes sure everyone shares their ideas instantly. Fortunately, Google Meet has a dedicated whiteboard tool, Jamboard, for that purpose. To get the most out of its features, it’s best to conduct your Google Meet on your computer.
Hopefully, this article helped you boost your next event’s productivity with a great whiteboard tool. Should you have any questions related to the topic, drop us a comment below.


Disclaimer: Some pages on this site may include an affiliate link. This does not effect our editorial in any way.