Device Links
It is said that the first impression you make is often the most important. But in today’s day and age, when every meeting and class occurs on an online platform, sometimes the only thing people see is your profile picture.
Since Google accounts are used for many platforms, most people will have a profile picture; in some instances, that image may be out of date or inappropriate. This article will discuss how to remove a photo from your different Google accounts.
How to Remove Google Account Profile Picture on an iPhone
If you’re one of the many iPhone users in the U.S., you’re in luck. You can remove a Google Account picture from your iPhone in a few easy steps.
- Go to the Gmail app.

- Tap on the top left menu.

- Select “Settings.”
- Choose your Google account.
- Click “Manage your Google account.”
- Go to the “Personal” tab.
- Select “Go to About me” at the bottom of the page.
- Tap on “Manage your profile picture.”
- Remove your photo.


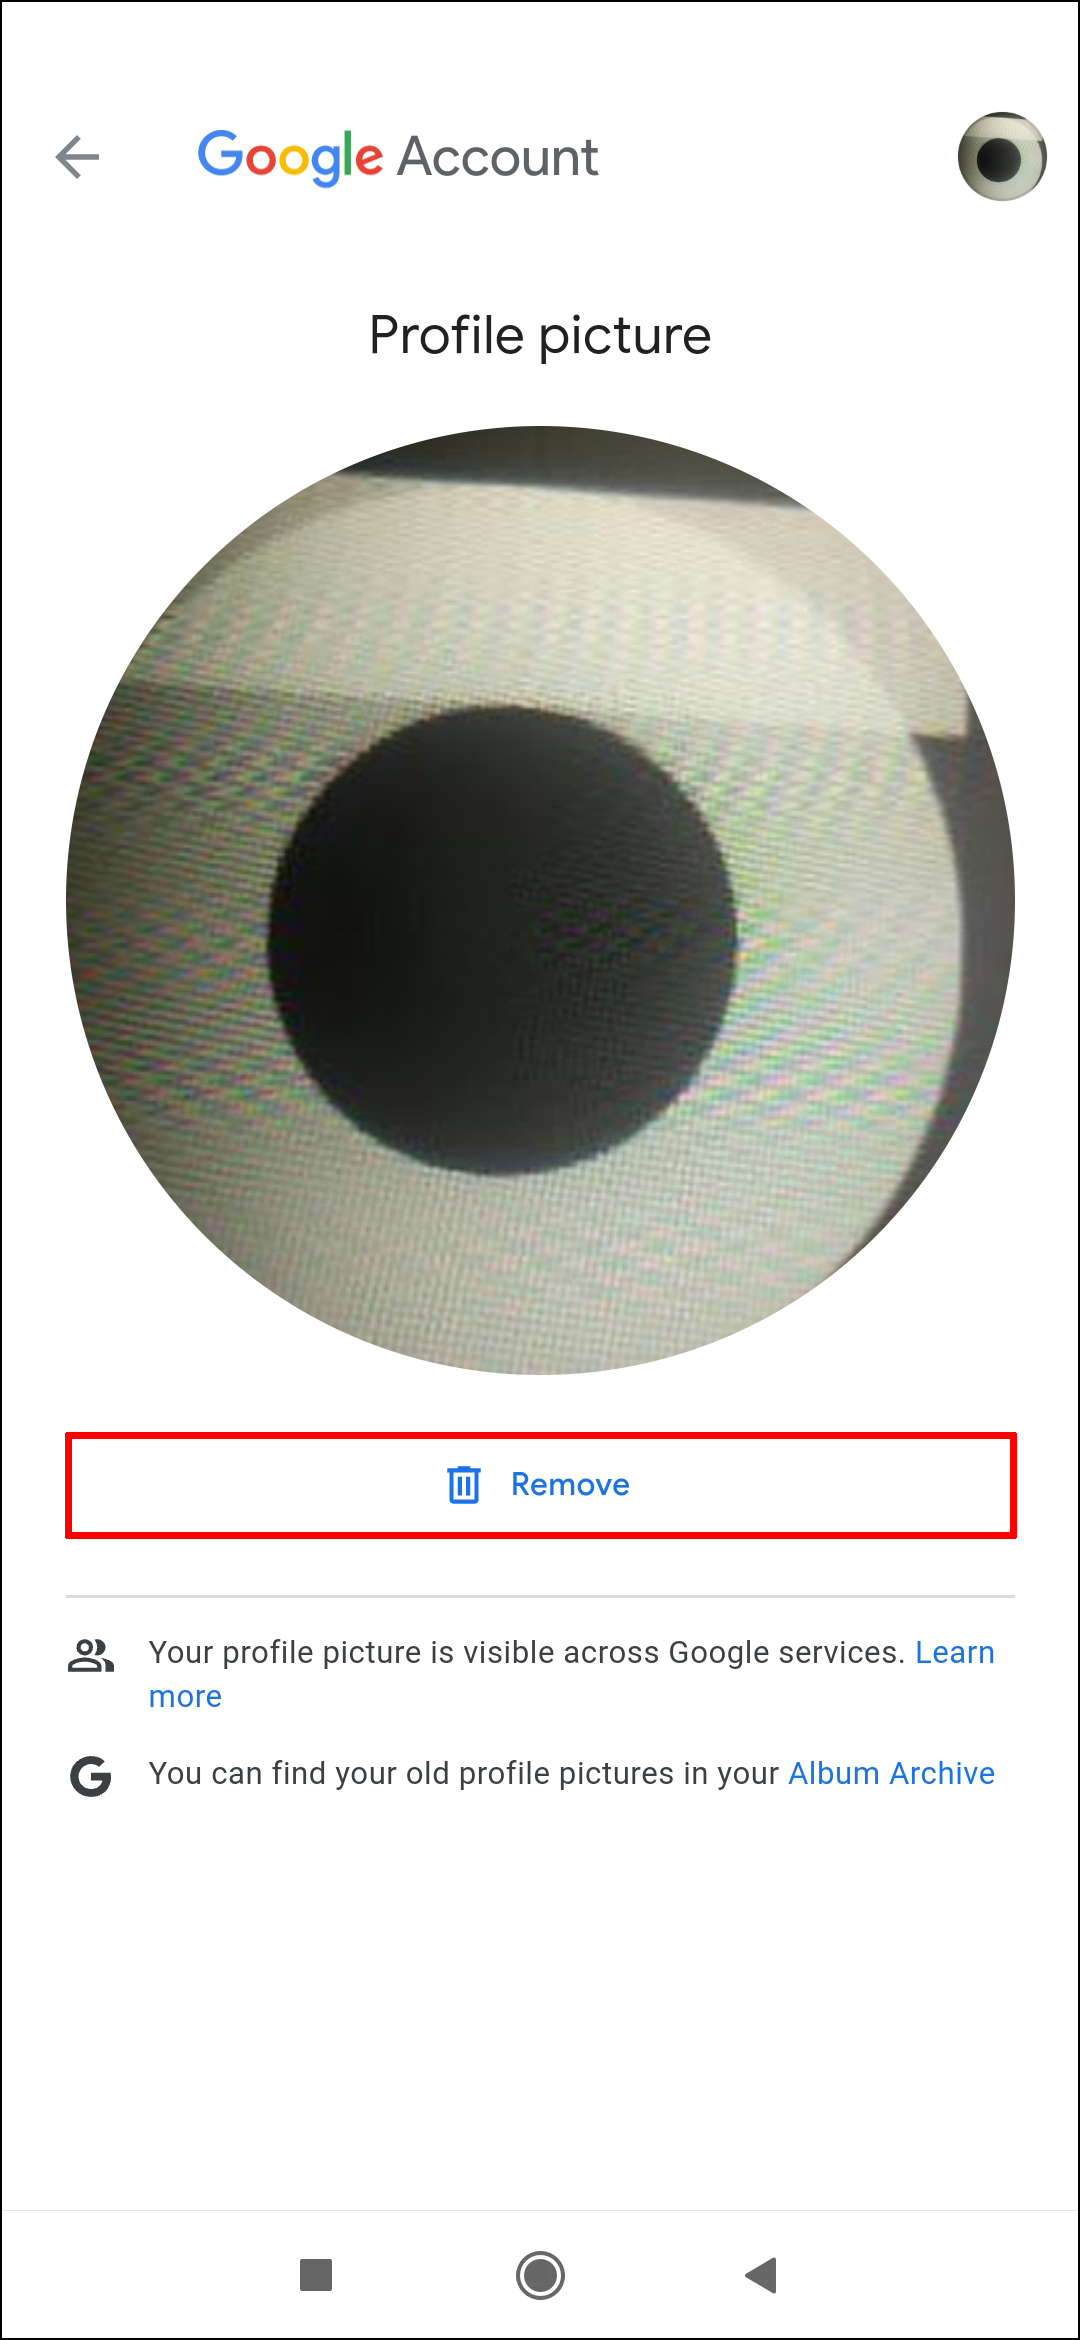
How to Remove a Google Account Profile Picture on an Android Device
Even though most people use an iPhone in the U.S., the most commonly used phones worldwide are Androids. Your profile picture from a Google account can also be easily removed on an Android phone in a few steps.
- Go to “Settings.”
- Tap on the “Google” section.
- Choose “Manage Your Google account.”
- Switch to the “Personal info” tab right next to the “Home” tab.
- Scroll down the page.
- Tap on the “Go to About me.”
- Tap on manage your profile picture.
- Select “Remove.”


How to Remove a Google Account Profile Picture From a PC
You can remove your Google Account profile photo from any PC and browser as long as you are signed in to your Google account. After signing in, do the following:
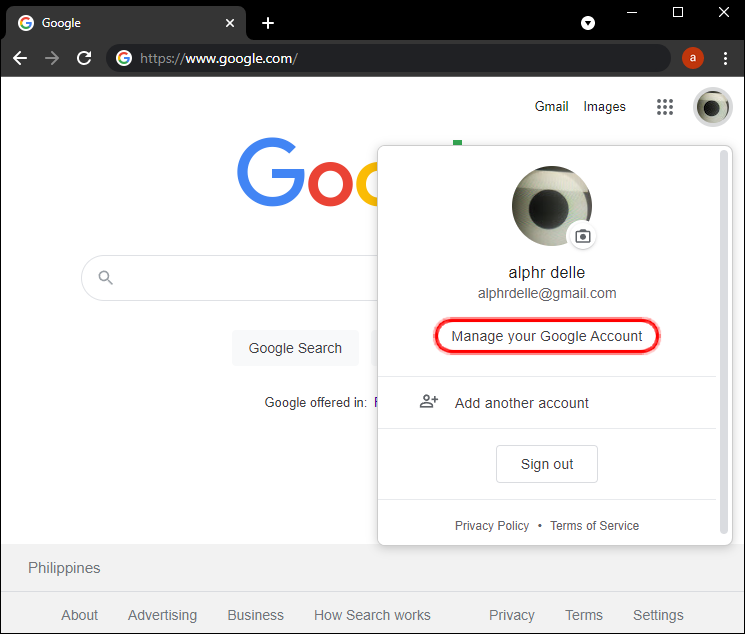
- Click on the icon with your profile picture in the top-right corner of the page.
- Select “Manage your Google account” right under your profile picture.
- Go to the left sidebar.
- Go to “Personal Info.”
- Scroll down and click “Go to About me.”
- Press the “Profile picture” option.
- Click on the “Remove” button.


How to Remove a Profile Picture From Google Meet
Most meetings, classes, and even hangouts are done over Google Meet nowadays. However, Google Meet requires you to sign in to a Google account when you enter. It takes all the information it needs from that Google account, as well as your profile picture. So, to remove that profile picture, you have to remove it from your Google account.
You can complete these steps on a phone or PC:
- Open Google on your browser or go to the Gmail app on your phone.
- Click on your profile picture or go to “Settings” in the app.
- Find “Manage your Google account.”
- Go to the “Personal Tab.”
- Scroll until you find “Go to About me.”
- Click or tap on “Profile picture.”
- Select “Remove.”


How to Remove a Profile Picture From Google Classroom
Unfortunately, if you have added a profile photo to Google Classroom, you can’t remove it; you can only replace it. This can also be done on a PC or phone.
To change your Profile Picture on Google Classroom from your PC:
- Open www.classroom.google.com.
- Click on the “Menu” tab. It has three horizontal lines next to it.
- Go to “Settings.”
- Select “Profile picture.”
- Click on “Change.”
- Choose a photo from your PC.
- Crop your image if you want to.
- Click on “Select profile photo.”


To change your profile photo from a phone, you need to have the Google Classroom app. You can download it from the App Store or Google Play Store.
- Open the Google Classroom app.
- Open the “Menu” tab.
- Go to “Settings.”
- Select “Update photo.”
- Tap on “Set Profile Picture.”
- Either select a photo from your phone or take a new picture.


How to Remove Profile Picture From Google Search
Imagine searching for something on Google, and you may find your profile picture in the search results. This can make you feel uncomfortable, especially if the photo was taken from your account without consent. Here is what you can do to get that photo removed:
- Contact the owner of that site to remove the image by finding the “Contact us” tab or information on the homepage or by using who.is. You can put the link to the website and receive the email address to contact the owner with the latter. If you get information for a hosting company, you can also ask the website host to contact the owner.
- Request Google to remove the picture. For this, go to Google Support and search for “Removing an image from Google.” You will receive a form which you have to fill out.


The second option seems more convenient to most people, but keep in mind that Google won’t altogether remove the photo sometimes. In this case, Google will remove any links and keywords linked to your image to not show up in Google Search anymore.
To Finish Painting the Picture
Now you can easily remove an inappropriate or outdated image. Remember that you can add a new picture later or immediately change it to a new photo instead of removing it.
When you remove your picture, Google will put the first initial of your account name with a plain color background as a replacement. If you do not like the color Google has chosen for you, you can always change it. It’ll be visible on Google Meet and Google Classroom as well.
What was your first photo on Google? Do you prefer not having an image on your accounts? What is the craziest profile photo you have seen? Let us know in the comments section below.


Disclaimer: Some pages on this site may include an affiliate link. This does not effect our editorial in any way.