Presenter view is a great tool to use when making presentations. It allows you to present slides professionally to the audience while keeping your talking points to yourself. However, there may be instances when you would prefer not to use the Presenter View feature. Maybe you are presenting on Zoom and need to share your screen with your audience. Perhaps you just find it simpler to teach your class without it.
Whatever your situation might be, this step-by-step guide will walk you through how to turn off Presenter View.
This article will look at how to turn off Presenter View in PowerPoint from various devices and platforms, including Teams and Zoom.
Turn Off Presenter View in PowerPoint for Windows
When working in PowerPoint on two different monitors (yours and the one for the audience), you will, in most instances, want to disable Presenter View from the audience screen. This will prevent them from seeing your talking points.
To do this, follow the steps outlined below:
- In PowerPoint, click on the “Slide Show” tab.
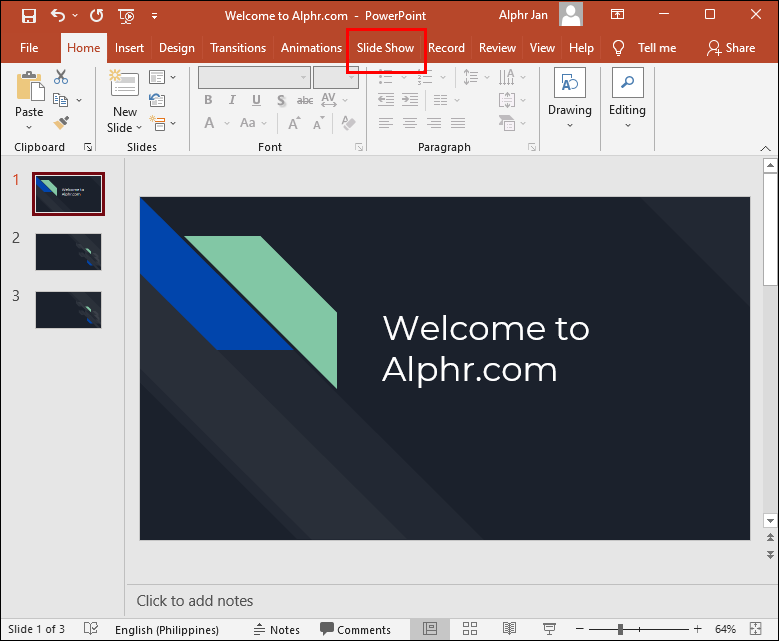
- Locate the “Monitor” group.

- Uncheck “Use Presenter View.”
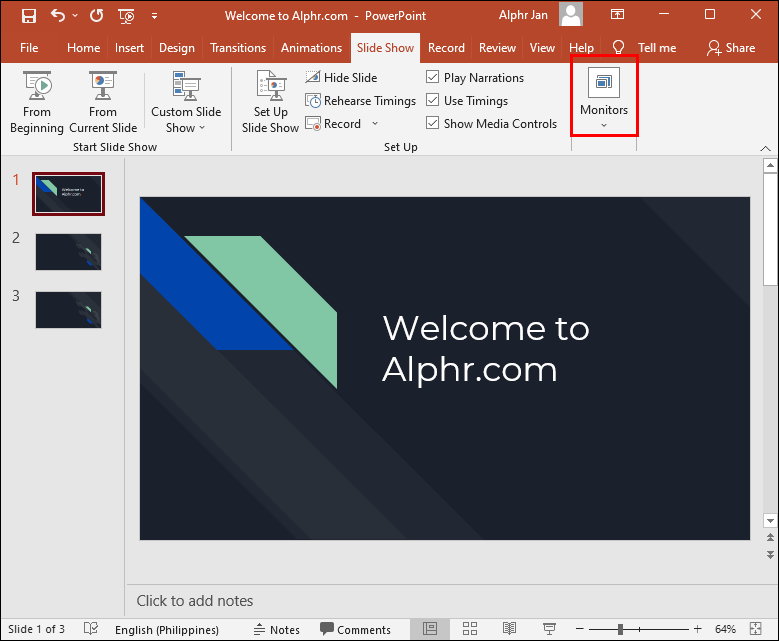
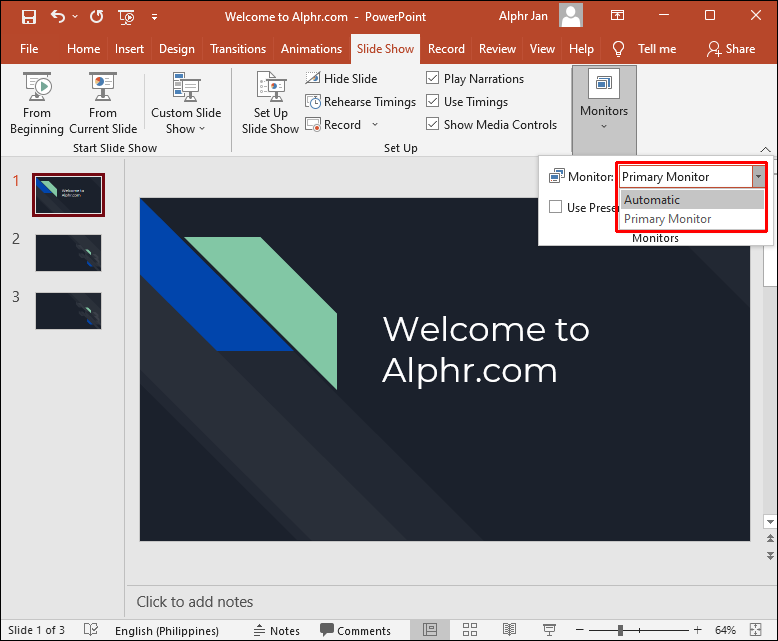
- In the “Monitors” group, click on “Monitor” to display the dropdown menu.
- Select the monitor on which the slideshow should display.


Presenter View will now only be visible on your screen.
You can also turn off Presenter View for both screens by following the steps below:
- In PowerPoint, go to the “Slide Show” tab.
- Uncheck the “Use Presenter View” box.
Presenter View has now been disabled on both monitors.
Turn Off Presenter View in PowerPoint for Mac
Things will work a little differently if you use a Mac, but don’t worry. We will guide you on how to turn off Presenter View PowerPoint on your Mac device.
- In PowerPoint, launch slideshow mode by clicking on “Use Slide Show.”
- This will disable Presenter View and revert you to the mirrored slide display.
Turn Off Presenter View PowerPoint Zoom
Presenter View usually works best when using two different monitors; one for the presenter and another for the audience. That way, the talking points can only be viewed by one party. With more and more meetings taking place on Zoom, the dual-monitor approach can get tricky because the presenter shares their screen with the group. Let’s find out how to turn off Presenter View in Zoom.
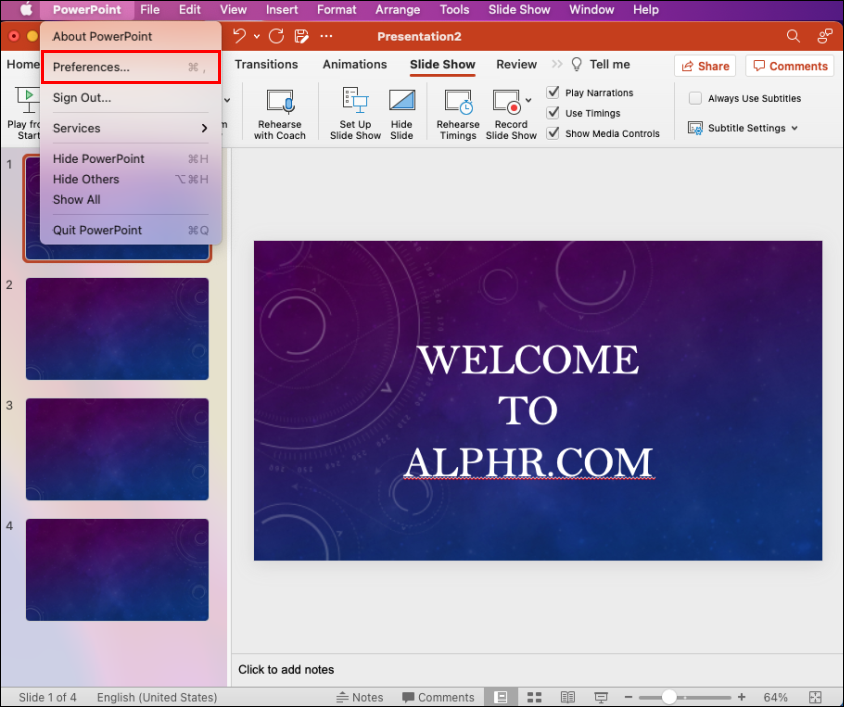
- On the PowerPoint ribbon, click on “PowerPoint.”
- Select “Preferences”
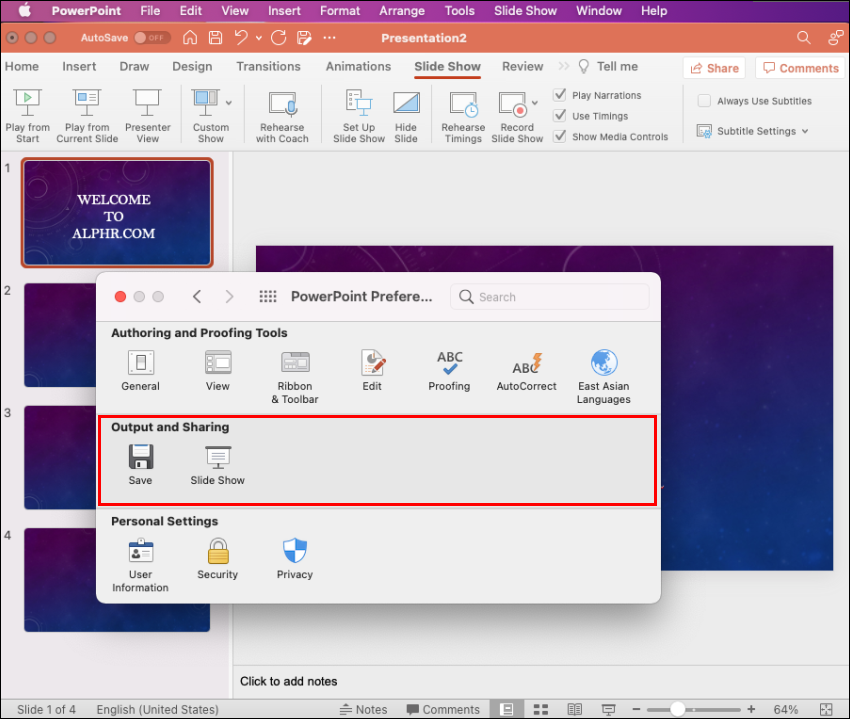
- A dialogue box will open. Under “Output & Sharing.”
- Click on “Slide show.”
- Uncheck “Always start Presenter View with 2 displays.”


Presenter View has now been turned off, and you can stop sharing your presentation and exit the slideshow. The screen sharing will stop, and Zoom will pop back up.
It’s important to remember to stop sharing your presentation before exiting PowerPoint. If you don’t, whatever was displayed on the presenter’s screen will be shown to the Zoom participants.
Turn Off Presenter View in PowerPoint Teams
Microsoft updated Teams and made Presenter View the default mode when sharing presentations. The feature is quite useful as it allows participants to move back and forth within slides without disrupting the presenter. They, however, did not provide a way to turn off Presenter View on this platform. If you are looking to disable the feature, there is a keyboard workaround that you can utilize for that purpose.
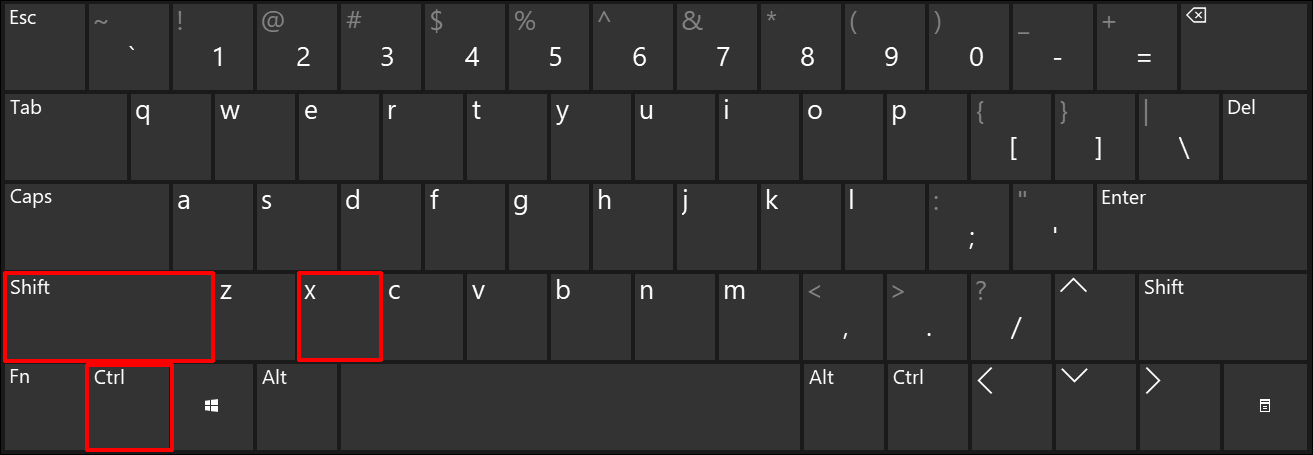
To turn off Presenter View PowerPoint in Teams:
- Click anywhere in the slide area.
- Press the Ctrl+Shift+X shortcut.
- The notes and thumbnail strips of your Presenter View should now be closed.
- To bring back the Presenter View, press Ctrl+Shift+X again.


Turn Off Presenter View in Google Meet
If you are holding your presentation on Google Meet, you have the option to share your entire screen, a window, or a tab. For Presenter View, you can opt to share one window with the audience while keeping a second window with your notes private.
To turn off Presenter View, all you need to do is close the window or tab that contains your speaker note. Do this by navigating to the bottom right corner of the page and clicking on “You are presenting,” then tap “Stop Presenting.” You will now have turned off Presenter View in Google Meet.
Turn Off Full Screen Presenter View in PowerPoint
Perhaps instead of turning off Presenter View, you would prefer to exit full-screen mode instead. This would allow you to have your speaker notes handy while still having access to your toolbar and other applications.
To do this, you would need to display Presenter View in a window instead of on the full screen. Here’s how to go about doing that:
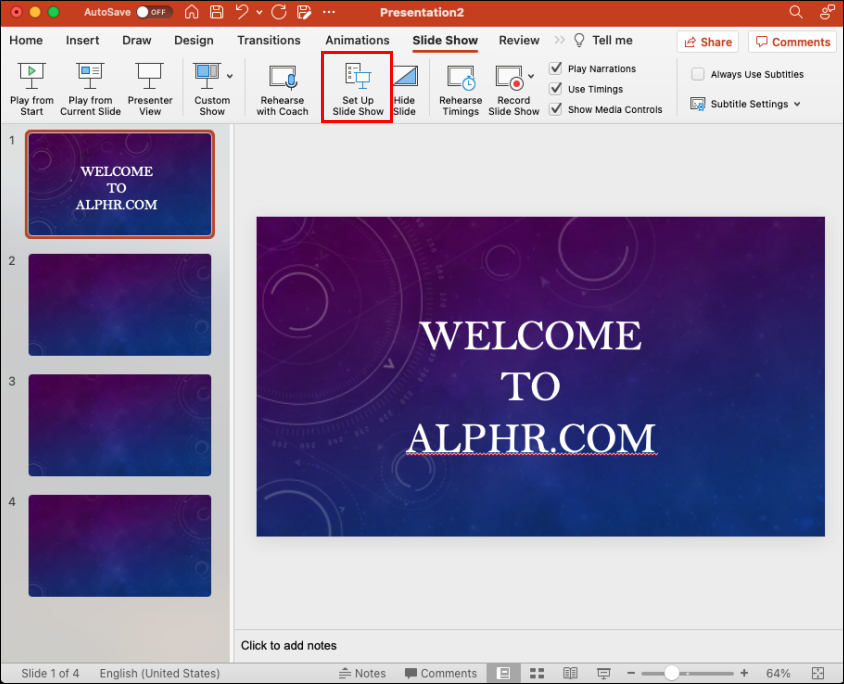
- In PowerPoint, click the “Slideshow” tab.
- Select the “Set up slide show” button.
- Check “Browsed by an individual window in the dialogue box displayed.”
- Now tap “OK” at the bottom of the page.

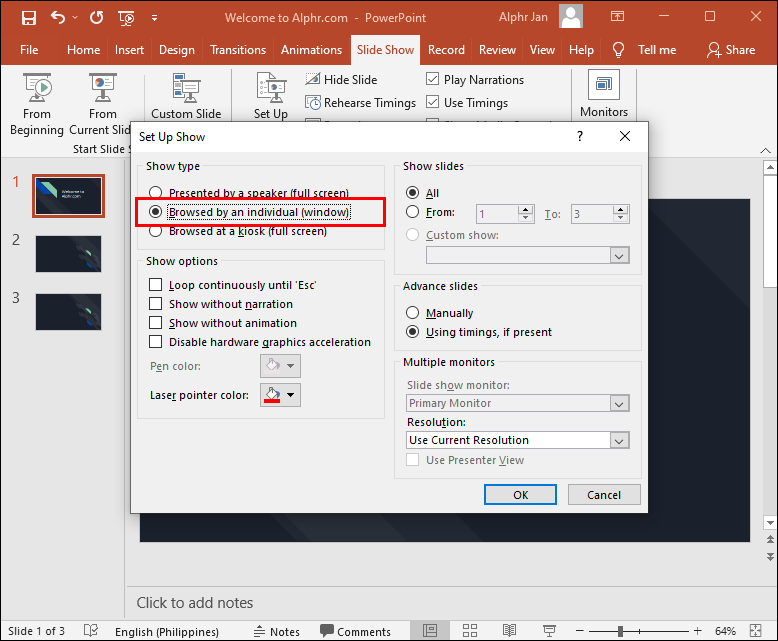

Now PowerPoint will open in a window instead of full screen, and you will be better able to manage your Presenter View mode.
Additional FAQs
What do you do if Presenter View is showing up on the wrong monitor?
Sometimes things might get mixed up, and your presentation notes appear on your audience screen. You can quickly fix this by:
1. Click on “Display Settings” on your PowerPoint screen.
2. At the top of the “Presenter Tools” page, select “Swap Presenter View and Slide Show.”
Turn Off Presenter View PowerPoint
PowerPoint’s Presenter View is an amazing feature that allows you to present without losing the option to refer to your notes. However, there may be instances where you would rather have the feature off. As we have seen, disabling Presenter View can be an easy process to navigate once you know where to look.
How often do you use Presenter View when delivering virtual presentations? Let us know in the comments section below.


Disclaimer: Some pages on this site may include an affiliate link. This does not effect our editorial in any way.