Zoom generally works well and makes video conferencing efficient and straightforward. However, issues do occur sometimes. Software developers use error codes to let the end-user know what’s wrong with their system. Unfortunately, it can be difficult to decipher an error code and find a solution.
This article will cover the 5003 Zoom error code and walk you through fixing the underlying problem. We’ll also cover some other common codes you’ll encounter using Zoom.
What is the 5003 Error Code on Zoom?
If you see an error code 5003, there’s a problem with establishing a connection with the Zoom servers. Essentially, your Zoom app isn’t communicating properly with the Zoom servers. There could be several reasons why that’s happening.
It could be a firewall issue, an antivirus software block, or you might have a corrupt wireless driver. In this article, we’ll explain how to fix these issues.
Reinstall Zoom
Our first stop will be a fresh install of the Zoom app. Whether you’re on your phone, PC, or Mac, you can quickly reinstall Zoom. The process is simple enough for mobile devices because all you need to do is long-press the Zoom app icon and tap Uninstall on both iOS and Android devices.
But, if you’re using a Mac or PC, you may need a little help. That’s what we’ll cover first.
If you’re using a macOS device, follow these steps:
- Click on the Finder in your Mac’s dock.

- Click on Applications in the left-hand menu.

- Right-click on the Zoom app.
- Click on Move to Trash.


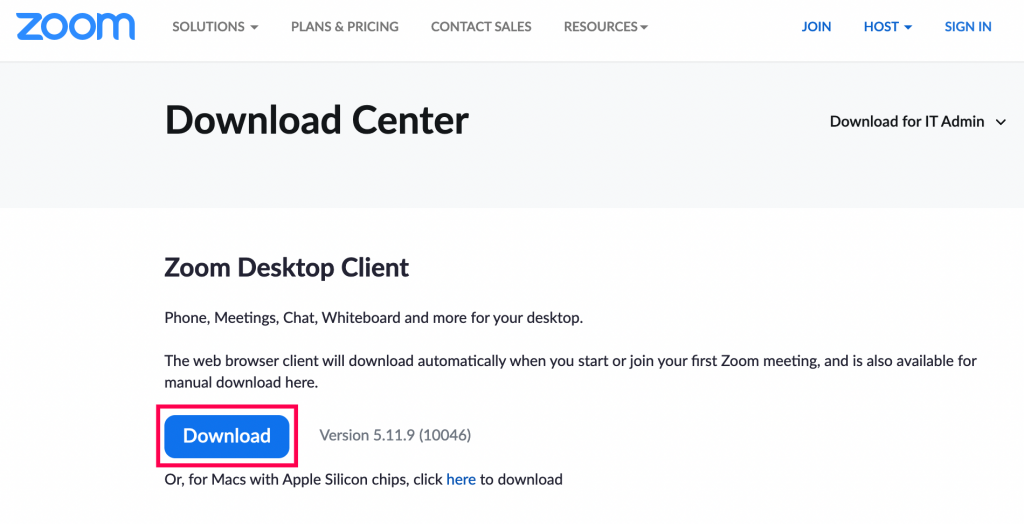
Now, you can reinstall Zoom from this link.
Upon installation, sign in and test Zoom. If you still see the 5003 error code try using a web browser or keep reading for more helpful tips.
If you’re using a PC, follow these steps to uninstall the Zoom desktop app:
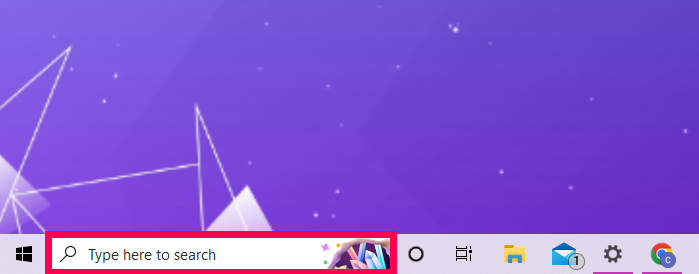
- Click on the Search bar in the lower left corner. Then, type Zoom.
- Click the down arrow icon to the right of Zoom to reveal more selections.
- Click Uninstall.


Confirm that you’d like to uninstall Zoom and redownload it using this link.
After installing Zoom you can try your meeting again. If the 5003 error appears, try using a web browser, or keep reading for more help.
Network Firewall or Proxy
If you’re trying to connect to Zoom, but you’re on a network that has a firewall or proxy, you might see the error code 5003 appear. That could happen if you’re using your computer or mobile device at a university or in some other organization that has network access restrictions.
In that case, you should contact the network administrator so they can check the firewall and proxy settings.
If you need to configure the network firewall, Zoom has a table of protocols and destinations that you can view on their webpage. Also, Zoom recommends that you whitelist the zoom.us page from all the proxy or SSL inspections.

If you really need to use Zoom and don’t have time to wait on an administrator or can’t figure out the firewall or proxy issue, try switching to a mobile network (mobile hotspot or cellular data). You can also try another device to get you back up and running for the time.
AVG Issue
If you’re using AVG antivirus on your device, you might see the error code 5003 when trying to connect to Zoom. In that case, your best option is to disable AVG temporarily. Once the Zoom meeting is over, you can restore the AVG settings. Here’s what you need to do:
- Right-click on AVG on your computer screen.
- When a menu pops up, select the green toggle button that says, “Protection is ON.”
- When prompted to confirm the selection, click “Yes.”
You will see the toggle button turn red, and it will say, “Off.” That means that every AVG antivirus feature is disabled. So, ensure you don’t leave your computer exposed and vulnerable for too long. Also, the antivirus protection will automatically turn on when you reboot your computer.

Corrupted Wireless Driver
There is a third potential reason for getting the error code 5003. Some Zoom users have reported that a corrupted wireless driver was preventing them from connecting to Zoom. If that’s the case, the problem won’t go away on its own. What you need to do is reinstall the wireless driver on your computer.
We’ll show you how to do that on Windows operating system. The first thing you should do is uninstall the driver for your Wi-Fi adapter. Here’s what you should do:
- Press the Windows key + X and then select “Device Manager.”
- Next, find your wireless network adapter and right-click on it.
- Select “Uninstall device.”
- Check the box that says, “Delete the driver software for this device.”
- Select “Uninstall” again.
After that, you’ll see that your network adapter is no longer on the list. Here’s how to install it again.
- Go back to the “Device Manager.”
- Then select “Network Adapters” followed by “Action.”
- Select “Scan for hardware changes.”
- Click on “Network Adapters” again.
At this point, your Wi-Fi adapter should appear on the list again. And that means that you’ve successfully reinstalled it.
Other Zoom Connectivity Error Codes
Just like any web-based application, Zoom has many error codes. You might also see the error code 5000 or 5004. Both could imply the same issues related to the error code 5003.
You can check the Zoom Help Center page that lists all the potential error codes linked to problems with connecting to the Zoom servers. Other errors, however, have nothing to do with connectivity.
For example, error code 2008 means that a webinar license has expired or isn’t valid anymore. Or, if you see the 10002 error code during Zoom installation, it means that your antivirus software has captured Zoom files needed for the installation. That means that you’ll probably have to go through the installation process manually.
The 10006 error code might mean the same thing or signify that the target disk where you’re downloading Zoom is full.

Frequently Asked Questions
If you’re still running into problems with Zoom, there are a few more things to know. Keep reading this section for the answers to more of your questions.
I have a Mac with the A1 chip and keep getting the 5003 error. What do I do?
Many users have expressed issues with Zoom and Apple’s A1 chip. Fortunately, there is a fix. As mentioned in the first section of this article, you need to uninstall Zoom and reinstall it. But some Mac users have stated the steps above didn’t work for them. However, you can do this:
1. Open Zoom and click the Zoom menu in the upper left corner of your Mac’s screen.

2. Click on Uninstall Zoom.

Confirm that you’d like to uninstall Zoom. Then, reinstall the latest version of the software.
Does Zoom offer tech support?
Yes. Zoom does offer technical support. But, to speak with a Live agent you will need to upgrade your plan. Basic Zoom is free, but you don’t get a lot of help when issues arise. Those with the Pro Plan can chat with an agent while the highest tier Zoom plan lets users talk to an agent live to resolve problems.
Resolving Zoom Connectivity Issues
It can be rather annoying when you see the error code 5003 appear when trying to join a Zoom meeting. But there are ways to fix it. First, check the network you’re using. Is there a firewall?
Are you using AVG antivirus on your device? Finally, try reinstalling the wireless drivers; it can’t hurt. Hopefully, any of these solutions will help you get back to Zoom.
Have you ever received the error code 5003 on Zoom? Let us know in the comments section below.


Disclaimer: Some pages on this site may include an affiliate link. This does not effect our editorial in any way.