Whether you want to chat with your friends or have a family meeting, you could use a microphone to improve communication. However, what do you do if you don’t have one? You use a smartphone, of course.
Let’s discuss how to set up your phone as a microphone on various platforms.
Using a Phone as a Microphone with Discord
The easiest way to use your smartphone as a microphone on Discord is to install a third-party app. WO Mic is one of your best options. This program is compatible with Bluetooth, USB, and Wi-Fi connections, allowing you to set up your device through multiple networks.
Here’s what you need to do to configure WO Mic:
- Go to your browser and visit this website.
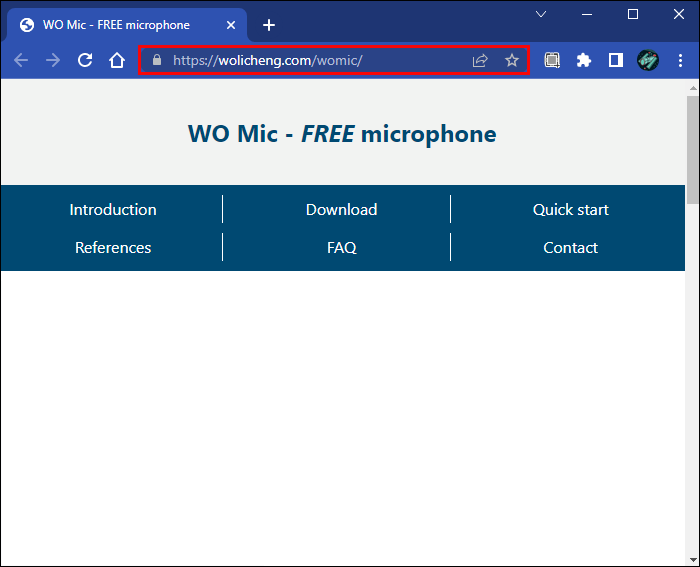
- Download the client on your PC. Your version should include all necessary drivers.

- Download and install the iOS or Android app, depending on your device.

- Launch the program on your PC. If you receive the “missing DLL” message, install the VC redistributable package from Microsoft.

- Navigate to “Connection” and press “Connect.”

- Choose your “Transport type.” Let’s use Bluetooth as an example.

- Open “Settings” on your computer and head to “Devices,” followed by “Bluetooth and other devices.” Turn on your Bluetooth connection to make the computer discoverable by other devices.

- Launch “Settings” on your smartphone and enter the “Connections” menu. The wording may vary. Turn on your Bluetooth and pair up the smartphone with your PC. You should see a notification confirming the link.

- Return to WO Mic on your desktop and go to “Bluetooth” under “Transport type.” Choose your phone and click the “Connect” button.

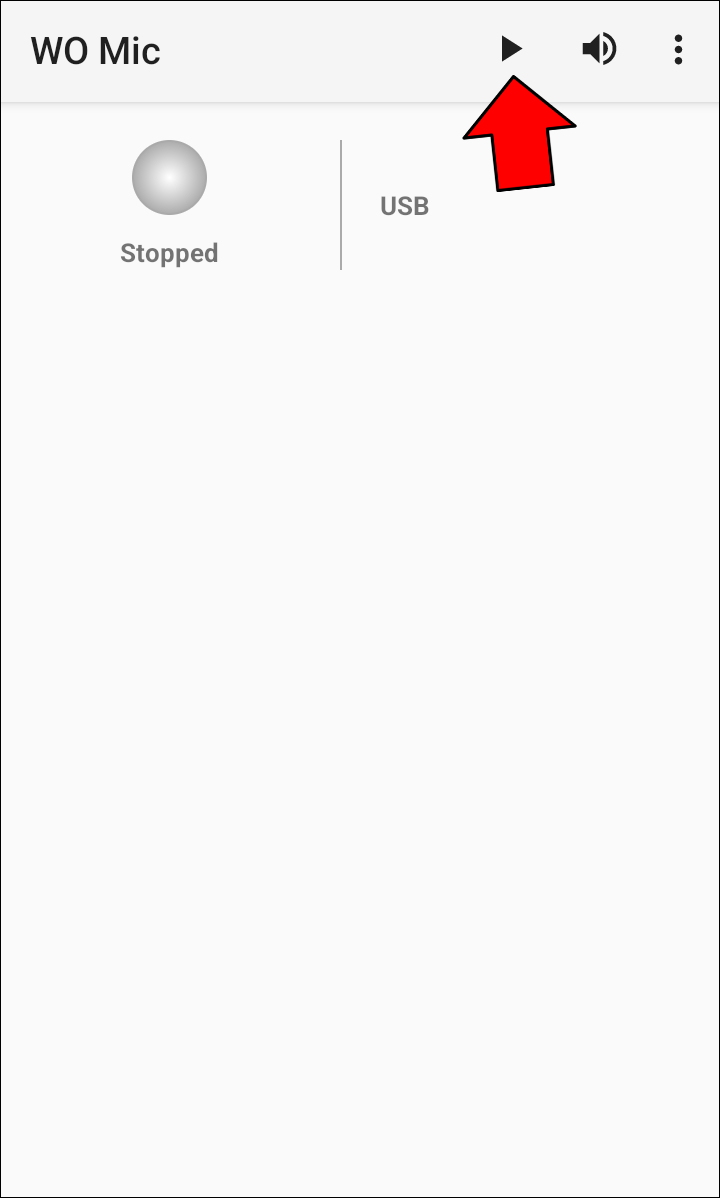
- Go to the smartphone app and press “Settings,” “Transport,” and “Bluetooth.” Join your Discord meeting and hit the “Play” symbol on the smartphone WO Mic to transmit your voice.

Alternatively, you can use a USB connection. It’s just as simple, but it only works on Android devices.
- Connect the PC to your phone with your USB cable.

- If prompted, install the necessary drivers.
- Enable Developer Mode on your phone and activate USB Debugging.

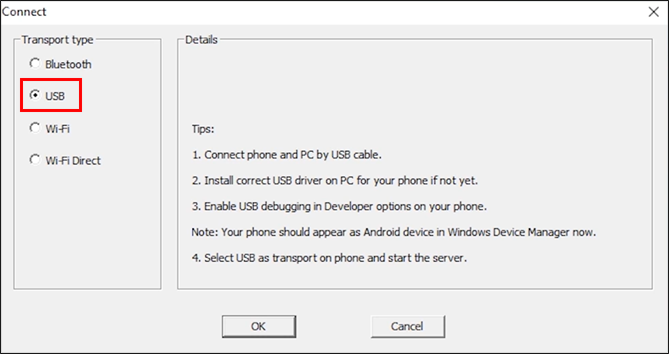
- Open WO Mic on your computer and head to “Transport Type,” followed by “USB.”

- Press the “Connected” button and open “Settings” on the Android version of the app.

- Click “Transport” and choose “USB.”

- Join your Discord session, head back to Wo Mic on your smartphone, and tap “Play” to activate the microphone.

Using a Phone as a Microphone with Zoom
Zoom is a platform that lets you use your smartphone as a microphone. You can do so from your Windows or Mac PC.
- Sign in to your Zoom client.

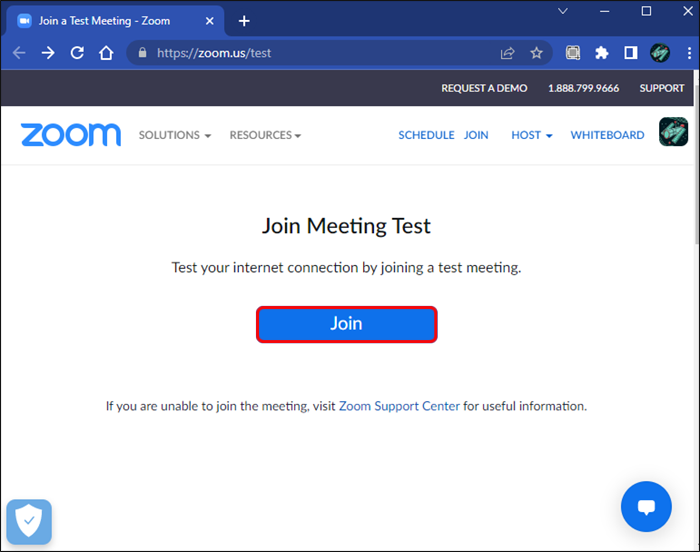
- Join or start a meeting.

- Press the “Join Audio” button. If you’re already in a meeting, click the prompt that lets you switch to your phone audio.

- Select “Call Me.”

- Choose the appropriate country code.

- Type in your number and press “Call Me.”

Follow these steps if you’re using Zoom from an Android or iOS smartphone directly:
- Open Zoom and log in with your credentials.

- Join or start a meeting.

- Press “Join Audio.” If you’re in a meeting with computer audio, tap “More,” followed by “Disconnect Audio.”

- Click the “Join Audio” tab again and pick “Dial in.”

- Select the menu in the upper part of the screen.
- Choose the region or country of your phone number.
- Press the phone symbol next to your dial-in number.
You can also set up your phone as a microphone using a Wi-Fi network and the WO Mic app. Keep in mind that your PC and smartphone must use the same connection.
- Strike the “Windows” button and “I” to enter Settings.

- Head to “Network and Internet,” followed by “Wi-Fi.”

- Choose “Show available networks” and select one.

- Tap “Connect.”

- Open “Settings” on your smartphone WO Mic and press “Transport.”

- Select “Wi-Fi,” return to the previous screen, and hit “Play.” You should now see a message in the upper part of the display. It should show a number, which is your IP address.

- Launch WO Mic on your PC and pick “Transport Type.”

- Choose “Wi-Fi” and navigate to the “IP address” section.

- Enter your IP address from your mobile app and strike the “Connect” button. Your microphone should now be active, allowing you to join Zoom meetings with phone audio.

Alternatively, you can connect your PC and smartphone through Wi-Fi direct. However, you’ll need to turn your smartphone into a hotspot and use carrier data. This should be a last resort because it can skyrocket your bill.
- Head to “Settings” on your smartphone.

- Go to “Tethering” or “Connections,” depending on your device.

- Turn on the hotspot and allow others to join if prompted.

- Start your computer and open “Settings.”

- Access the “Network and Internet” tab, click “Wi-Fi,” and press “Show available networks.”

- Pick your hotspot and select “Connect.”

- Launch WO Mic on your phone, navigate to “Settings,” and press “Wi-Fi Direct” under “Transport.”

- Hit the “Play” symbol and open Windows WO Mic.

- Choose “Wi-Fi Direct” as the “Transport Type” and select “Connect.”

- Use Zoom with a fully functional phone microphone
Using a Phone as a Microphone with Microsoft Teams
Teams also enable you to use your smartphone as a microphone. The easiest way to configure your device is to use free software. Apart from WO Mic, you can also use EZ Mic.
The first step is to set up the app on your PC and phone.
- Download EZ Mic for desktop from this website.

- Install the app on your iPhone or Android smartphone.

- Launch the app on both devices.
You’ll now need to connect your smartphone.
- Connect your PC and phone to the same Wi-Fi.

- Open EZ Mic on your smartphone and press “Find.”

- Wait for the app to discover your PC. Once it does, tap the name of your computer.

- If prompted, permit the system to use your microphone.
- The PC symbol should now turn green.

Finally, test if your microphone works on your computer.
- Return to your PC and launch “Control Panel.”

- Press “Hardware & Sound.”

- Pick the “Sound” tab and select “Manage audio devices.”

- Navigate to “Recording” and double-click your EZ microphone.

- Tap the “Listen” section and check the field next to “Listen to this device.”

- Strike the “Apply” button, and you should now hear audio captured by your smartphone on your computer. This means your device is working correctly as the input microphone for your PC

- Go to Microsoft Teams and start your meeting.
If you see any bugs or lagging, check your connection. You can also open your task manager to configure EZ Mic and related applications as high-priority services.
If you opt for EZ Mic, consider upgrading to its premium version. Otherwise, the microphone will disconnect every four to five minutes, which can be annoying.
High-Quality Audio From Your Favorite Gadget
If your microphone malfunctions before your next Discord, Zoom, or Teams session, don’t panic. Turn your phone into a fully functional microphone with built-in features or third-party software. The experience will be basically the same.
Have you ever used your smartphone as a microphone during meetings? How did you configure your device? Tell us in the comments section below.
Disclaimer: Some pages on this site may include an affiliate link. This does not effect our editorial in any way.


