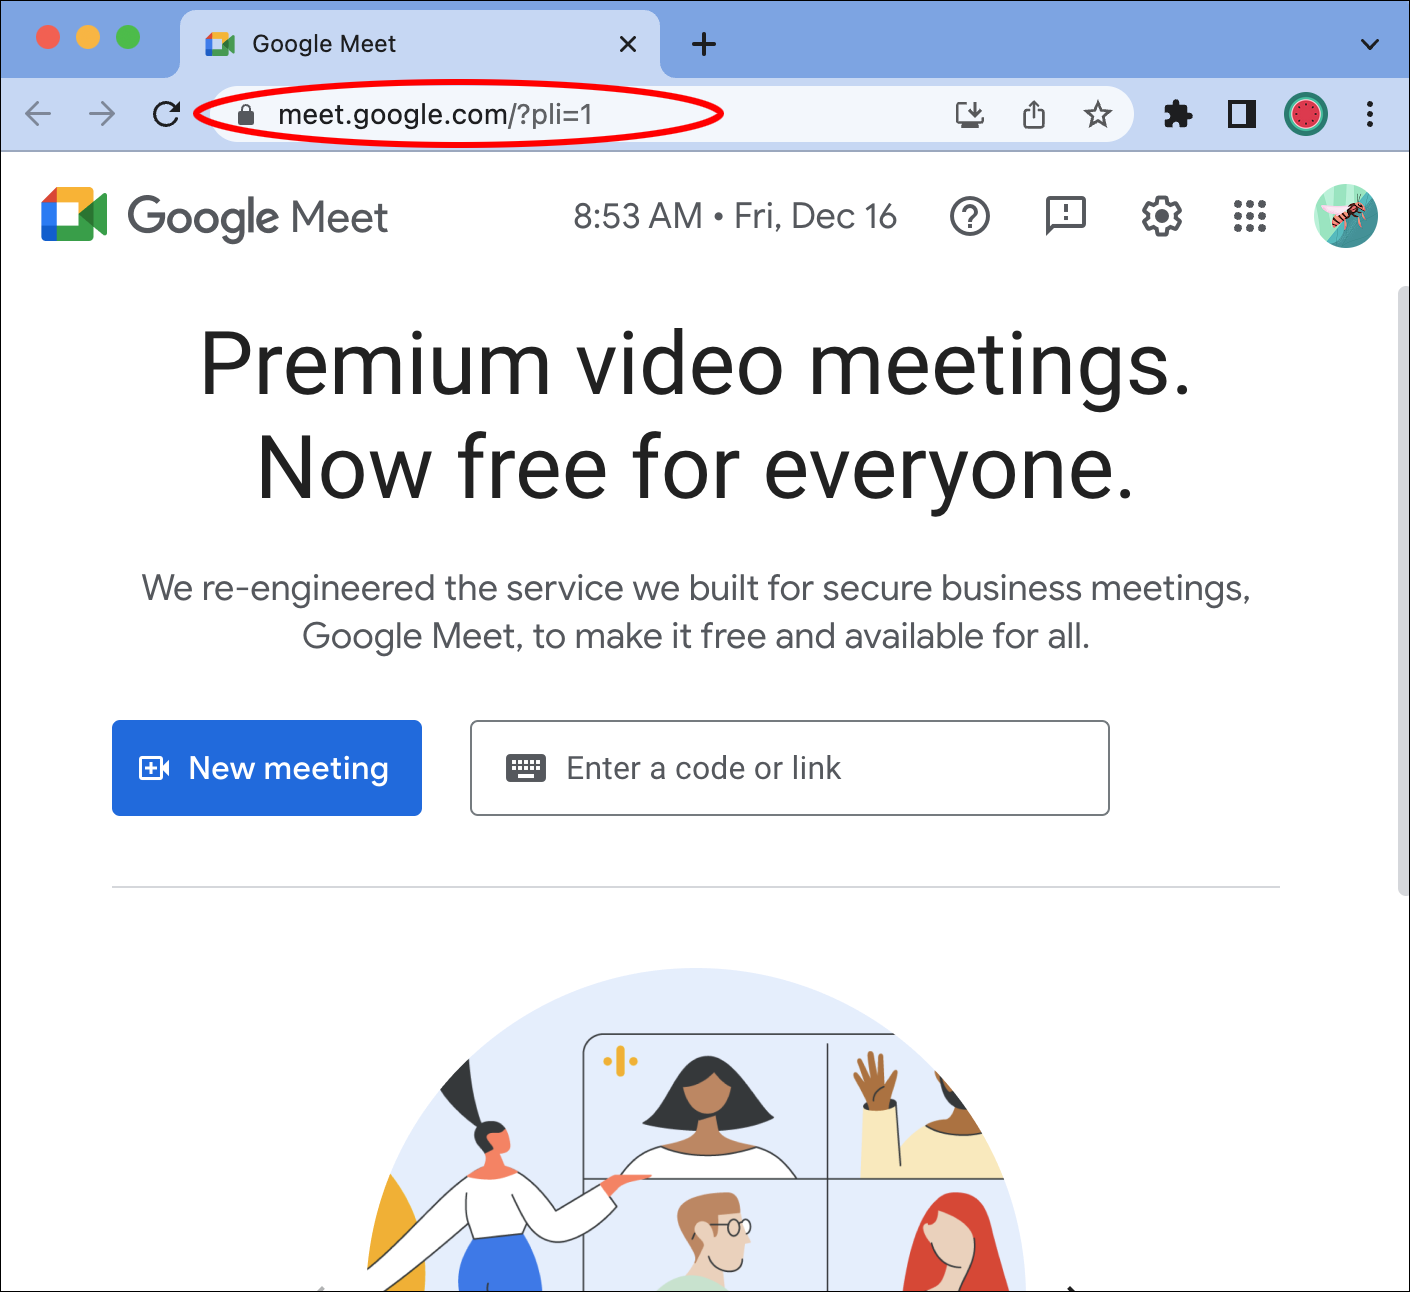
Many people who use GoogleMeet have noticed that their camera automatically zooms in when they join a video meeting. This issue not only reduces the video’s quality, it also makes users uncomfortable. While there is no direct way to zoom out the camera on Google Meet, there are a few quick fixes you can try to get your video back to normal.
In this article, we’ll talk about different methods that may restore your camera’s original settings. We’ll also discuss why the Google Hangouts zoomed in problem might be happening to your camera during Google Meet video conferences.
The Zoom In Issue on Google Meet
Google Hangouts was integrated into Google Meet and Google Chat in November 2022. While Google Chat is a messaging app, Google Meet is a service for video communication and online meetings. Even before the integration was complete, some users started to complain about the video quality during their video meetings on Google Hangouts.
What happens is that their camera zooms in unexpectedly once the meeting starts. What’s more, the camera can even zoom in on a random spot, distorting the video’s quality. The same people have noticed that this problem doesn’t occur when they use other video services, like Skype, Microsoft Teams, and Zoom. So the problem isn’t with their camera, but with this particular video platform.
This may not represent a huge issue if you’re using Google Meet for a regular video chat. However, if you have prepared visual content, like a presentation or infographics, and you share your screen, the zoomed-in video will prevent your colleagues from seeing the entire picture. This seems to be happening on both Windows and Mac computers.
This problem usually occurs when you join a meeting. When you’re not video chatting to someone on Google Meet, the camera quality will be normal.
There are many reasons why your video is cropped on Google Meet, and we’ll go through all of them in this article. Unfortunately, there is no direct way to prevent this from happening. But here are a few suggestions you can try to fix this issue:
Check Other Video Apps
Checking other video apps isn’t a solution per se. It’s more of a precautionary step you need to take in order to check whether the issue is with Google Meet or your camera.
First, go to your webcam’s settings. Its location may vary depending on the device and operating system. You can just search for camera settings on your computer if you don’t know where they are. If you’re using a webcam because the built-in camera isn’t good enough, the Auto Focus feature might be the culprit.
In order to improve your online video conference experience, many webcams have custom settings. The Auto Focus feature is one of them. It’s used to automatically keep your face in focus, so if you’re moving around a lot in your video, the camera might be trying to focus on you by zooming in on the picture.
Some video chatting apps, like Zoom and Pan, also have the Auto Focus feature. This is why you need to check each video app individually.
If you have checked all the video apps you’re using and your webcam’s settings, and the camera seems to be working normally, the problem is with Google Meet.
Check the Resolution Settings Before the Meeting
The first thing you can try to do is change the quality of the video manually on Google Meet settings. If you have ever adjusted your video and audio settings on Google Meet, you should already know where the settings are. But if this is your first time, follow the steps below to see how it’s done.
- Go to Google Meet on your preferred browser.

- Continue to the “Settings” tab in the upper-right corner of the screen.

- Proceed to the “Video” option.

- Choose the “Send Resolution” option.
This is the image quality from your device that other people in the meeting see. The video resolution is set to “Auto” by default. This issue seems to happen when you set the video resolution to high definition. So, we’re going to set the video resolution to low definition.
- Set the resolution to “Standard definition (360p).”

- Select the “Done” button.
That’s all there is to it. You can also set the video’s resolution in the middle of a meeting. Here’s how it’s done.
- Join a meeting on Google Meet.

- Click on the three dots in the bottom-right corner of the screen.

- Choose “Settings” from the list of options.

- Go to the “Video” tab on the left sidebar, and proceed to “Camera.”

- Under “Send Resolution,” change “High Definition” to “Standard Definition.”

That’s all there is to it. Now that your video is in low resolution, your camera won’t zoom in.
Turn Off the Video Framing Feature
Google Meet recently introduced a new feature to improve your visibility in hybrid meetings, called video framing or camera framing. When you join a meeting on Google Meet, the video framing feature will automatically center you in the video tile.
Google Meet will automatically reframe you if you’re too far away from the camera or if you’re not centered. This might be the reason why your camera keeps zooming in when you join a meeting.
To turn off the video framing feature on Google Meet, here’s what you need to do.
- Go to Google Meet and join a meeting.

- Click on the three dots below the video tiles.

- Select “Settings” at the bottom of the list.

- Choose the “Video” option on the left sidebar.

- Toggle the “Framing” feature to disable it.

- Click on the “X” in the upper-right corner of the screen.

If your device has a pan-tilt-zoom camera, you can manually control the camera while you’re in a meeting. This is done using Google Meet hardware. Follow the steps below to see how it works.
- Join a meeting on Google Meet.
- Click on the “Control camera” icon in the bottom menu of the video. This takes you to the in-room controller.
- Go to the zoom out icon under the video tile.
- Choose the “Home” button in the right corner under the video.
You can also use the in-room controller to move the video to the left or right.
Use the Keyboard to Zoom Out
If these two methods don’t work, you can try using keyboard shortcuts to zoom out of the video. This method works for Google Meet, other video chat apps, and pretty much anything on your display.
All you need to do is press the Control or the “Ctrl” key and the minus key on your keyboard at the same time. Similarly, if you want to zoom in, press the “Ctrl” and the “+” keys at the same time. Doing this might only zoom out the Google Meet window, not your video. Either way, it’s another option for troubleshooting the Google Hangouts zoomed in problem.
Use a Different Browser
If the previous solutions don’t work, you can try using a different browser for your next meeting. People who have experienced similar issues with Google Meet noticed that this only happens when they’re using Chromium-based browsers like Google Chrome and Microsoft Edge.
Try using Google Meet on other browsers, like Safari, Firefox, or Opera.
Update Your Drivers
If none of these solutions are working for you, the last option you have is to update your video drivers. If they haven’t been updated in a long time, it may be the reason your camera keeps zooming in on you. Here’s what you need to do if you have a Windows computer.
- Type “Device Manager” in the search bar in the bottom-left corner of your screen.

- Select “Open” on the right pane.

- Find and double-click on “Cameras” in the list of options.

- Right-click on the webcam you’re using.

- Continue to “Properties” on the pop-up menu.
- Choose the “Driver” tab at the top of the window.

- Select “Update Driver.”

- Click on the “OK” button below.

If the Update Driver field is gray, it means you’re already using the newest version of that driver. If this happens, go to the webcam manufacturer’s website and follow their instructions to update the driver.
This process is different on macOS because the graphics driver is part of the operating system. In other words, you can only update it by upgrading to the newest version of the operating system.
Restore Your Video’s Original Quality
If you’ve ever used Google Meet, you might have noticed that the camera is zoomed in, cropping your video. While there are a few methods you can use to try to fix this issue, there’s no guarantee any of them will work. Even though there is no easy solution for this problem, Google will likely fix the zoom-in issue in the near future.
Has your video zoomed in during a Google Meet video conference? Did you try any of these methods to rectify the issue? Tell us about your experience in the comments section below.
Disclaimer: Some pages on this site may include an affiliate link. This does not effect our editorial in any way.


