Imagine you’ve jotted down some important dates, passwords, or data in the Notes app on your Mac. But now, you can’t find that important note. Maybe you accidentally deleted it, or the note did not sync to Apple’s servers. Don’t start panicking thinking you have lost the note, though. There are some topics that can help you recover deleted notes from your Mac.
What Happens to Your Deleted Notes on a Mac?
Before recovering a deleted note on your Mac, it is important to understand where these notes are stored. They can either be stored locally, your iCloud, or other accounts, say Gmail. The recovery method may vary accordingly.
If notes are stored on your Mac: The deleted note is moved into the Recently Deleted folder. Here the note will be stored for up to 30 days of deletion, unless manually deleted.
If notes are stored on iCloud: The deleted notes are moved to the Recently Deleted folder for that iCloud account. You can access it through iCloud (for up to 40 days of deletion) and all devices using the same account (for up to 30 days of deletion).
When using any account other than iCloud: Unfortunately, there is no recovery folder in this case. The deleted note is permanently removed from all devices synced with the account.
For a note shared by you: As you delete the note, it is removed from your device and the participant’s device as well.
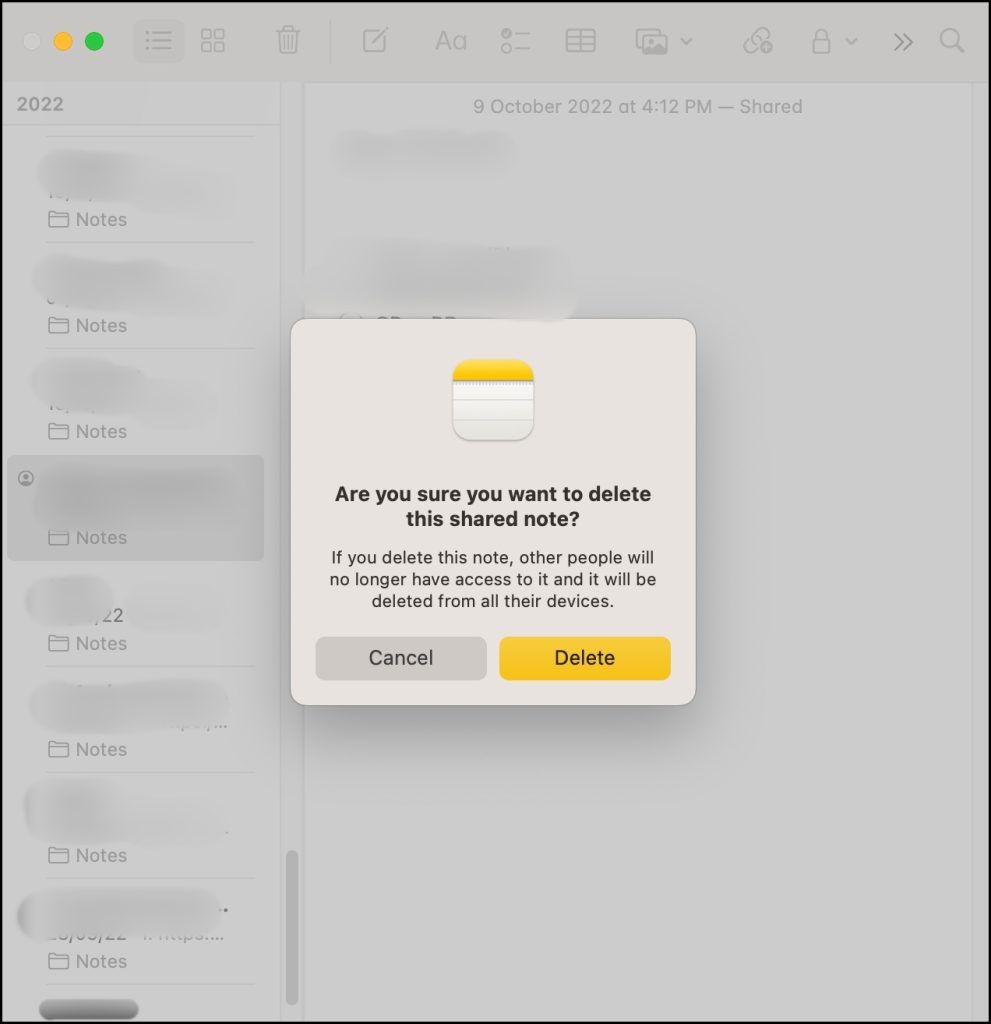
For a note shared with you: When a note shared with you is deleted by the creator, it is automatically deleted from all devices. To retrieve such a note, you can either contact the person again or try using the initial sharing invitation received to regain access.
How to Recover Deleted Notes from Your Mac
From the Notes app
If you’ve recently deleted a note on your Mac, chances are that it’s still stored in the Recently Deleted folder. Here’s how you can find and recover the missing note.
- Open the Notes app.
- If you can see the folders in the sidebar, skip to the next step. Otherwise, click View from the Menu bar → Show Folders.

- Select the Recently Deleted folder.
- Search and select the note you want to recover.
- Here, you can do either of the following,
- Drag and drop the note in the desired folder.
- Right-click the note → Move → select the folder.


If you can’t find the note in the Recently Deleted folder, maybe it’s not deleted and hiding in a different location, say a Smart Folder you created for the purpose. Try searching the Notes app for the missing note.
From iCloud
If your notes are synced with iCloud, you can recover deleted notes from iCloud.com or on devices with the same Apple ID.
- Open the iCloud website and log in to your account with your Apple ID.
- Select Notes.
- Click the Recently Deleted folder from the sidebar.
- Select the note and click Recover.


The note should move back to its original storage location/folder. If you’re iCloud sync is turned on, it will be reflected in all connected devices.
From a Different Email Account
As mentioned earlier, when using a third-party account, you don’t get a recently deleted folder. However, if account sync is disabled, you might be able to recover or find older notes that are missing.
- Open the Notes app.
- Click Notes from the top Menu → Accounts.
- Click Add Account if not added. Otherwise, select the account to enable sync for Notes.
- Toggle on the switch next to Notes.
- Go back to the Notes app, you’ll find an additional section in folders for the recently added account.
- Select the account folder and look for the missing notes.
- Once you’ve found the note, you can either,
- Drag and drop the note to the desired folder/location
- Right-click the note → Move to → select the folder.


Depending upon your need, you can save the note to a desired location or folder within the notes.
Using Time Machine
If you’re a diligent backup nerd, who regularly uses the Time Machine to backup Mac, you can also use it to recover deleted notes. The trick also works great for retrieving old files or previous versions of certain notes.
- Connect the Time Machine backup disk to your Mac and launch Finder.
- Click Go from the Menu bar and select Go to Folder.
- Now, copy the following location and paste
~/Library/Containers/com.apple.Notes/Data/Library/Notes/ - Next, click the Time Machine option from the Menu Bar and select Enter Time Machine.
- Search the list for an older version of the ‘group.com.apple.notes’ folder, which might have your lost note.
- Click Restore.


Notably, the restoration shouldn’t take longer than a few minutes. Once it is done you can search for the missing note. However, to avoid interference with existing notes, it is advised to turn off iCloud sync or at least disconnect the Wi-Fi connection.
Retrieve Deleted Notes With Ease
Losing important notes can be distressing, but thankfully there are simple and sure-shot ways to recover missing or deleted notes on Mac. Whether you’ve accidentally deleted a note or encountered a syncing issue, there’s a solution available.
While we won’t call Apple Notes the best note-taking app out there, it certainly has its perks. From easy sharing and collaborative features to password-locking your notes.
FAQs
If you can’t see the Recently Deleted folder, it means there’s nothing to be recovered. Maybe the note has been permanently erased manually or too much time has passed since their deletion.
Yes, as long as the sync is working properly, you can find a note deleted from any connected device in the Recently Deleted folder. If not, you can always visit iCloud.com to view or retrieve the deleted note.
If you just use iCloud as a backup the chances are very feeble (only if the sync is disabled). In case of manual local backup, it can be recoverable via Time Machine, or other backup solutions, barring the file isn’t overwritten.
If you don’t want a note to be retrievable, the ideal way is to not delete the note. Instead, delete or replace all its content and ensure the sync/backup is enabled so it’s reflected across devices and backups.
Related Posts
 How To Recover Deleted Messages in Facebook Messenger
 How to Recover Deleted Contacts on the iPhone
 How to Recover Deleted App Data on iPhone
 How to Recover Deleted Photos on Android
 How to Recover Deleted Worlds in Minecraft
 How to Recover Deleted App Data on iPad
 How to Recover Deleted Voicemail on Android
 How to Recover Deleted Videos From an Android Device
Disclaimer: Some pages on this site may include an affiliate link. This does not effect our editorial in any way.