Your Facebook profile can be a rather personal place. Even if you keep it public, you may not want just any stranger to regularly see your posts on their feed. On the other hand, if you’re using your Facebook to gather a following, keeping an eye on your popularity can be helpful.
Follow this guide to find out who’s following your personal profile or public Facebook page, and be the one who’s in control of your privacy.
How to Find Who Follows You on Facebook on a PC
Are you wondering if you have any secret followers who were too shy to send a friend request to your personal profile? Check it in the following way:
- Open Facebook and log in.
- Press your profile icon in the navigation to open your profile.

- Click the Friends tab under your header.
- Find more options under the More menu in the upper right corner of the tab.
- Select the Followers option.


The list of the users following you will appear on this page. If you don’t have the “Followers” option in the menu, you currently don’t have any non-friend followers.
How to Find Who Follows You on Facebook on an iPhone
To find the followers of your personal Facebook profile using the iOS app, follow the steps below:
- Launch the Facebook app for iOS and make sure you’re logged in.
- Go to your profile by tapping your profile icon at the top.
- In your Details section, press Edit Public details.
- Find the Edit Your About Info.
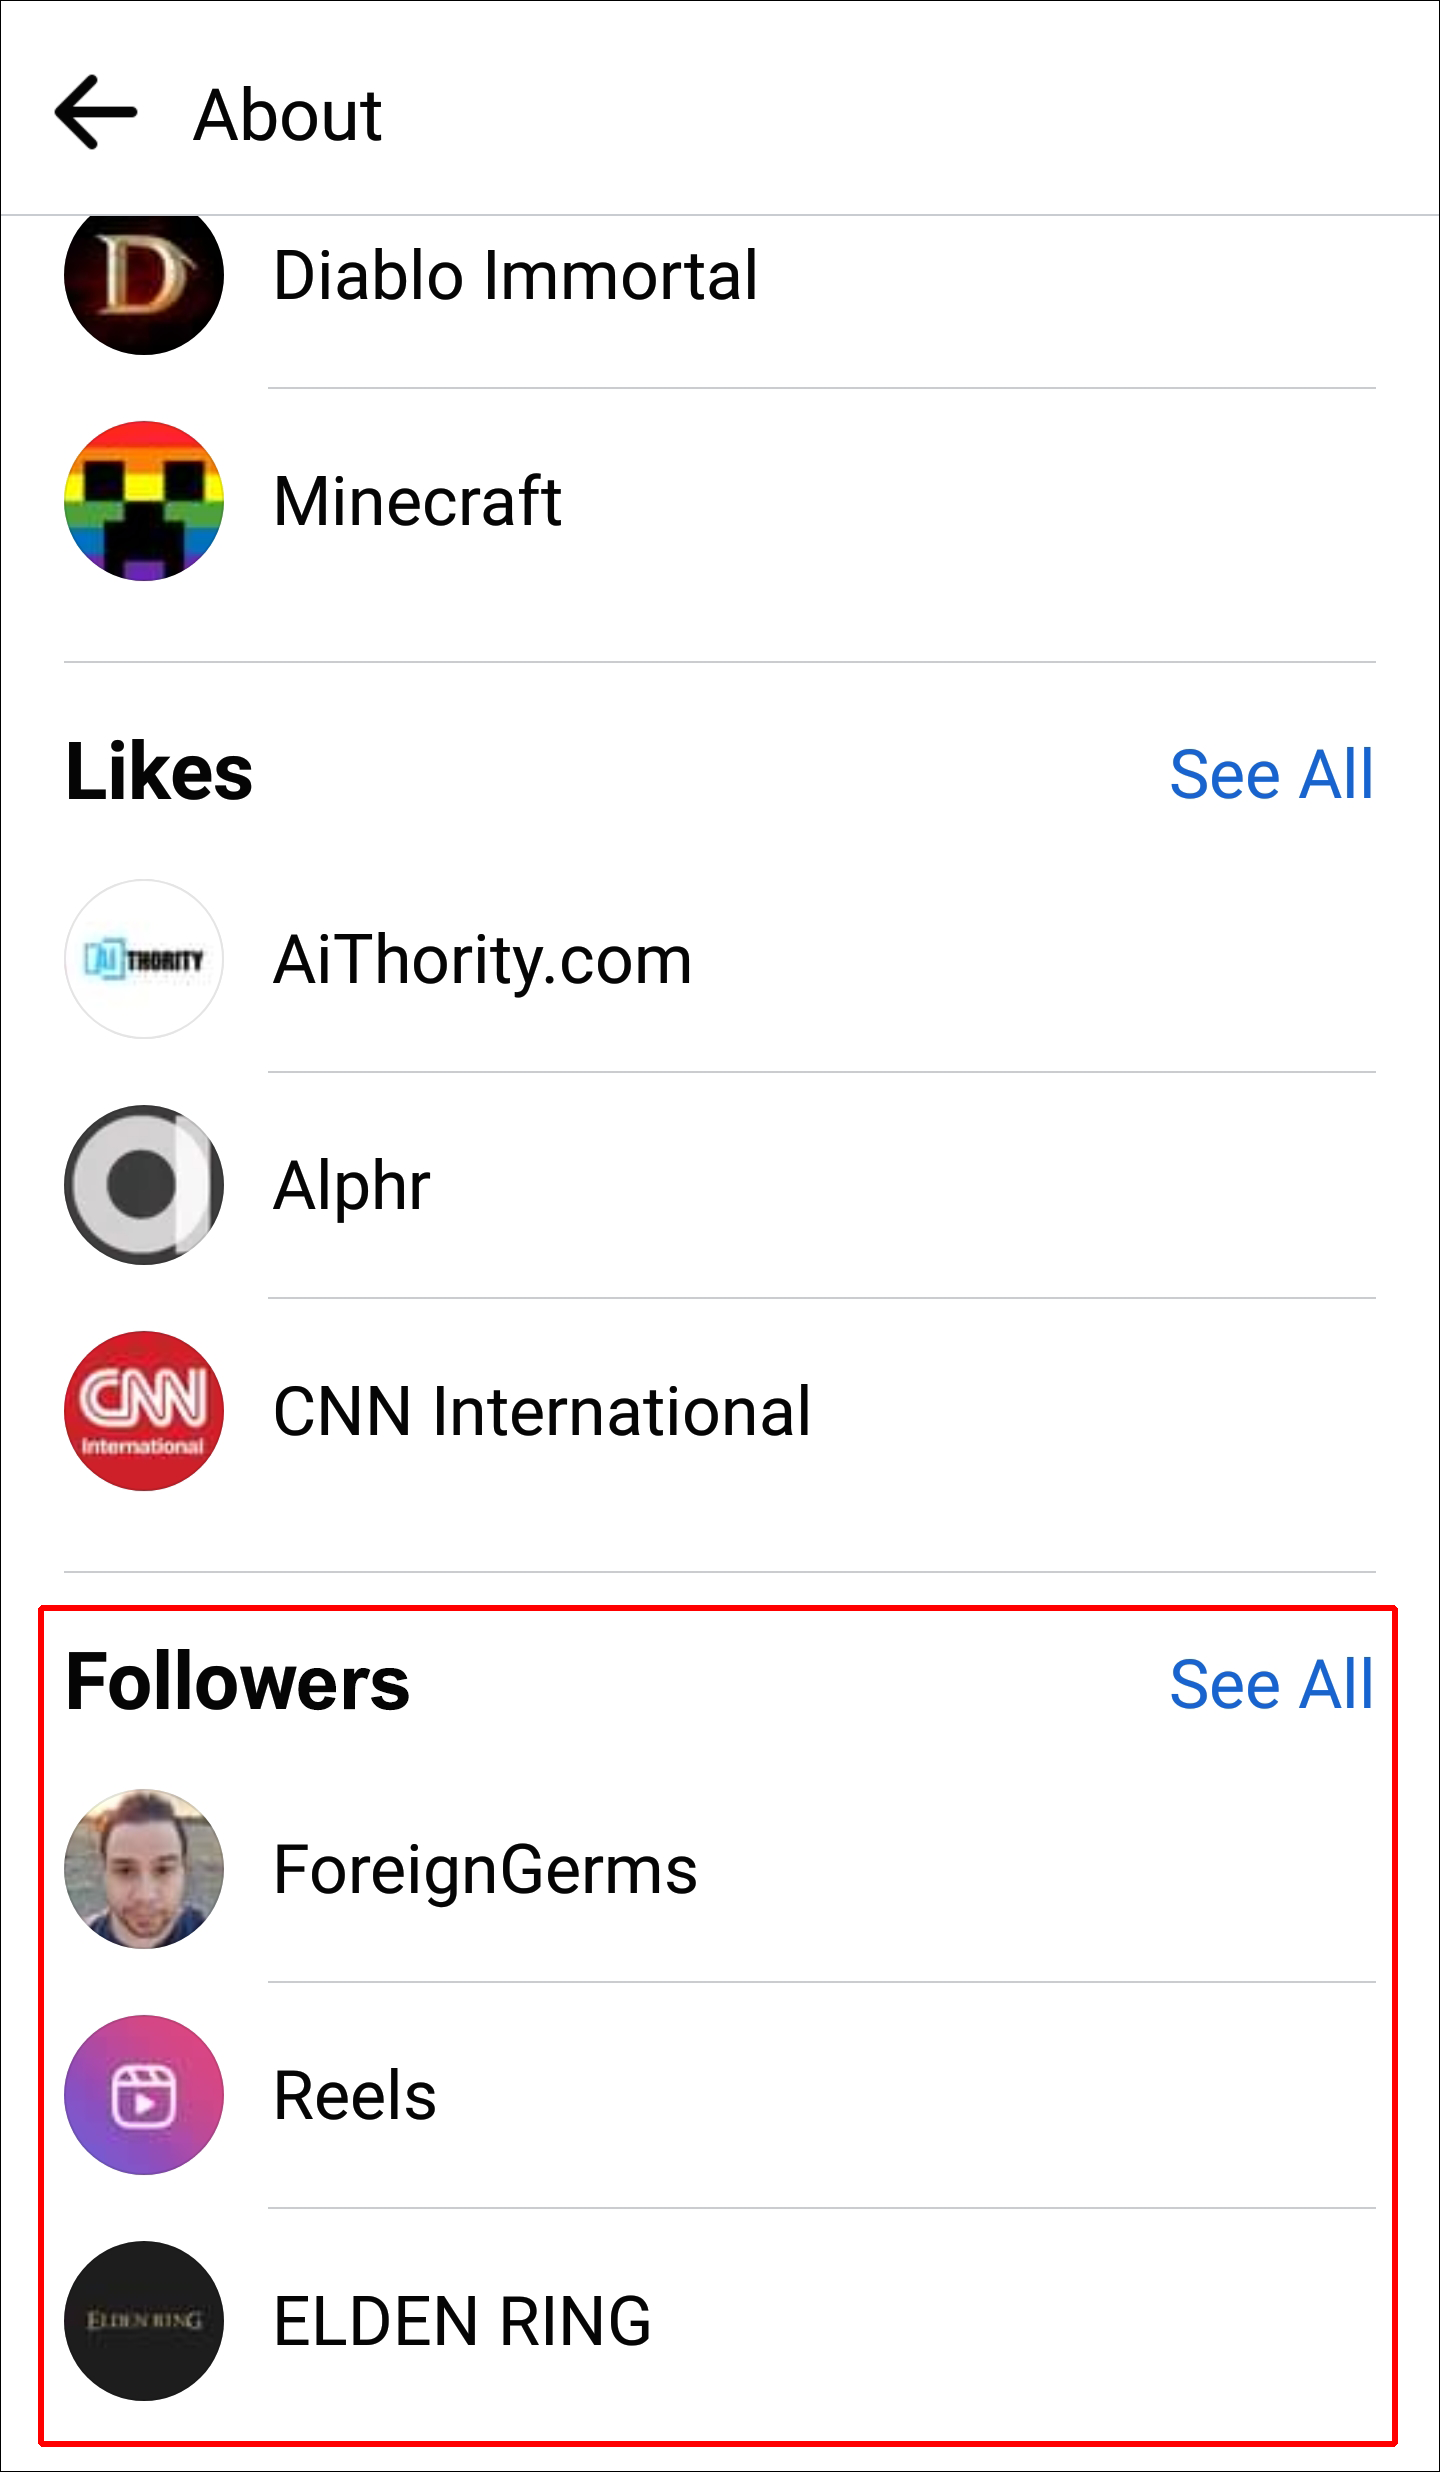
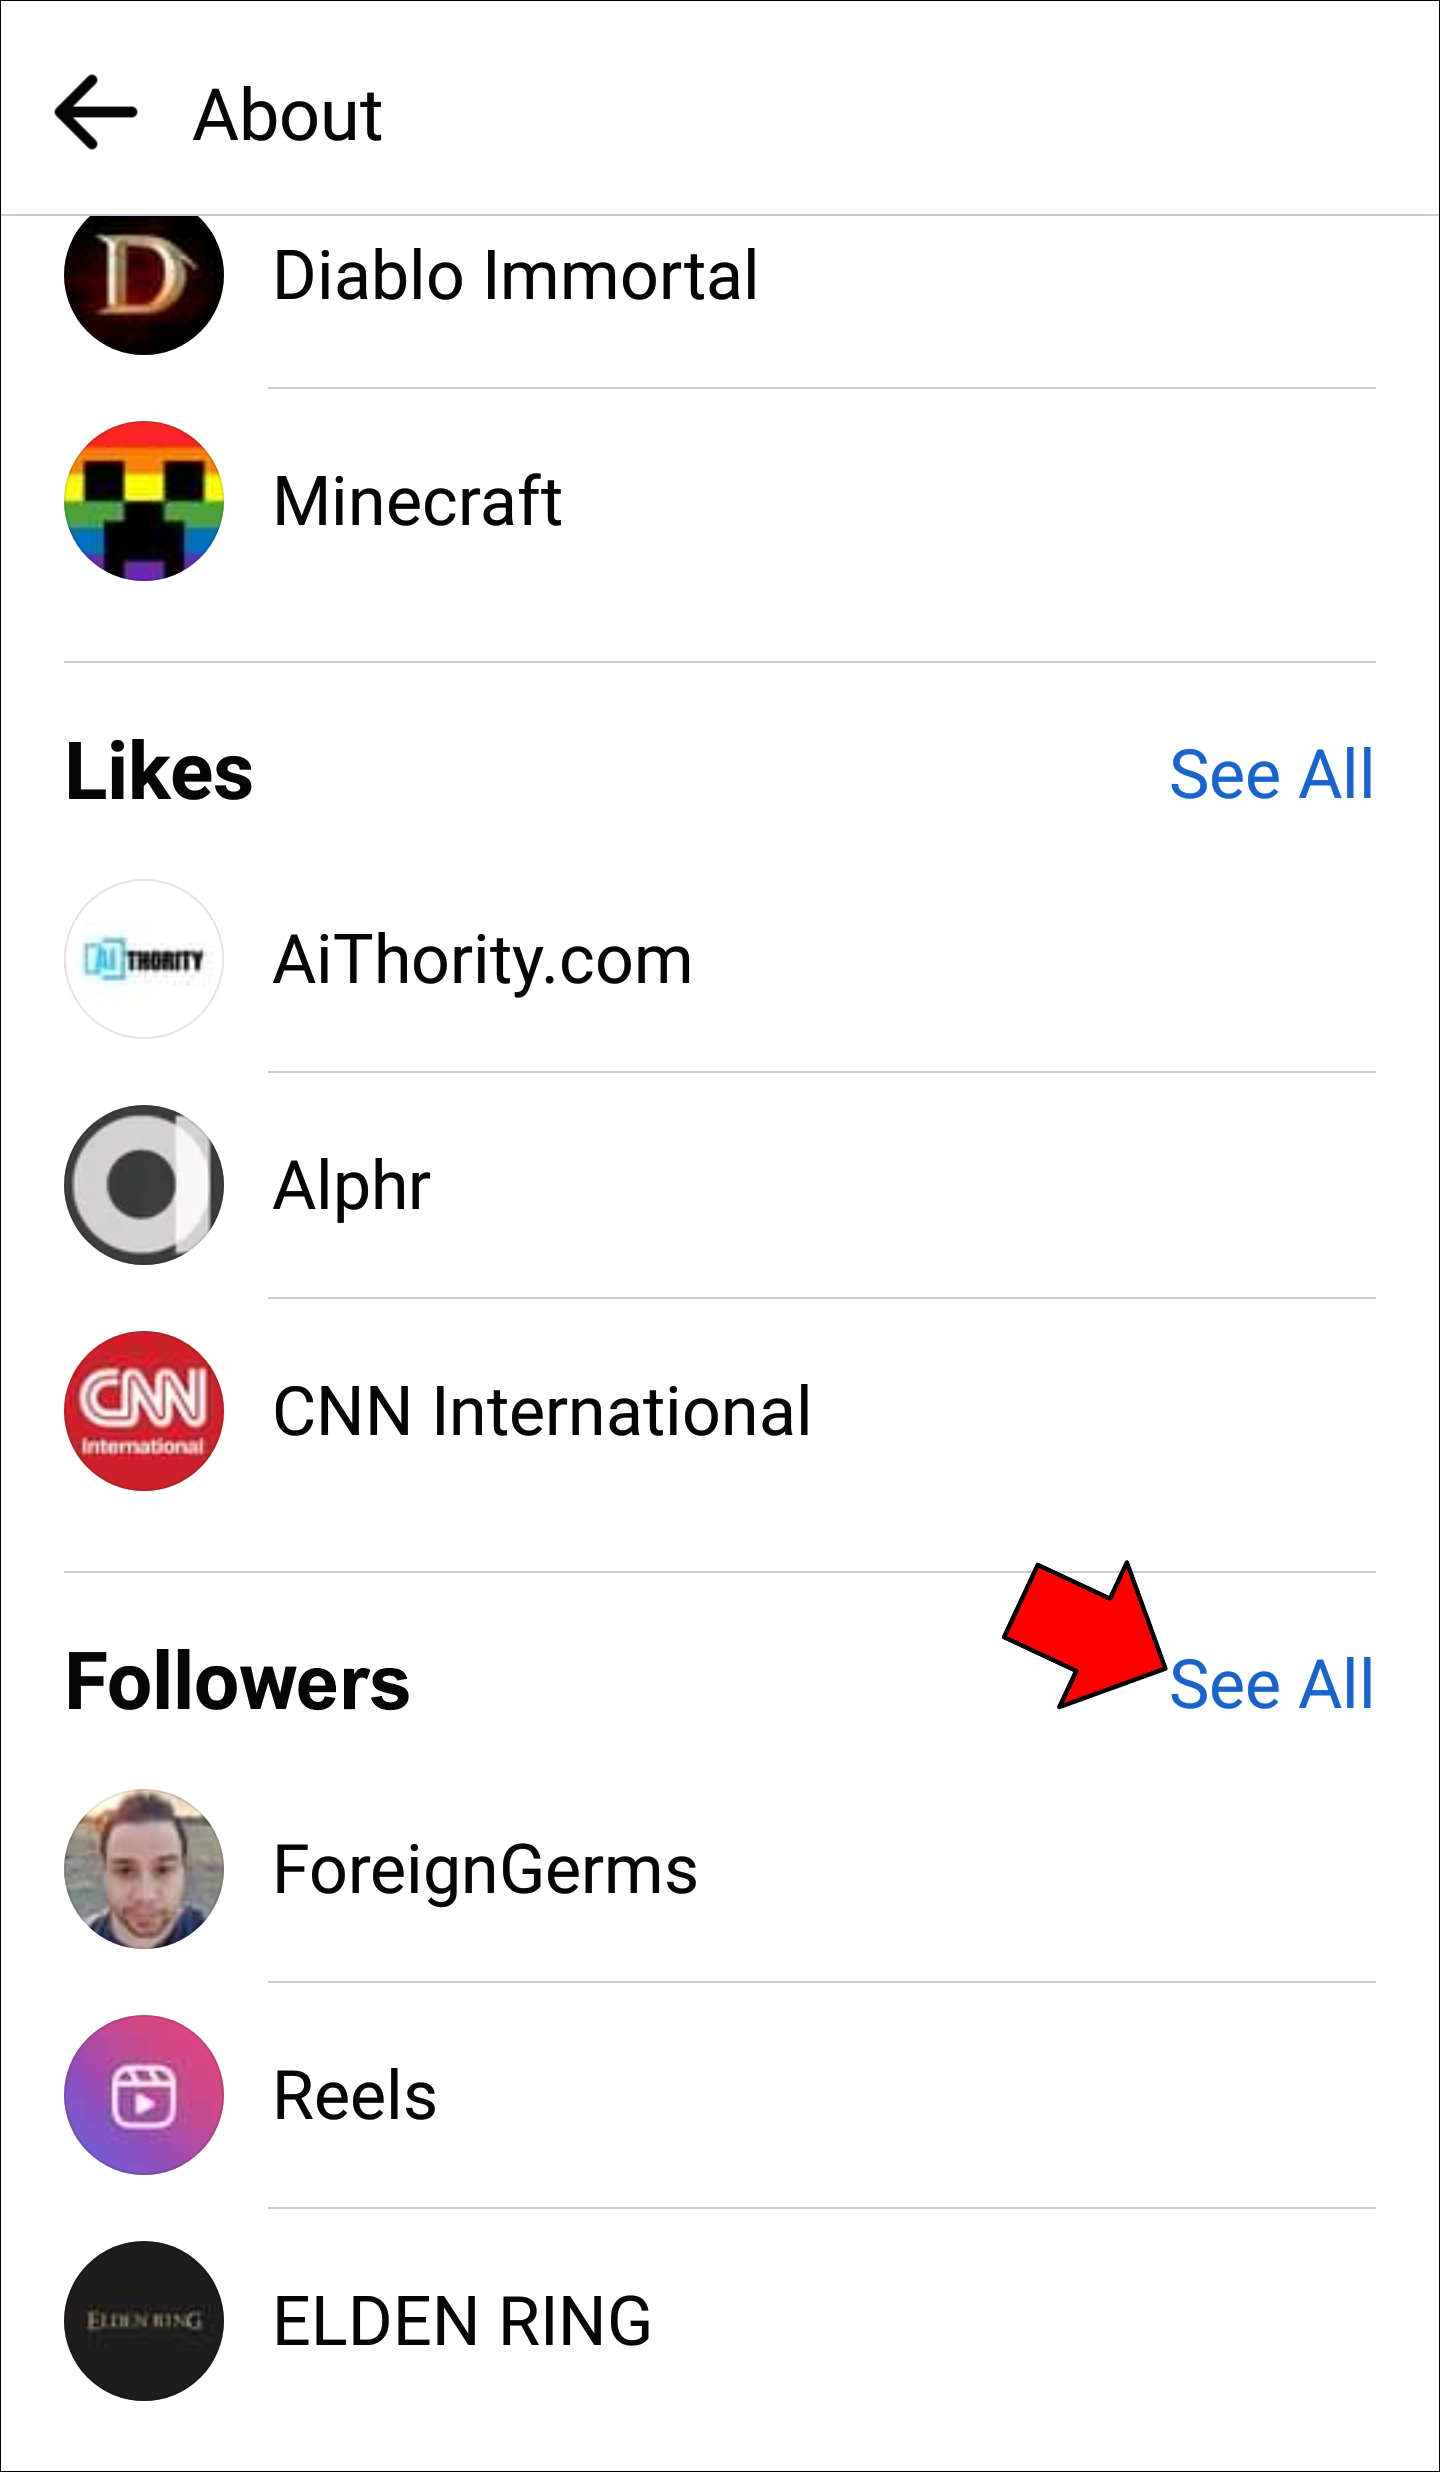
- Scroll down until you find the list of your followers.
- Hit See All to get the full list of the accounts that follow you.


How to Find Who Follows You on Facebook on an Android Device
You can also access the list of your Facebook followers in the Android app. To see who’s following your personal account, follow these steps:
- Open the Facebook app for Android and log in.
- Tap your profile icon to go to your page.
- Find the Edit Public Details option in your Details section.
- Find the Edit Your About Info.
- To find out if you have any public followers, scroll down to the Followers section.
- Tap See All to get the full list and find out the number of users following your account.


How to Find Who Follows Your Facebook Business Page
If you have a public Facebook business page, keeping track of your following is probably a must. However, the number of “likes” you receive may not tell you the whole story. Facebook users can follow a page without “liking” it and vice versa, so taking both metrics into account will give you a better overview of your progress. Let’s see how you can browse the followers of your business page on a PC:
- Head to Facebook and log in.
- Select More business settings under Settings.
- Click Pages in the sidebar. You’ll see your pages and their number of followers here.
- To get more info, select the page you want.
- Then click on View Page.
- Scroll down in the sidebar to find your page Settings.
- In the sidebar, find People and Other Pages.


You’ll be able to see who likes or follows your page here.
FAQs
Why can’t I see my followers on Facebook?
The “Followers” option will only appear on your personal profile if you have public followers. Make sure you have enabled public followers in your settings so people can follow you. Another reason you might not see your followers on a mobile device is an outdated app version. Check whether there are any Facebook updates available in the App Store or the Google Play Store.
Can I remove followers from my Facebook?
You can’t remove followers from your personal Facebook profile directly. However, you can ensure they won’t be able to interact with you by blocking them. If this sounds a little harsh, you can unblock them after blocking them – this will remove them from your followers list.
Business pages have a bit more control in this regard. You can remove followers on the same page where you can browse the list. Refer to the instructions above to find your business page followers.
Decide Who Will Lead and Follow
Whether you have a personal account or a business page, it’s important to know who follows you on Facebook. By doing so, you can keep strangers away from your personal posts or get an insight into the growth of your business. The instructions outlined above will help you with both.
Are you satisfied with your follower count on Facebook? Have you found some uninvited guests by looking at your list? Let us know in the comments section below.
Related Posts


Disclaimer: Some pages on this site may include an affiliate link. This does not effect our editorial in any way.