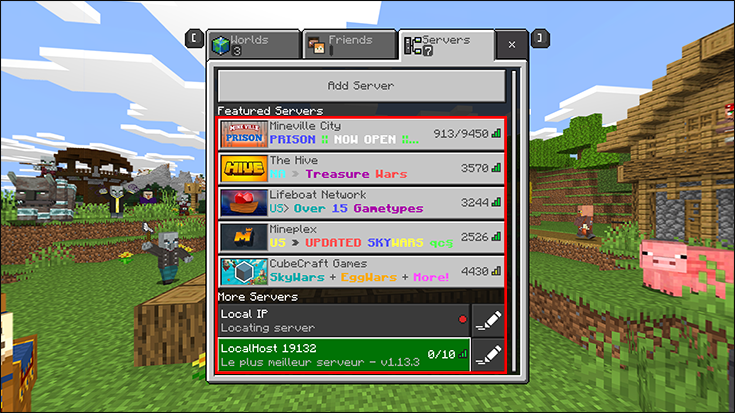
Every Minecraft world has a seed, a string of letters or numbers that you can enter into the world builder. Seeds are how you select particular worlds, allowing users to play in the environments they like. Similarly, Minecraft servers host worlds many users can join, and you can get the seed for specific servers.
When playing in multiplayer mode, Minecraft servers have some permissions you may not have, particularly if you’re not the owner. Nevertheless, there are ways to get the seed. Read on to find out more.
How to Find the Seed of a Minecraft Server
Getting the seed is much easier if you are the server owner or admin. That’s because you have the right to use commands by default, while others may not have the permission to do so. Here’s how to get the seed in a server that doesn’t restrict command usage.
- Load into the server.

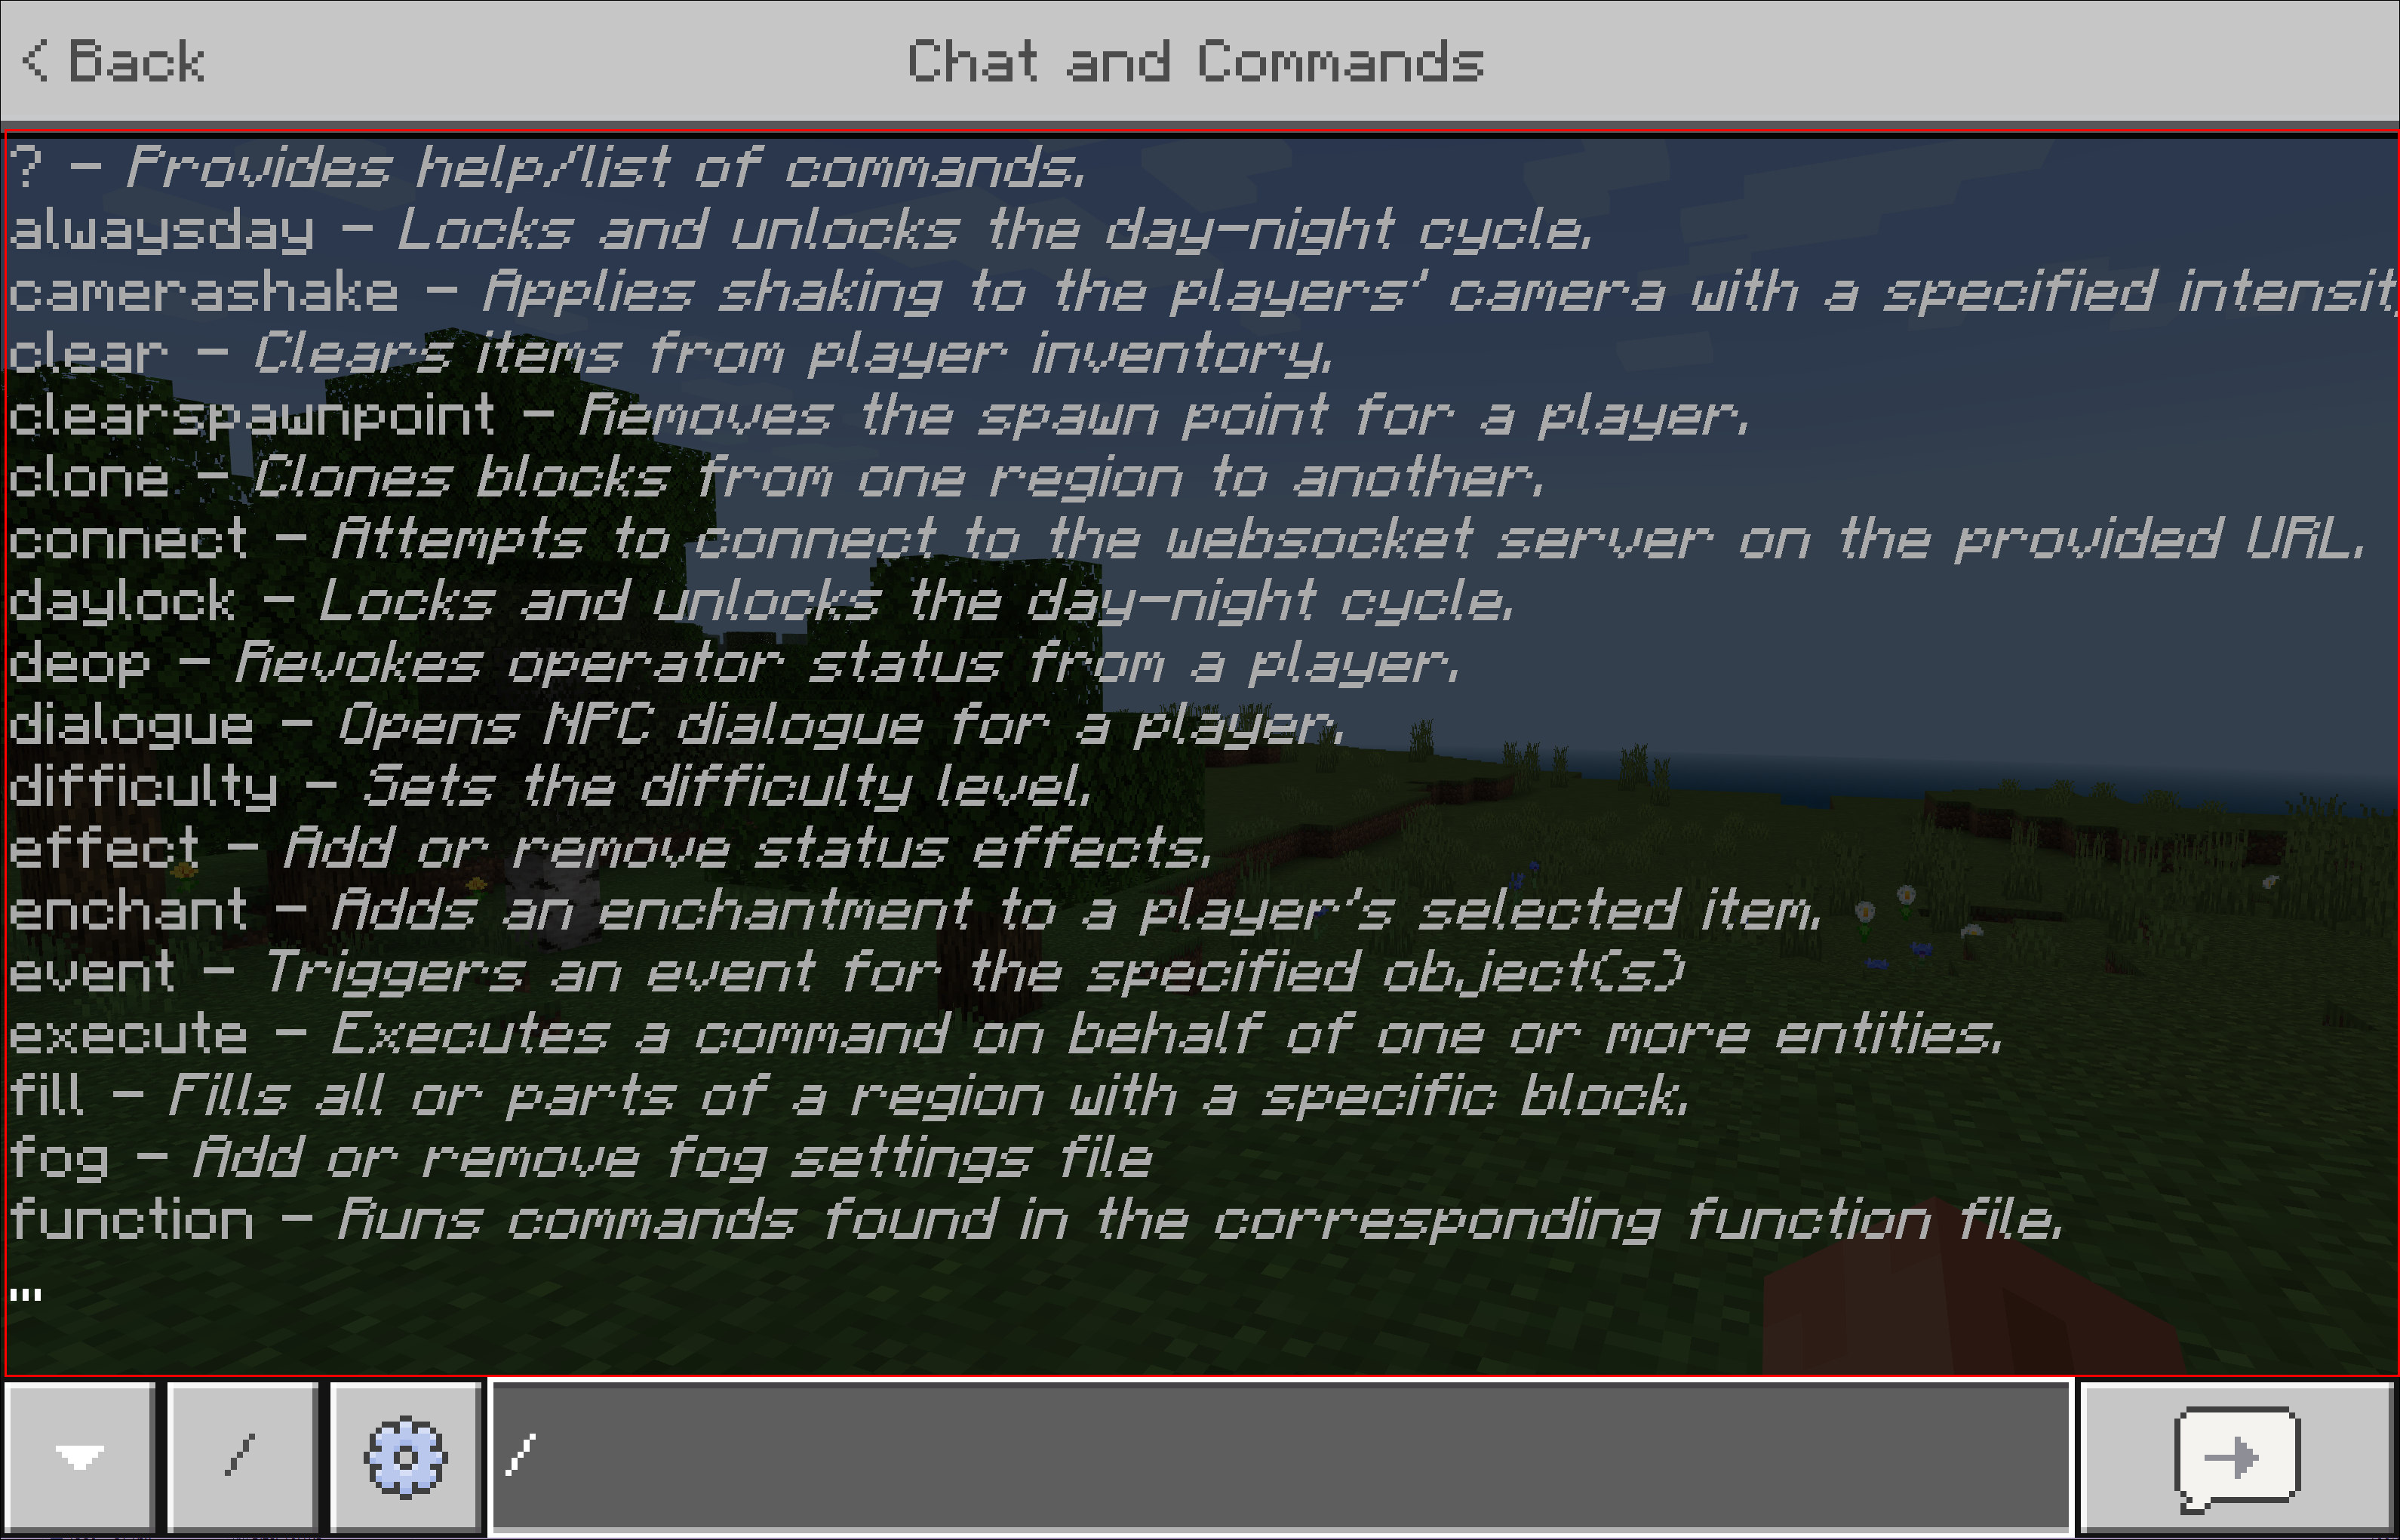
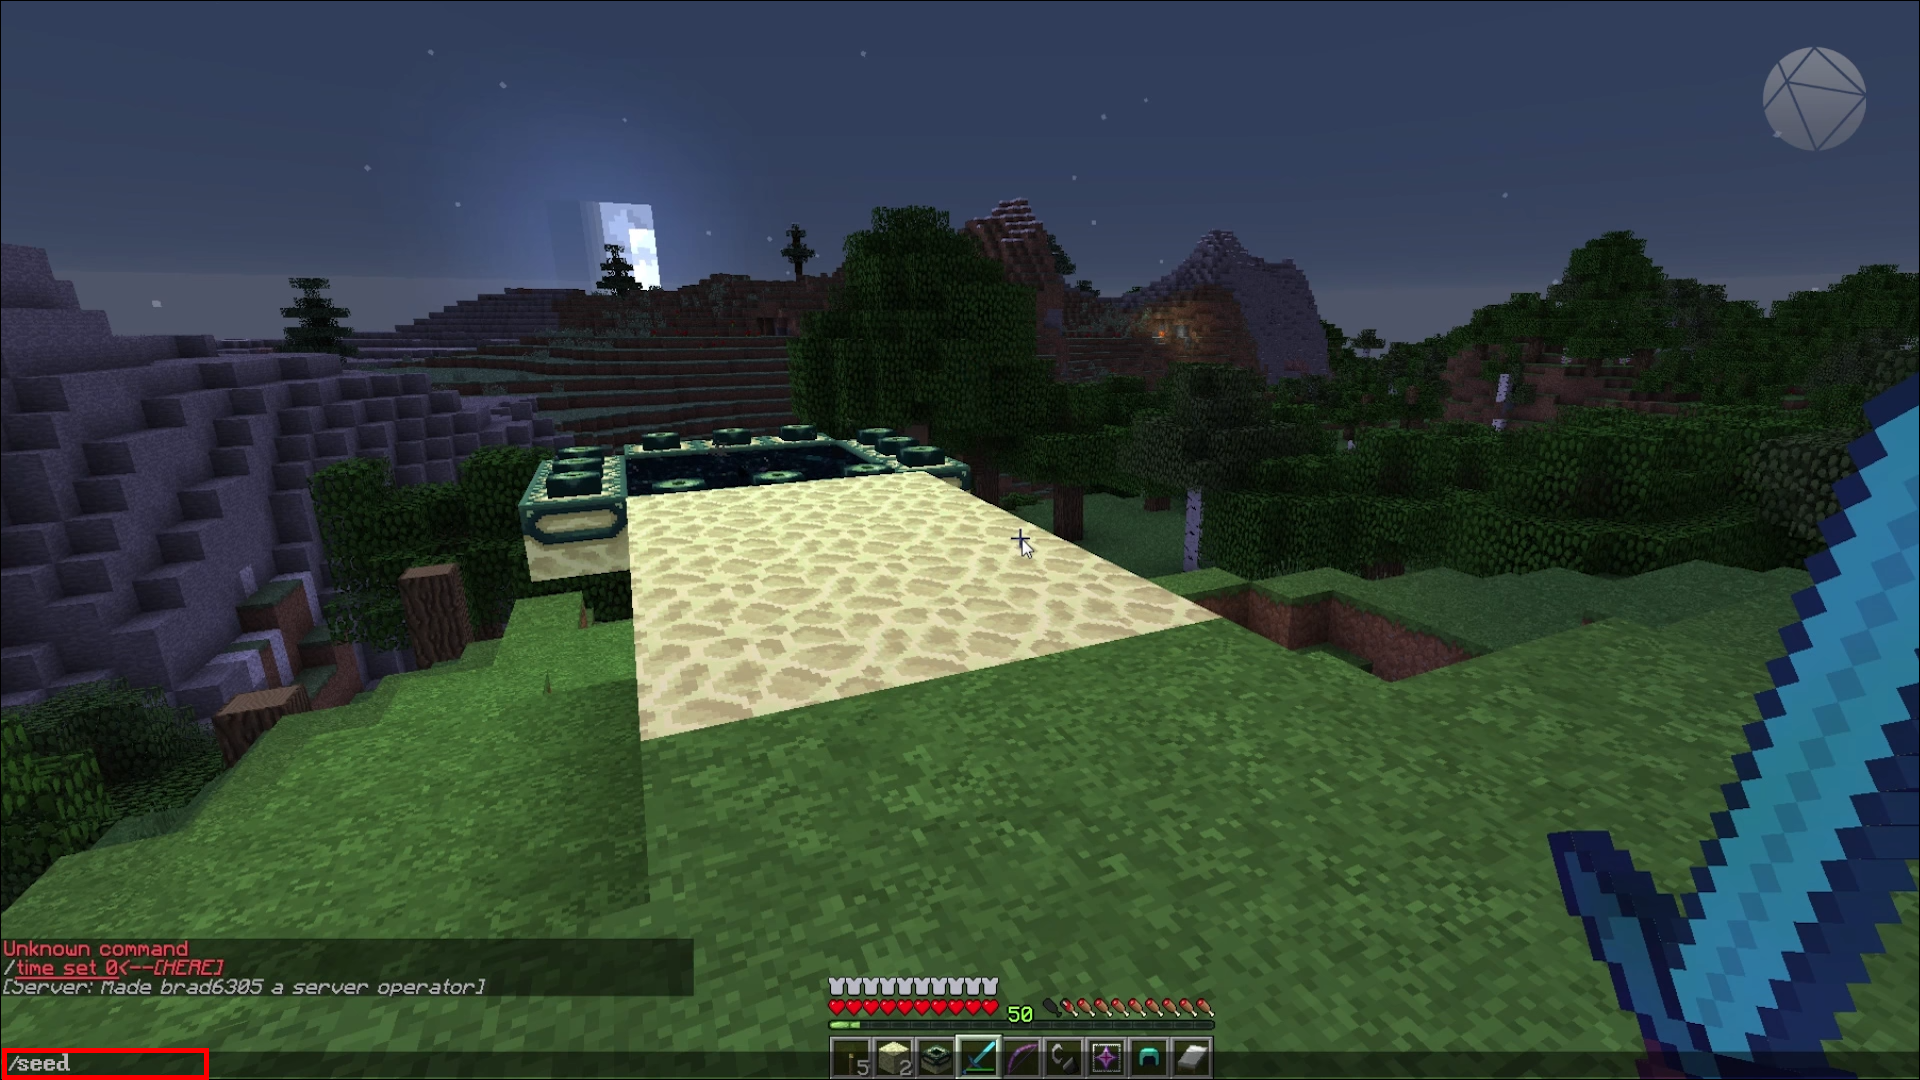
- When you spawn in the world, press “/” to open the console.

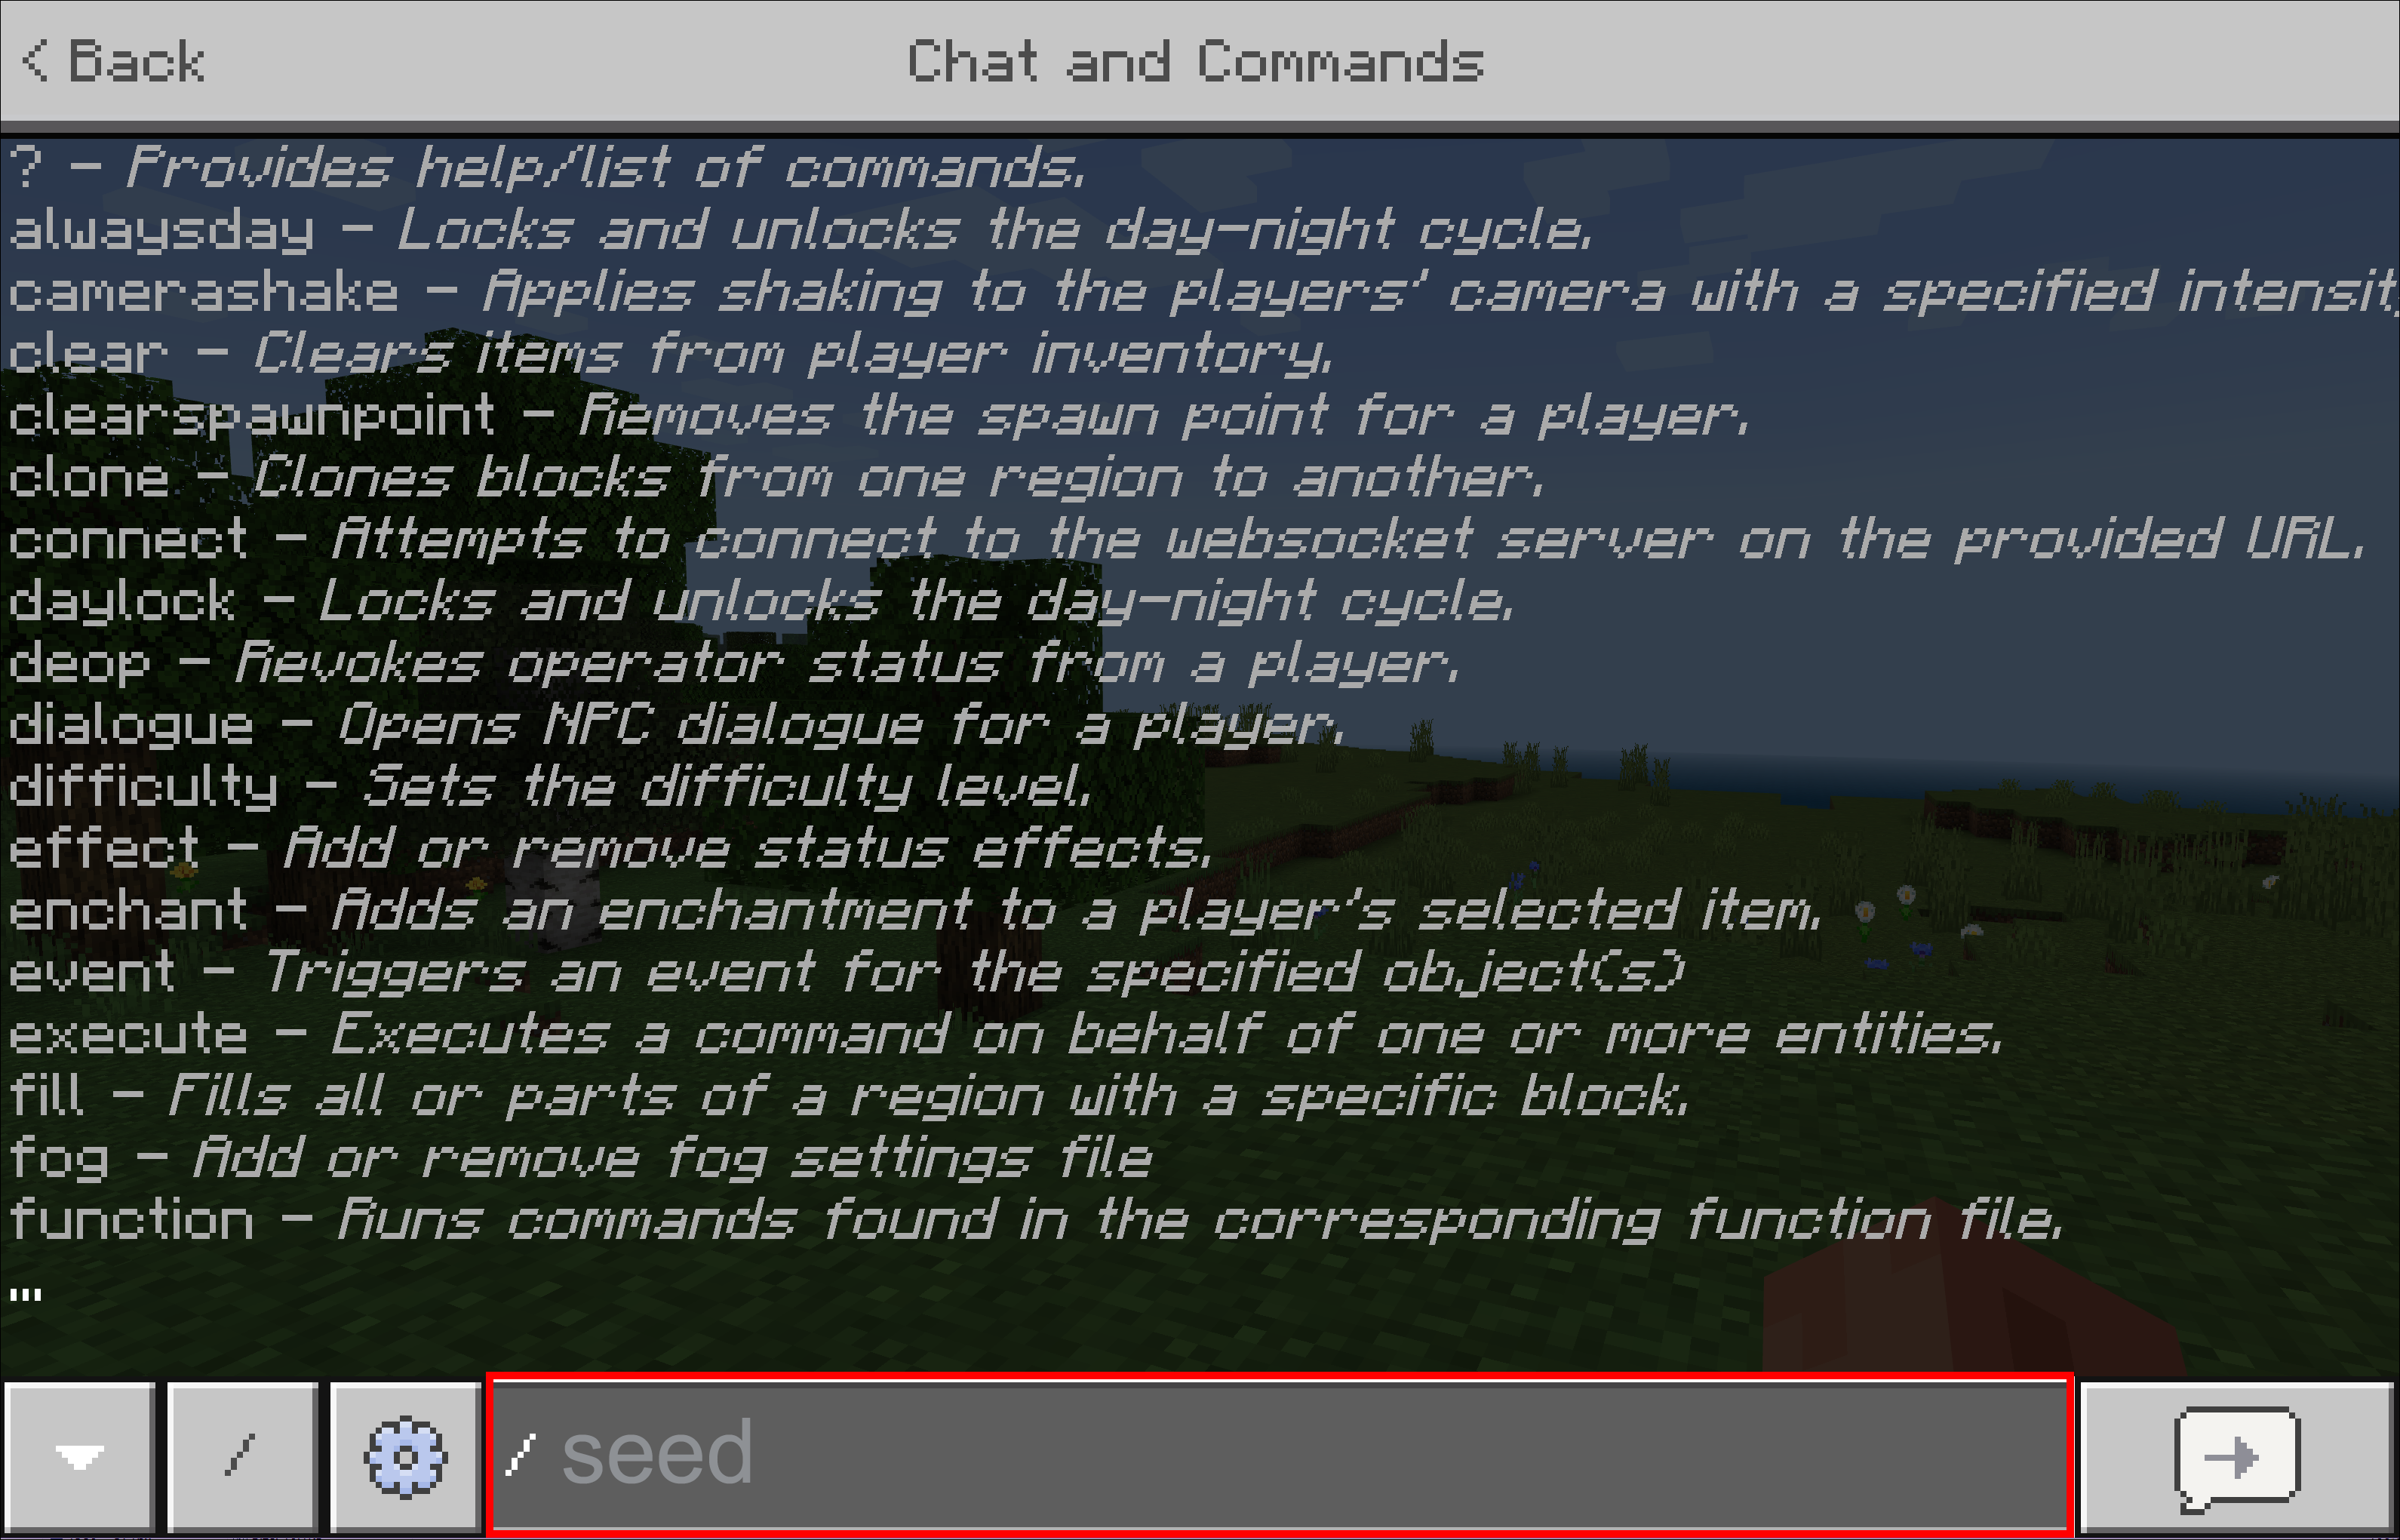
- Type the word “
seed” without quotes and all in lowercase.
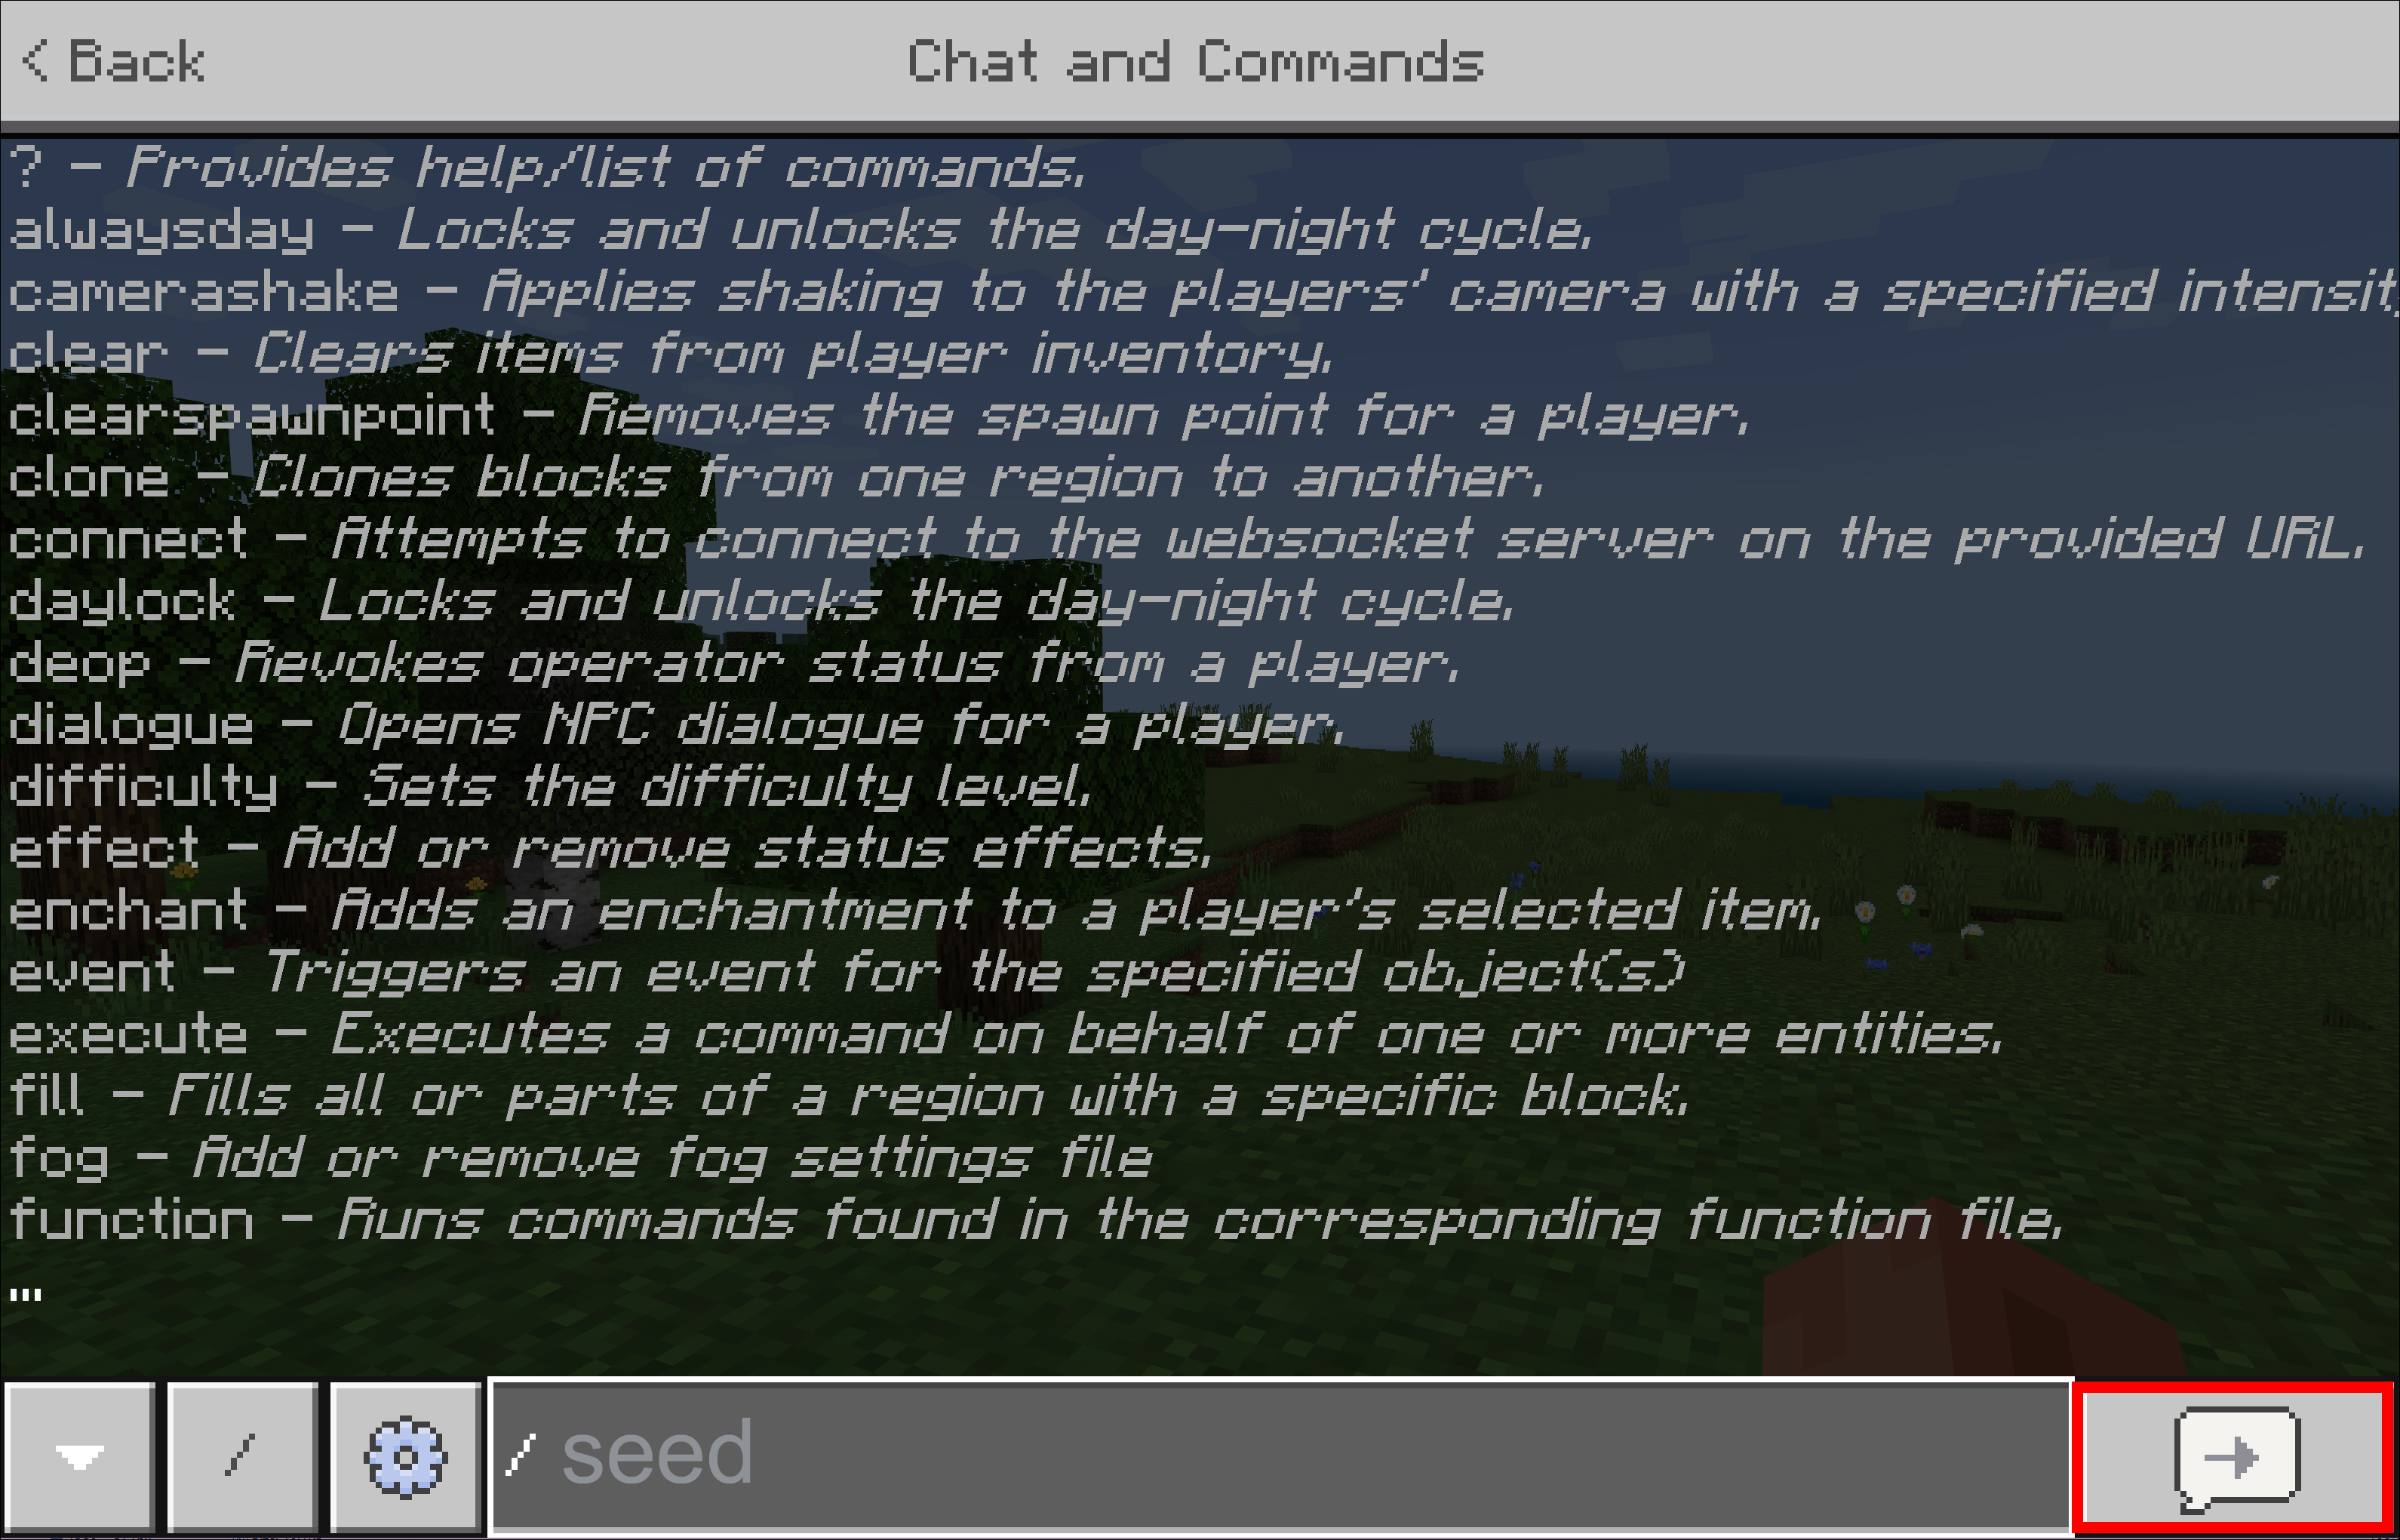
- Press the Enter key to execute the command.

- Copy the seed that you see displayed in the chat window.
With the seed in your possession, you can open a new single-player world and recreate it. Since Minecraft servers and offline aren’t connected, there’s no possibility of ruining the server.
However, without commands, it’s impossible to get the seed. The only alternative is to ask the admins. However, keep in mind that the admins and server owners may not be friendly toward the idea. Some prefer server members to explore with the team, while others just want to keep it a secret.
Regardless, there’s always a chance the admins will relent and give you the seed. Make sure to thank them.
Can You Find the Seed of a Minecraft Server Without OP?
Unless you have a way to use commands in Java Edition, it’s impossible to get the seed without OP (operator status). An admin can make you OP with some commands. Ask them to follow these steps if they aren’t sure how it works.
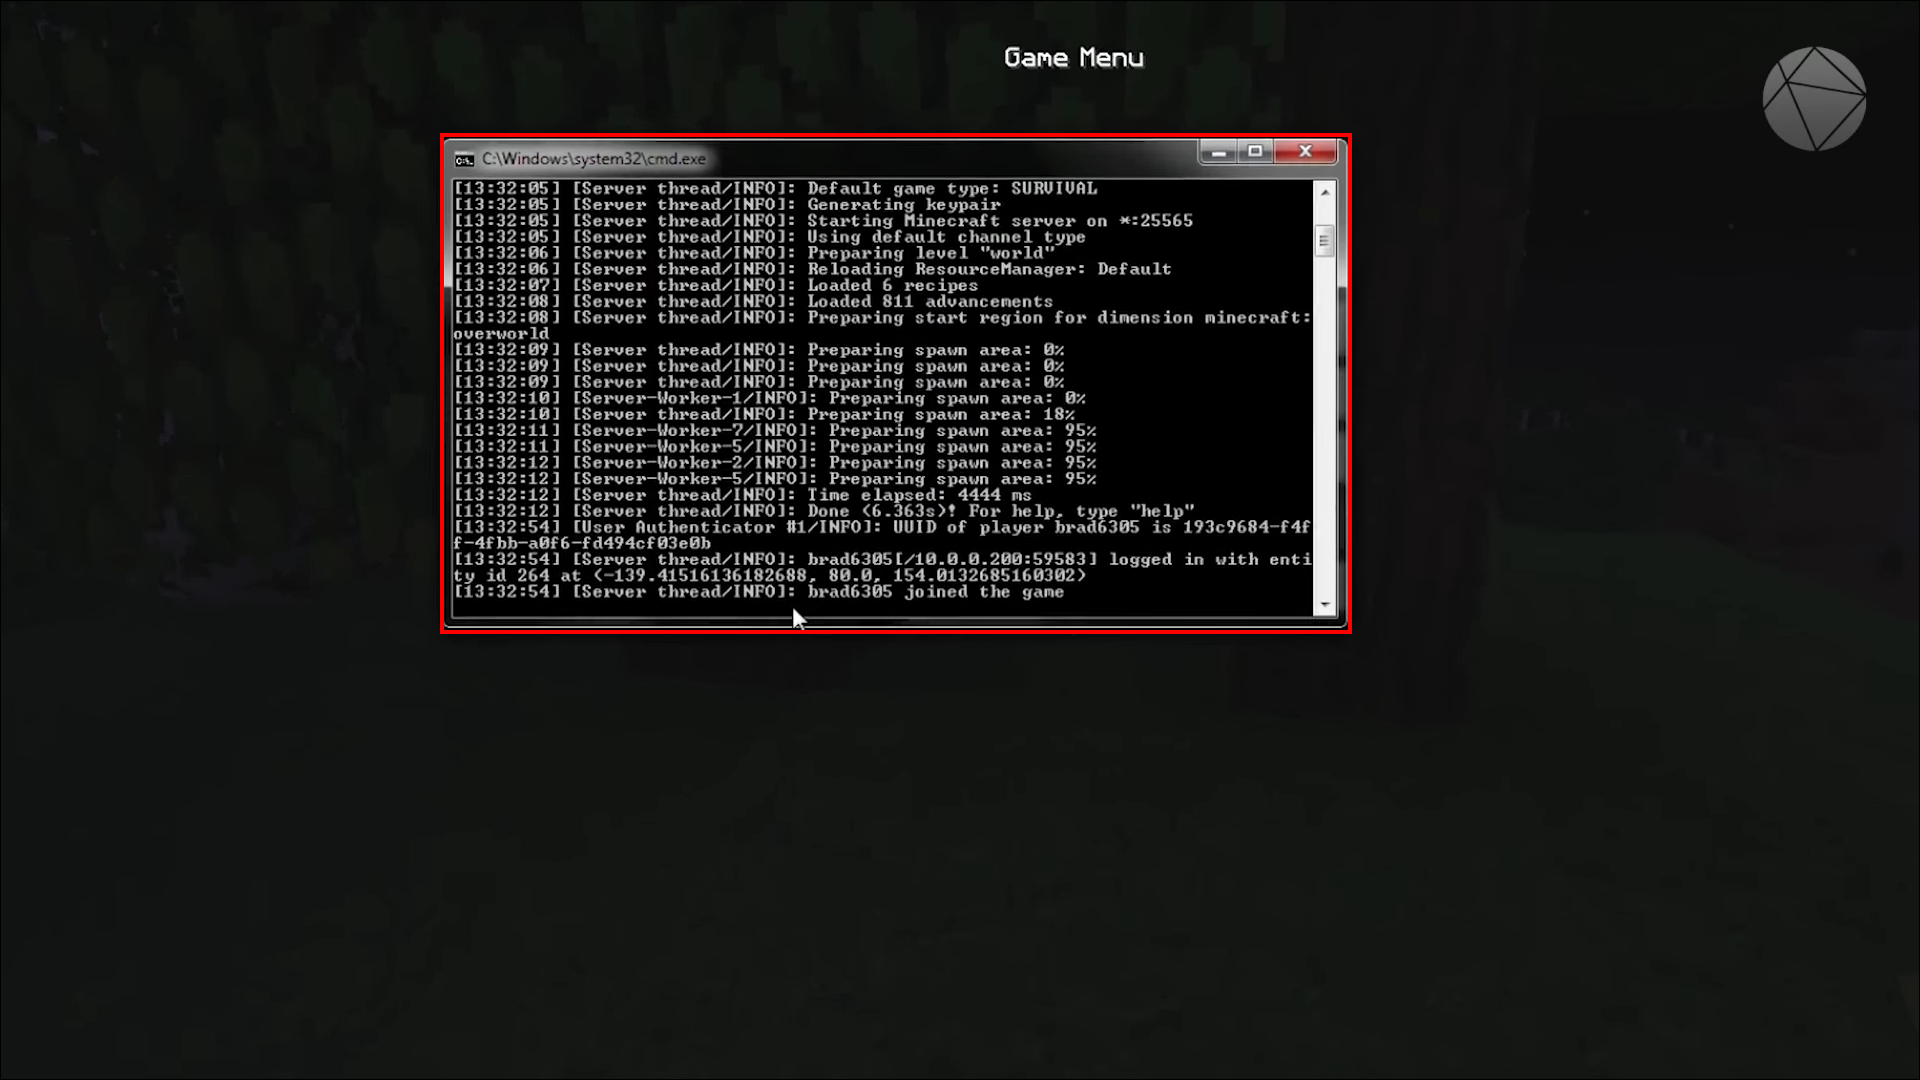
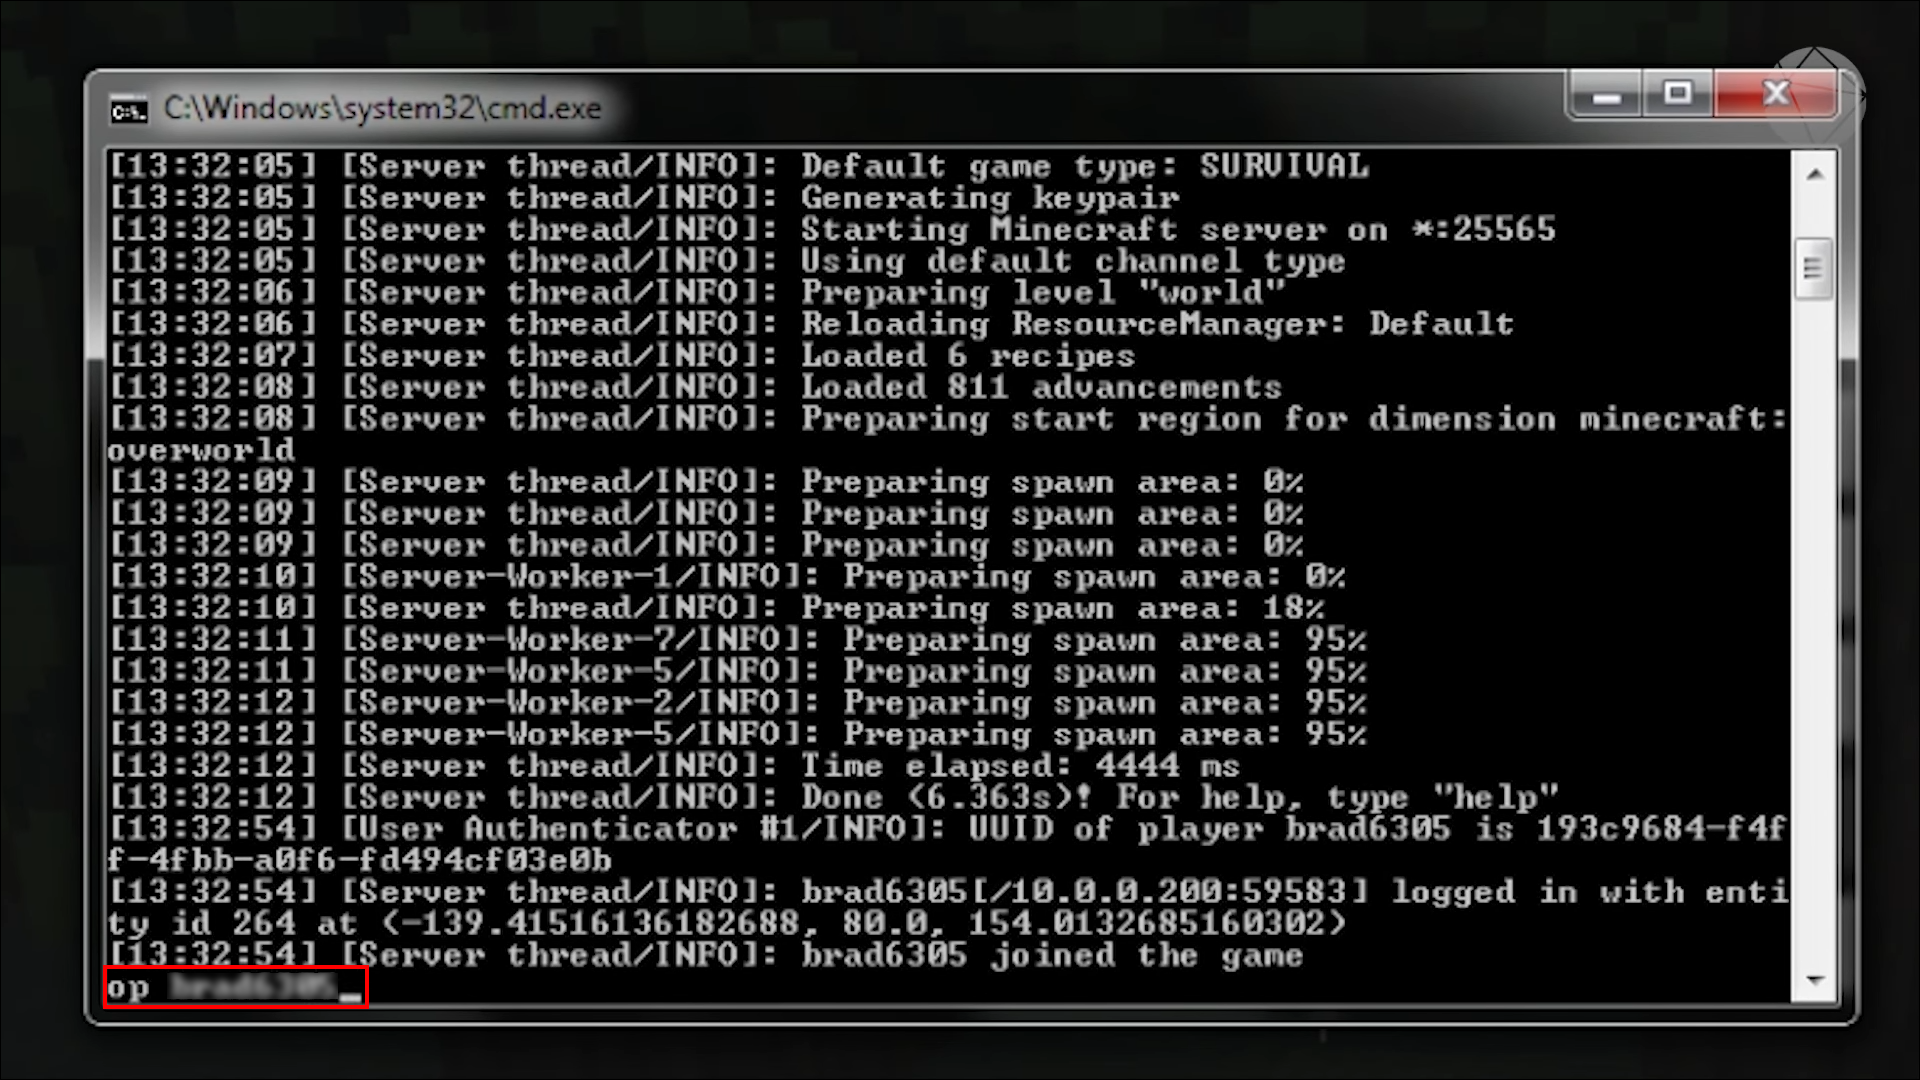
- Ask the admin to go into the console.

- Type “
op” and your in-game name.
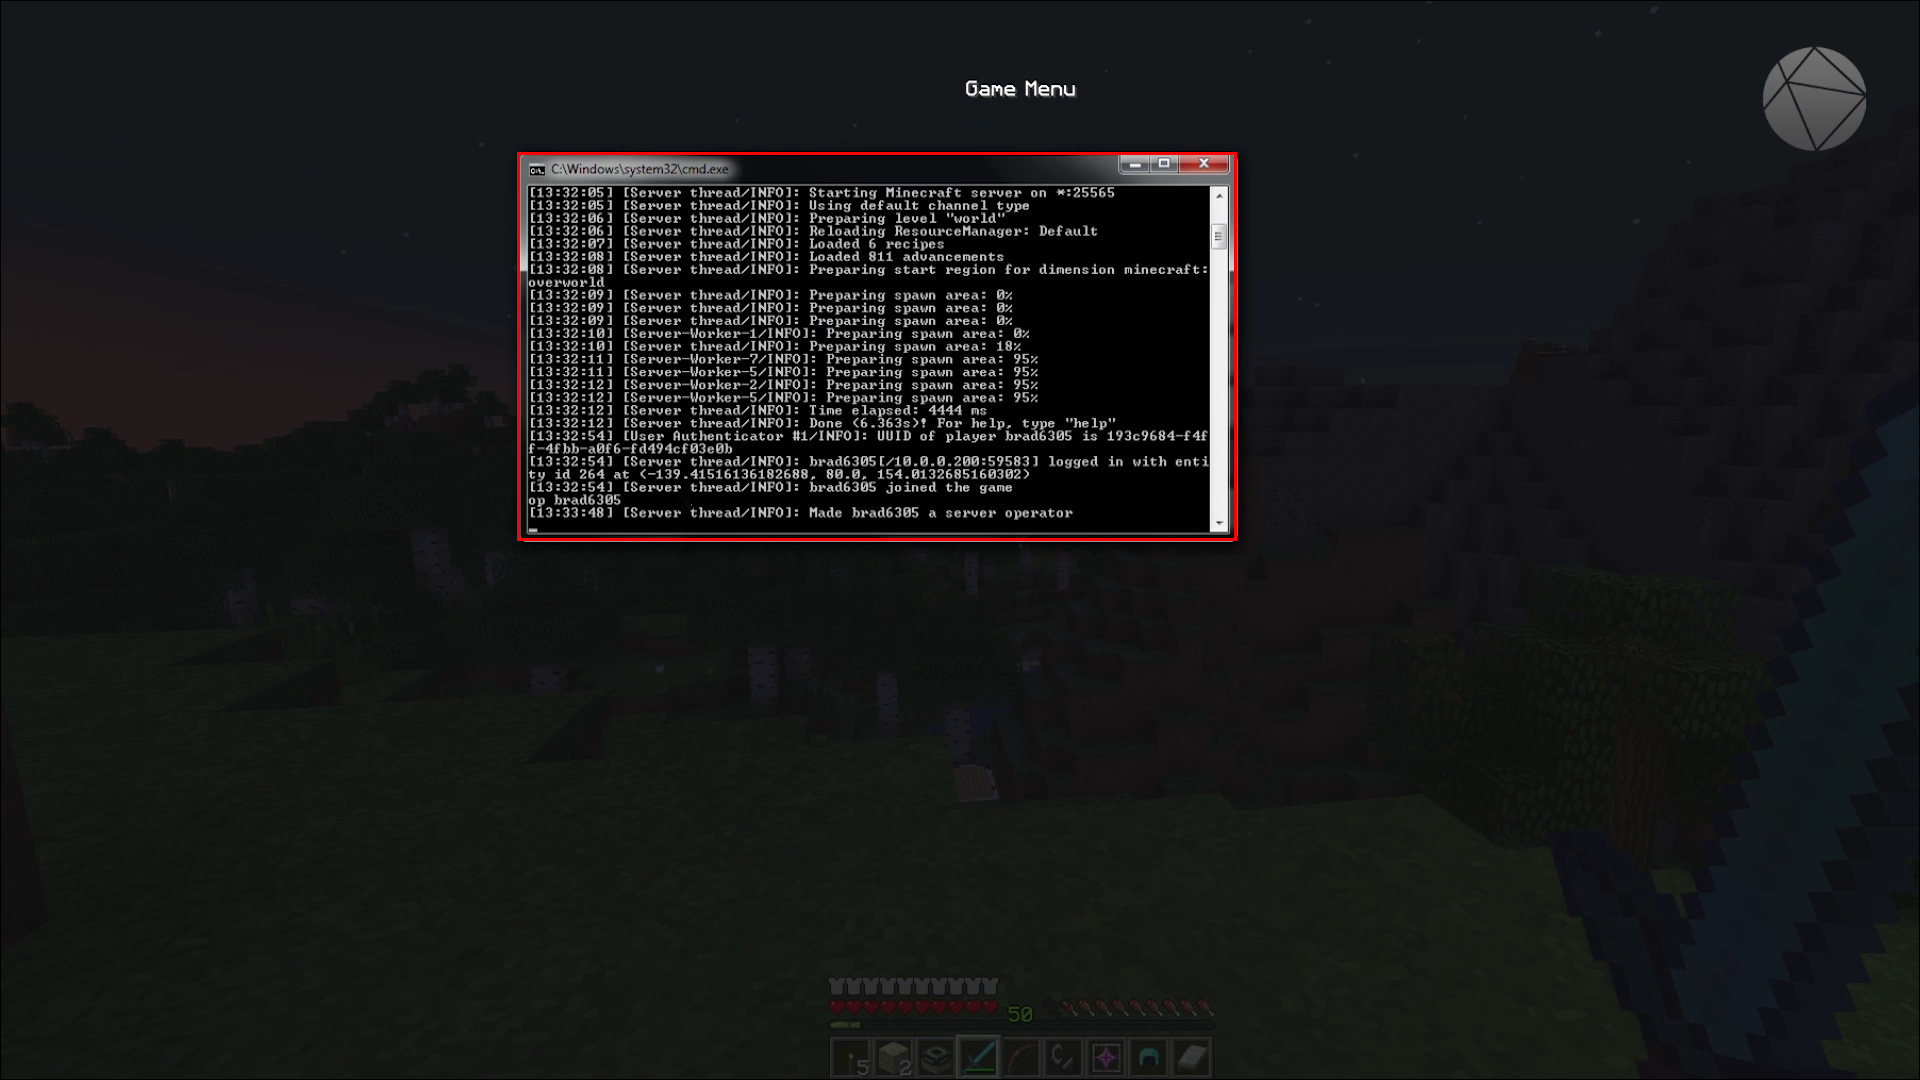
- If successful, you’ll see a message saying you were made a server operator.

After this, you can use the seed command and get the world’s seed. If the admin wants to deOP you, they must follow these steps.
- Return to the console.

- Type “
deop” and the player’s name.
- You’ll see a message confirming the action.

Therefore, it’s easy to see that Minecraft server seeds are locked behind higher privileges. Many people won’t let it be seen unless the server owner is lax about it.
Even so, there’s yet another trick you can try. This way involves duplicating the server world and running it in single-player.
- Go to the Minecraft server file on your PC.

- Copy the “World” folder.

- Press the “Win + R” shortcut.

- Type “
%AppData%” in the text box.
- Run the command.

- Go to “Roaming,” then “.minecraft,” and saves.

- Paste the “World” folder there.

- Log in to Minecraft again.

- Access the world and type “
/seed” in the chat.
The seed is now yours. With this method, you can find what the seed is without using mods and world downloaders. Bear in mind this doesn’t work with the Bedrock Edition.
We recommend creating a shortcut to the AppData folder since it’s ordinarily inaccessible to players.
How to Find the Seed of a Minecraft Server in Minecraft Bedrock
The Bedrock Edition of Minecraft has a nifty function that lets users download worlds directly. This feature can be used to peep at the world’s seed too. Here’s how the process goes.
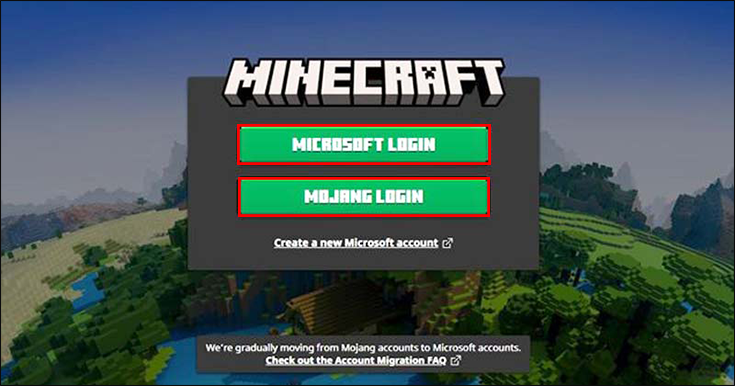
- Log in to Minecraft Bedrock Edition.

- Head into the server and world you want to download.

- Open the Game Menu.

- Click on “Download This World.”

- Quit and go to offline mode.

In Bedrock, no commands allow users to display the seed as in Java Edition. Therefore, you’ll have to be creative and use this method.
Additional FAQs
What is OP?
OP refers to server operator status. It can be given to players with a command and has four levels of clearance. The higher the level, the more commands they can use.
Does F3 show the seed anymore?
In the past, players could press the F3 key in Minecraft servers and get the world’s seed. However, now the F3 button only displays the value 0. It will still work in single-player mode, but the only way to get seeds in multiplayer is through commands or asking.
What is a Minecraft seed?
Minecraft seeds are letters and numbers making up a world. They’re case-sensitive and will let users recreate a particular world space in their copy of Minecraft.
Where’s the Temple?
Having the Minecraft seed of a particular world lets players explore it in Creative Mode or at leisure. Since some servers are hosted on computers, they might not always be available. Therefore, having the seed is much more convenient.
What seeds do you like the most in Minecraft? Do you know of other ways to get seeds? Let us know in the comments section below.
Disclaimer: Some pages on this site may include an affiliate link. This does not effect our editorial in any way.
