Device Links
If privacy is one of your concerns on Discord, you may think it’s a good idea to hide the mutual servers. Unfortunately, this option isn’t available – mutual servers can’t be hidden by default. There are, however, some workarounds that may help you keep your privacy.
In this article, we’ll show you how to hide mutual servers on Discord.
How to Hide Mutual Servers on Discord
As mentioned, hiding your mutual servers isn’t supported on Discord. But if you’re determined to keep unwanted attention away from your server list, you can categorize your servers into folders and basically hide them from other people.
Here’s how it’s done:
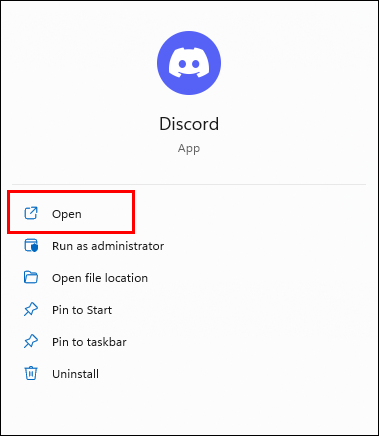
- Open the Discord app.
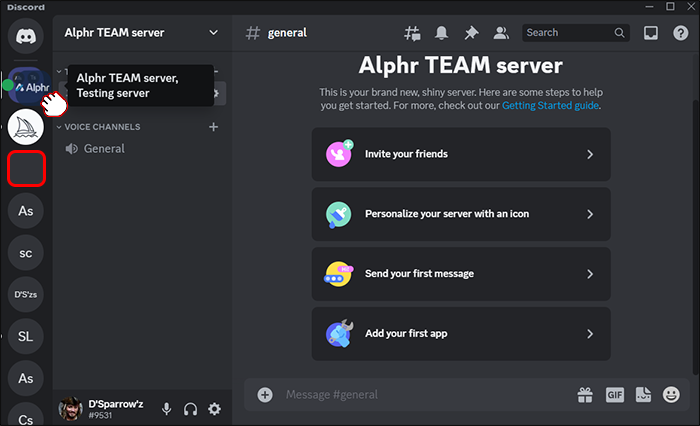
- Go to the + icon, located at the bottom of your server list.

- Select Create my own server.
- Name the server as you so wish.
- Drag each mutual server you want to be hidden into the newly created server.
- Collapse the server by clicking the arrow next to its name.


This way, you’ll hide the mutual servers from your server list. That said, you will be able to see them by expanding the category. Also, you’re still going to receive notifications and messages from mutual servers.
How to Hide Mutual Servers on Discord in Folders
You can also conceal your shared servers from others by putting them into a folder and changing the folder’s color to match the Discord background color.
These are the steps to follow:
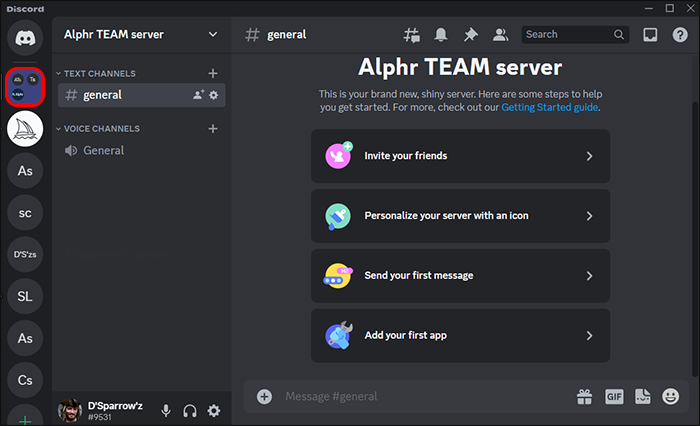
- Select a server you want to hide and drag it to another one to create a folder.
- Right-click on the folder.
- Go to Folder Settings.
- Choose the color that corresponds with your Discord background color.
- Change the color profile of those groups to match the folder’s color.


By following these steps, your mutual servers will be at least difficult to locate.
How to Mute a Server on Discord
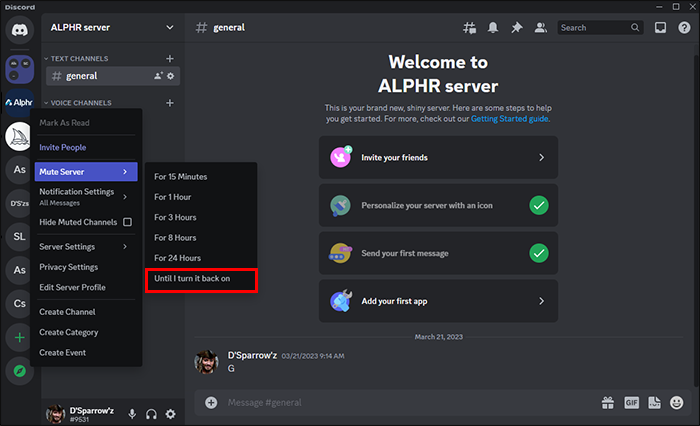
If you want to mute the server, rather than hide it, you’re in luck. This process is straightforward:
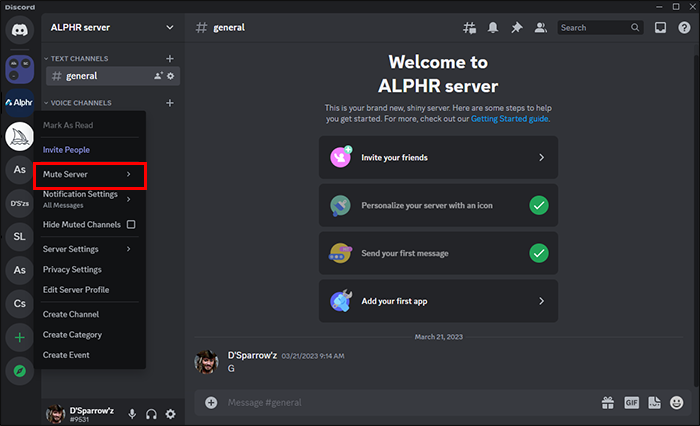
- Right-click on the server that you want to mute to access more options.
- Click to Mute server.
- Select Until I turn it back on.

How to Mute Multiple Servers at Once
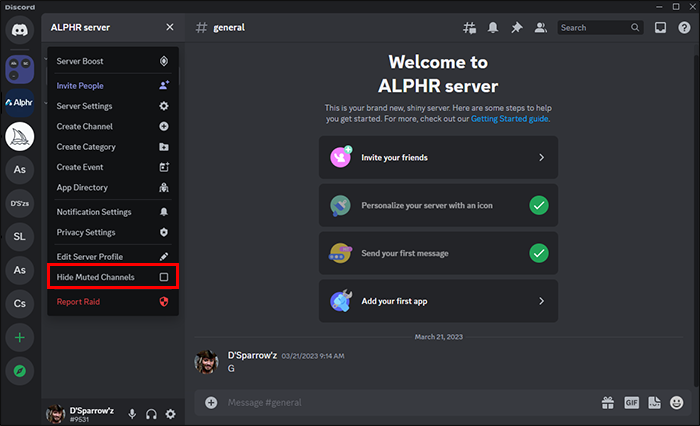
Okay, but what if you want to mute multiple servers at once? Muting your servers allows you to hide them completely. If you want them really gone, this is how to go about it:
- Go to the server that you want to mute and tap on it.
- In the drop-down menu select Hide muted channels.
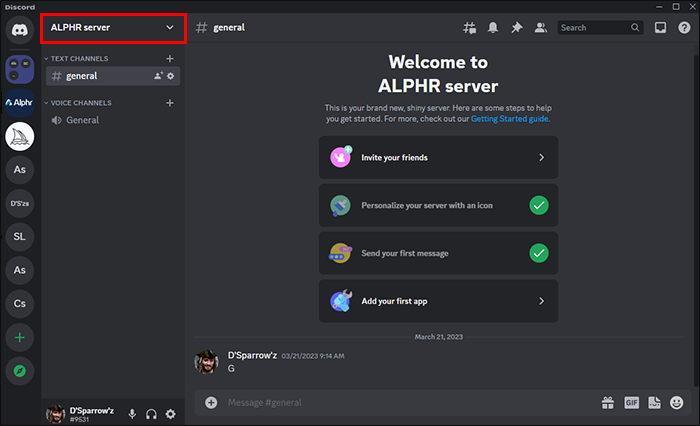
And that’s it. Your selected servers are now muted.
How to Hide the Discord Sidebar
The DM sidebar or panel in the new Discord desktop version can appear too large and invasive for some users. If you’re one of them, do the following to hide the sidebar:
- Go the top-right side of the user interface and click on the icon next to “Add Friend.”
Your sidebar is now hidden.
How to See Which Discord Servers Someone Is Using
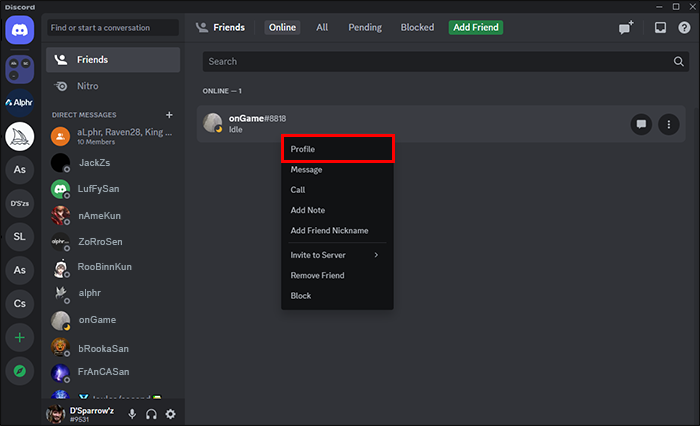
The easiest way to identify what Discord servers someone is using is to check the mutual servers list. Unfortunately, this is limited to those servers that both you and your friend are members of. To do so, follow these instructions:
- Open the Discord app.
- Go to Friends.
- Right-click on your friend’s name or picture.
- Go to Profile.
- Click on Mutual Servers.


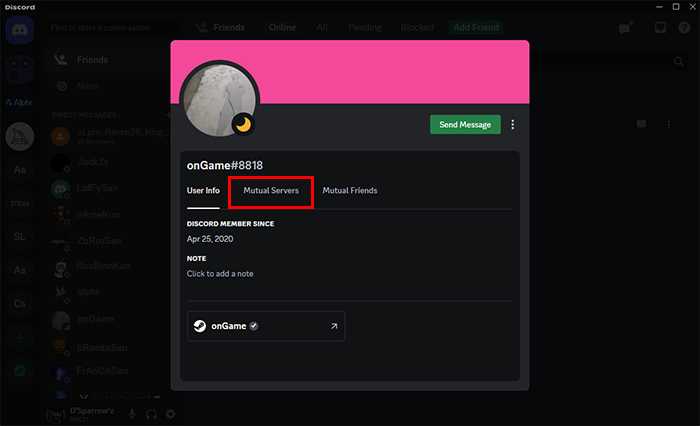
Please be aware that there is no preview option available and that you must sign up to access the content of a Discord server. Therefore, you’ll only have access to the servers that you and your friend are members of.
How to Block Someone on a Mutual Server on Windows or Mac
To block someone on a mutual server on Windows or Mac, follow these steps:
- Open the Discord app.
- Go to the mutual server or personal chat with the user you want to block.
- Click on their name or profile picture.
- Hover your mouse over their avatar and select View Profile.
- Click on the three dots.
- Choose Block.


The user is now blocked.
How to Block Someone on a Mutual Server on Android or iPhone
Blocking someone on a mutual server using an Android or iPhone device is also easy. Follow these steps:
- Open the Discord app.
- Go to the personal chat with the user you want to block or your mutual server.
- Tap on their name or profile picture.
- Tap the three dots in the profile window.
- Tap Block.


The unwanted person is now blocked.
How to Check if Someone Blocked You on Discord
If you suspect someone has blocked you on Discord, there’s a way to check without sending them a message. You can send them a friend request instead and see if it goes through. Here’s how:
- Open the Discord app.
- Click on the Friends menu.
- Select Add Friend.
- Enter the user’s Discord username and tag.
- Click on Send Friend Request.


If the user has blocked you, the friend request will fail and you won’t be able to add them as a friend.
General Information on Mutual Servers
Here’s some general information on mutual servers that most users might not know:
- To join a mutual server on Discord, you need to be invited by an existing member. If you see a mutual server on someone’s profile that you’re interested in, you can ask them to invite you to join.
- You can’t directly invite someone to a mutual server on Discord. Mutual servers are simply servers that you and another user share. For that reason, you both need to be members of the server in order for it to be a mutual server. However, you can share a link to the server with someone and invite them to join it.
- You can still have mutual servers with someone, even if you block them on Discord. However, you won’t be able to see their activity in those mutual servers, nor will they be able to see your activity either.
- You won’t be able to tell when someone leaves a mutual server on Discord. You will only be able to see their activity when they’re actively online and participating on the server.
- Discord currently doesn’t offer a way to prioritize mutual servers in your server list. What you can do is organize your server list by creating folders and moving servers into them. This way, you can keep your servers more organized.
- You can’t remove someone from your mutual servers list on Discord. The list is automatically generated.
- You can, however, leave a mutual server without the other person knowing on Discord. When you leave a server, other members won’t receive a notification that you have left, and your name will simply disappear from the member list.
FAQs
What are mutual servers on Discord?
Mutual servers are servers that you and another user share in common. In other words, if you’re a member of a server and someone else is also a member of that same server, you have a mutual server.
Does Discord show mutual servers?
Yes, but only to users on the same server. They are also able to see your nickname, though other information isn’t available.
Can people who are not on the same server see my activities?
No, they can’t. They can only see your status, the music you’re listening to, or what you’re streaming on Twitch.
When Workaround Is the Only Way to Go
Unfortunately, there’s no straightforward way to hide mutual servers. Although requested by many users, the inclusion of such a feature would probably jeopardize security and create new problems. But that shouldn’t stop you from trying. Our workarounds should be a good enough way to go, at least until Discord comes up with a better option.
Why do you want to hide mutual servers? What other function would you like to see in Discord? Tell us in the comments section below.
Related Posts


Disclaimer: Some pages on this site may include an affiliate link. This does not effect our editorial in any way.


