Many consoles can’t use Discord natively, and unfortunately, that includes the PS5. However, not all hope is lost; you can still voice chat with your friends using the world’s most powerful console to date. The only problem is that installing the service is impossible.
That said, if you still wish to keep everything on one console and not rely on your mobile phone, you’ve come to the right place. Below, we’ll show you how to use Discord on your PS5.
The PS5 doesn’t come with internet browsing features, which is surprising considering its predecessor. The PS4 included an internet browser ready to use from the get-go. However, that doesn’t prevent users from navigating to links on PS5.
PS5 users are encouraged to use PlayStation Network and PlayStation Party Chat, and you can send and receive messages from other players this way. These messages may include links to websites, which can then be opened even though the PS5 doesn’t have a browser you can open.
Use Discord on the PS5 by Sending a Message
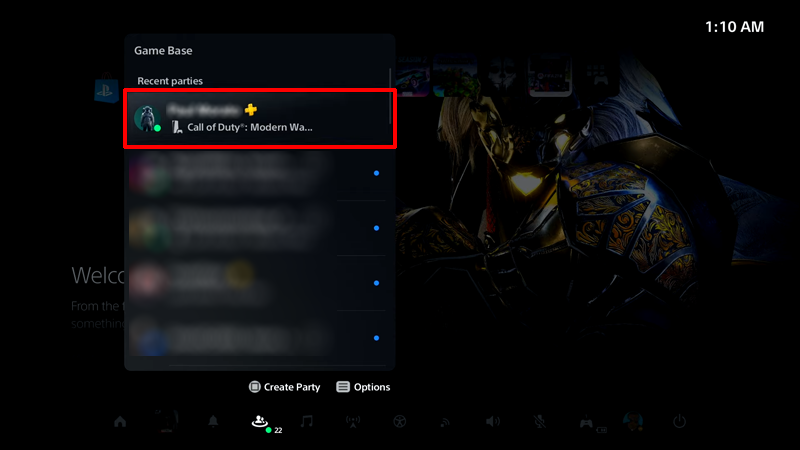
- Launch PlayStation Party on your console and pick a friend you wish to message.
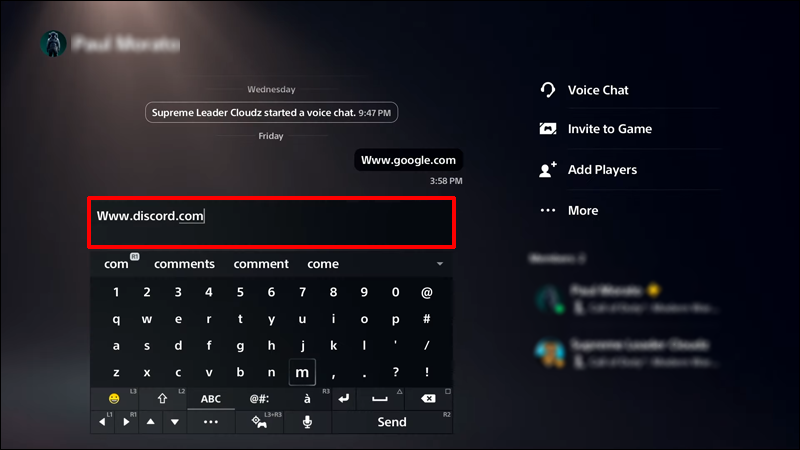
- Send them www.discord.com as a message.

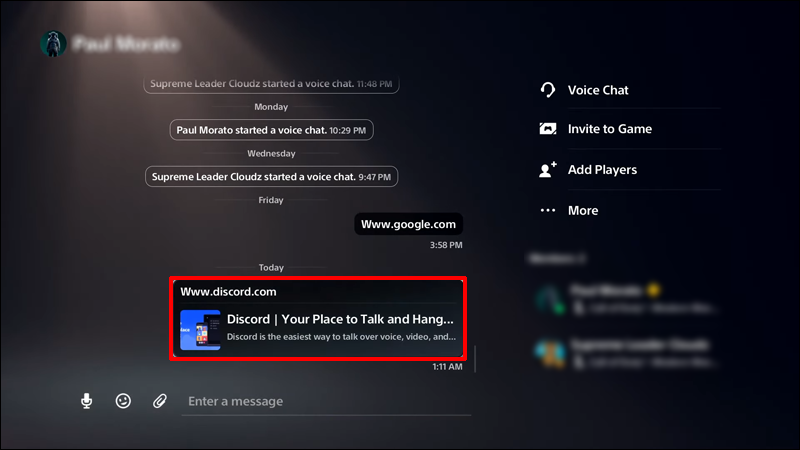
- Select and open the link.
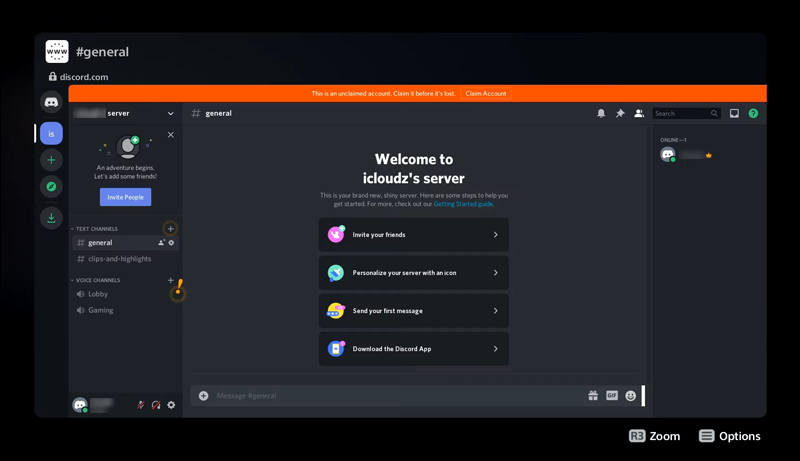
- When you reach the official Discord website, sign in to your account.
- Start chatting with your friends on a voice channel.

You can also type in text channels as normal, but voice chat is a much better choice when in a game. This trick is the simplest method, and we recommend getting a compatible headset, as you won’t be able to speak to others without a microphone.
However, if you prefer better audio quality and don’t mind linking your PC and PS5, the trick below will work beautifully.
The second method involves getting the following objects:
- USB headset
- Optical cable
- MixAmp
- A PC
Here are the instructions:
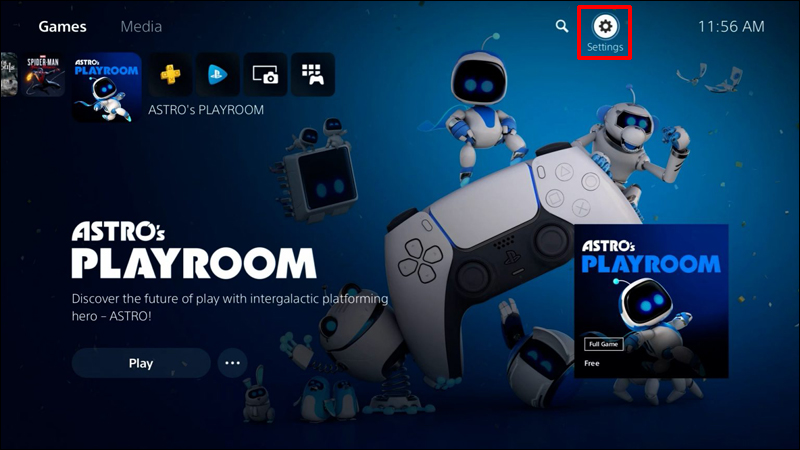
- Connect your PS5 to the MixAmp via optical cable and open the PS5 Settings menu.
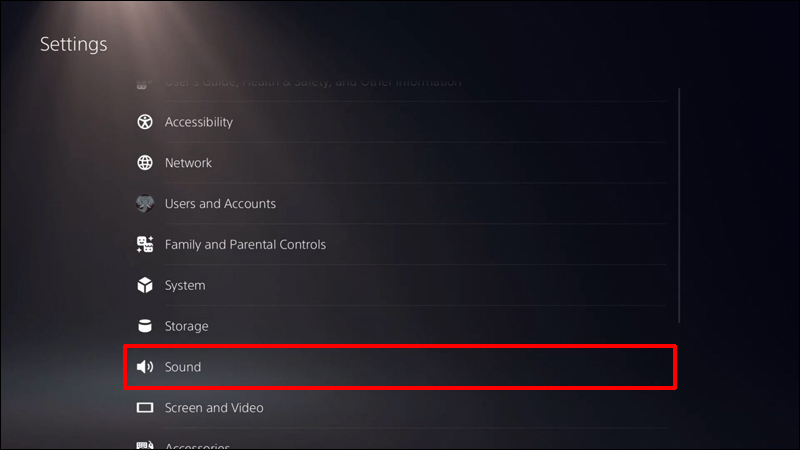
- Go to Sound.
- Select Audio Output.
- From the list, choose the Digital or Optical out option.
- Now, turn to your PC and launch your Discord client or open a Discord tab on your browser.
- Go to Discord’s Settings.
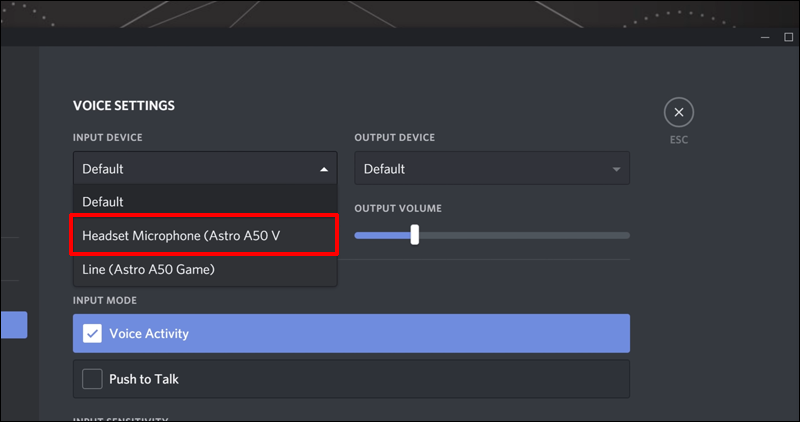
- Click on Voice & video.
- Click on the Input Device dropdown menu and select MixAmp.
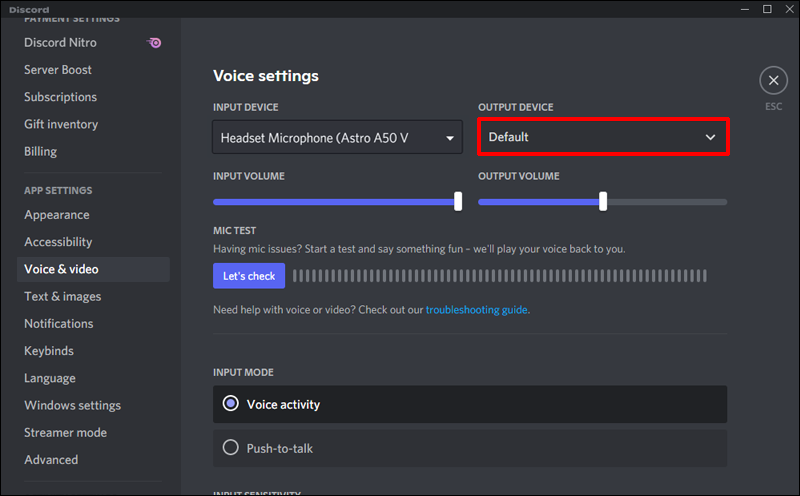
- Now in the Voice & video settings, set the Output Device to Default.
- Link your headset to the MixAmp and check the connections.
- If everything goes well, you can enjoy the audio of both your PS5 and PC on your headset.


MixAmps aren’t the cheapest devices, but they’re reliable and let you link two devices at once. You also don’t have to keep opening links just by selecting messages like in the first method.
Both ways will work now, but they may not be viable (or necessary) for long. While the PS5 doesn’t currently support Discord, that doesn’t mean Sony isn’t moving in that direction.
Connect Your PlayStation Network Account with Discord
Sony has partnered up with Discord, made possible thanks to Sony Interactive Entertainment investing in Discord as part of the latter’s Series-H round. As of January 2022, you can connect your PlayStation Network Account with Discord; here’s how.
- To start, open up Discord and go to User settings.
- Now, click on Connections.
- Click on the PlayStation icon.
- Sign in using your PlayStation credentials.
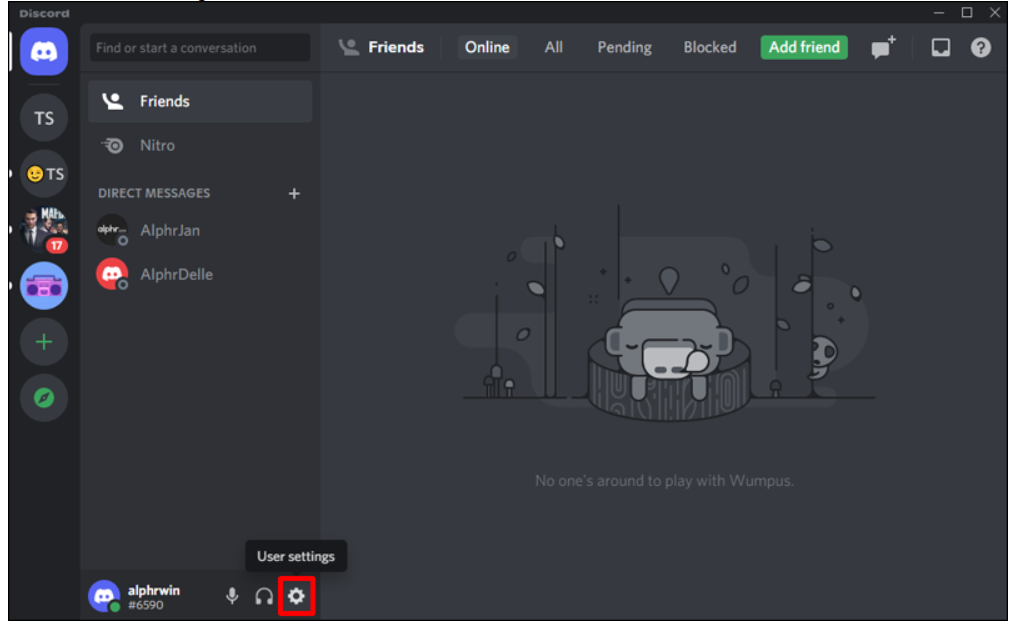


That’s it.
When Discord finally arrives officially on Sony’s consoles, the app will be optimized for the best possible experience. The web version of Discord you have to use currently is made for PC users with a mouse and keyboard. The PS5 controller is much slower and doesn’t replace the latter control scheme very well.
With an optimized Discord, you’ll find the app much easier to navigate. Hopefully, Sony will release this feature sooner than later.
If you want to ensure that everyone can view your game activity, then make sure that Display on Profile and Display PlayStation Network as your status are selected in the Connections settings window.
PlayStation Party Chat and Discord Comparison
Even though PlayStation Party Chat isn’t as flexible as Discord, it still has its place for PS5 users. You can meet new friends and join video game parties immediately. Players can still make friends using the service.
Nevertheless, Discord far outshines PlayStation Party Chat in the following ways:
- It’s more accessible.
Party Chat is only available for PlayStation consoles, but Discord is already on PC and mobile devices. You can use the same profile with the same convenience on any platform.
- It has more features.
Discord has a wealth of features, such as media embedding and more, that Party Chat doesn’t have. While you can still send images with Party Chat, you can’t send GIFs and stickers from the keyboard.
- There are more users.
Discord has many more users than Party Chat. The main reason is that it’s free to use and available on more platforms.
- It’s cross-platform.
If you’re on PS5 but want to play with a friend on PC, Discord allows you to maintain communication. PlayStation Party Chat isn’t cross-platform.
Coming Soon to Your PS5
Interim solutions to the Discord problem we described above are nice to have. Nevertheless, an official integration of the social media platform would benefit many users. With Discord, PS5 owners can stay in contact with their other friends and even voice chat without needing another device.
Are you looking forward to Discord for PS5? Do you think the PS5 should have an internet browser? Let us know what you think in the comments section below.


Disclaimer: Some pages on this site may include an affiliate link. This does not effect our editorial in any way.


