Subtitles are the way to go if you want to enjoy your favorite movie or TV show in silence. Like other streaming platforms, Paramount+ lets you quickly turn the subtitles on and off.
Also, there are plenty of customizations to make the subtitles fit your viewing preferences. The following sections tell you how to enable Paramount+ subtitles for various devices.
How to Turn Paramount+ Subtitles On and Off
Some Paramount+ users complain that subtitles don’t work on specific devices or that they need to manually turn them on for every piece of content they’re watching.

Luckily, these are temporary glitches and appear to have been fixed at the time of writing. If you still have the issue, try updating first. Here’s how to turn the subtitles on and off for different streaming gadgets.
Turn Subtitles On/Off from a Fire TV Stick Device
Launch Paramount+, find the content you want to watch and play it. While the stream is on, press the pause or menu button, and you should be able to see a dialog box. It’s in the upper-left corner of the screen.
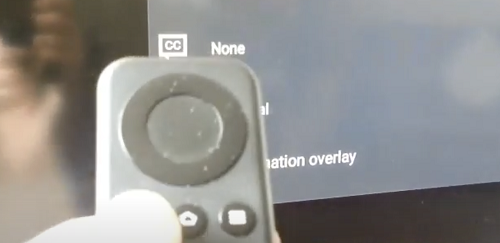
Use the arrow keys on your remote to navigate to the dialog box and select it. You must choose the Subtitles and Audio (Closed Captioning) menu and toggle the option on or off.
Important Note for Paramount+ on a Fire TV Stick:
After hitting the menu button, there’s a possibility you’ll see just the Audio option without any subtitles. Don’t worry. This scenario has happened to other users before, and you still need to navigate to the CC dialog box. If there’s no dialog box, pause the playback, which should appear on the screen.
Turn Subtitles On/Off from a Roku Device
Enabling and disabling Paramount+ subtitles on Roku is super simple. You start by playing the show or movie you want to watch.
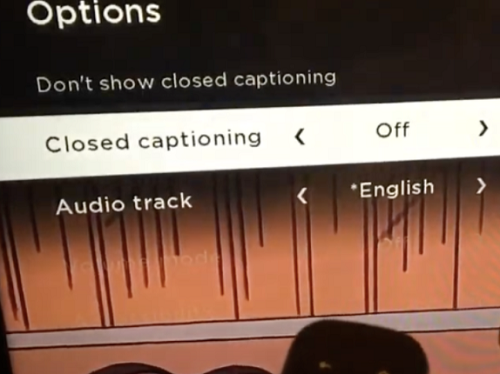
Grab your remote and press the asterisk button (it’s like a small star). This action reveals the side menu and closed captioning options should be one of the first two.
To disable the subtitles for the video you’re watching, select the “Don’t show closed captioning” option. You can also navigate to the Closed Captioning tab and choose one of the four options – On Always, On Mute, Off, or On Replay.
Important Note for Paramount+ on Roku:
Changing the subtitle preferences on your Roku might not affect the Paramount+ settings on other devices. You might need to tweak the settings again when accessing the platform via a mobile app or web client.
Turn Subtitles On/Off from an Android or iPhone
The interface of the Paramount+ app is pretty much the same on Android and iOS devices. Therefore, there’s no need to include separate instructions for each operating system. And, of course, this section assumes you’ve downloaded, installed, and logged into the app.

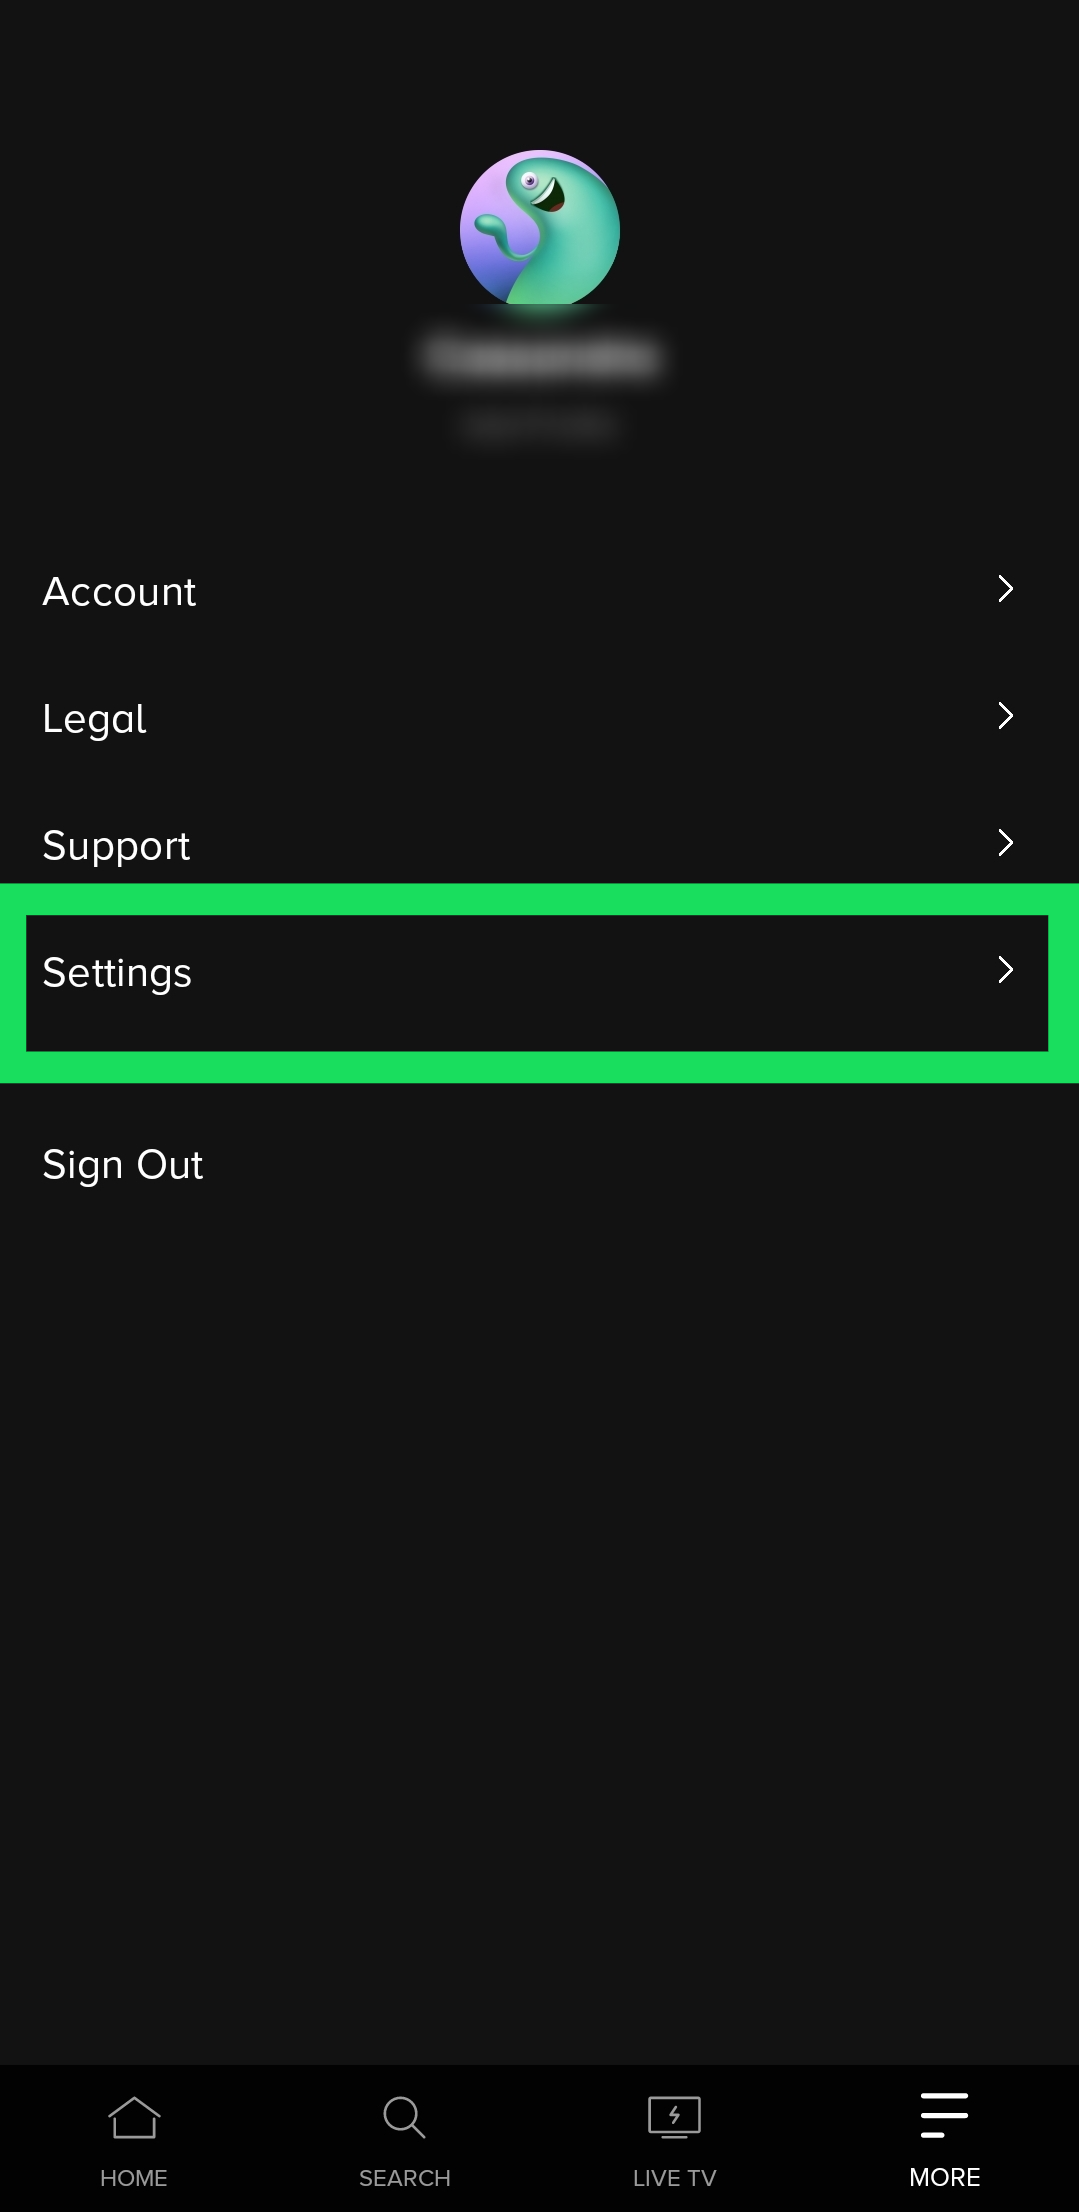
Open the Paramount+ app and tap the hamburger icon (three horizontal lines) in the upper-left section.
- Open the Paramount+ app and tap on the hamburger icon(three horizontal lines) in the screen’s upper left section.

- Once inside the More menu, choose Settings, then tap on Closed Captions.

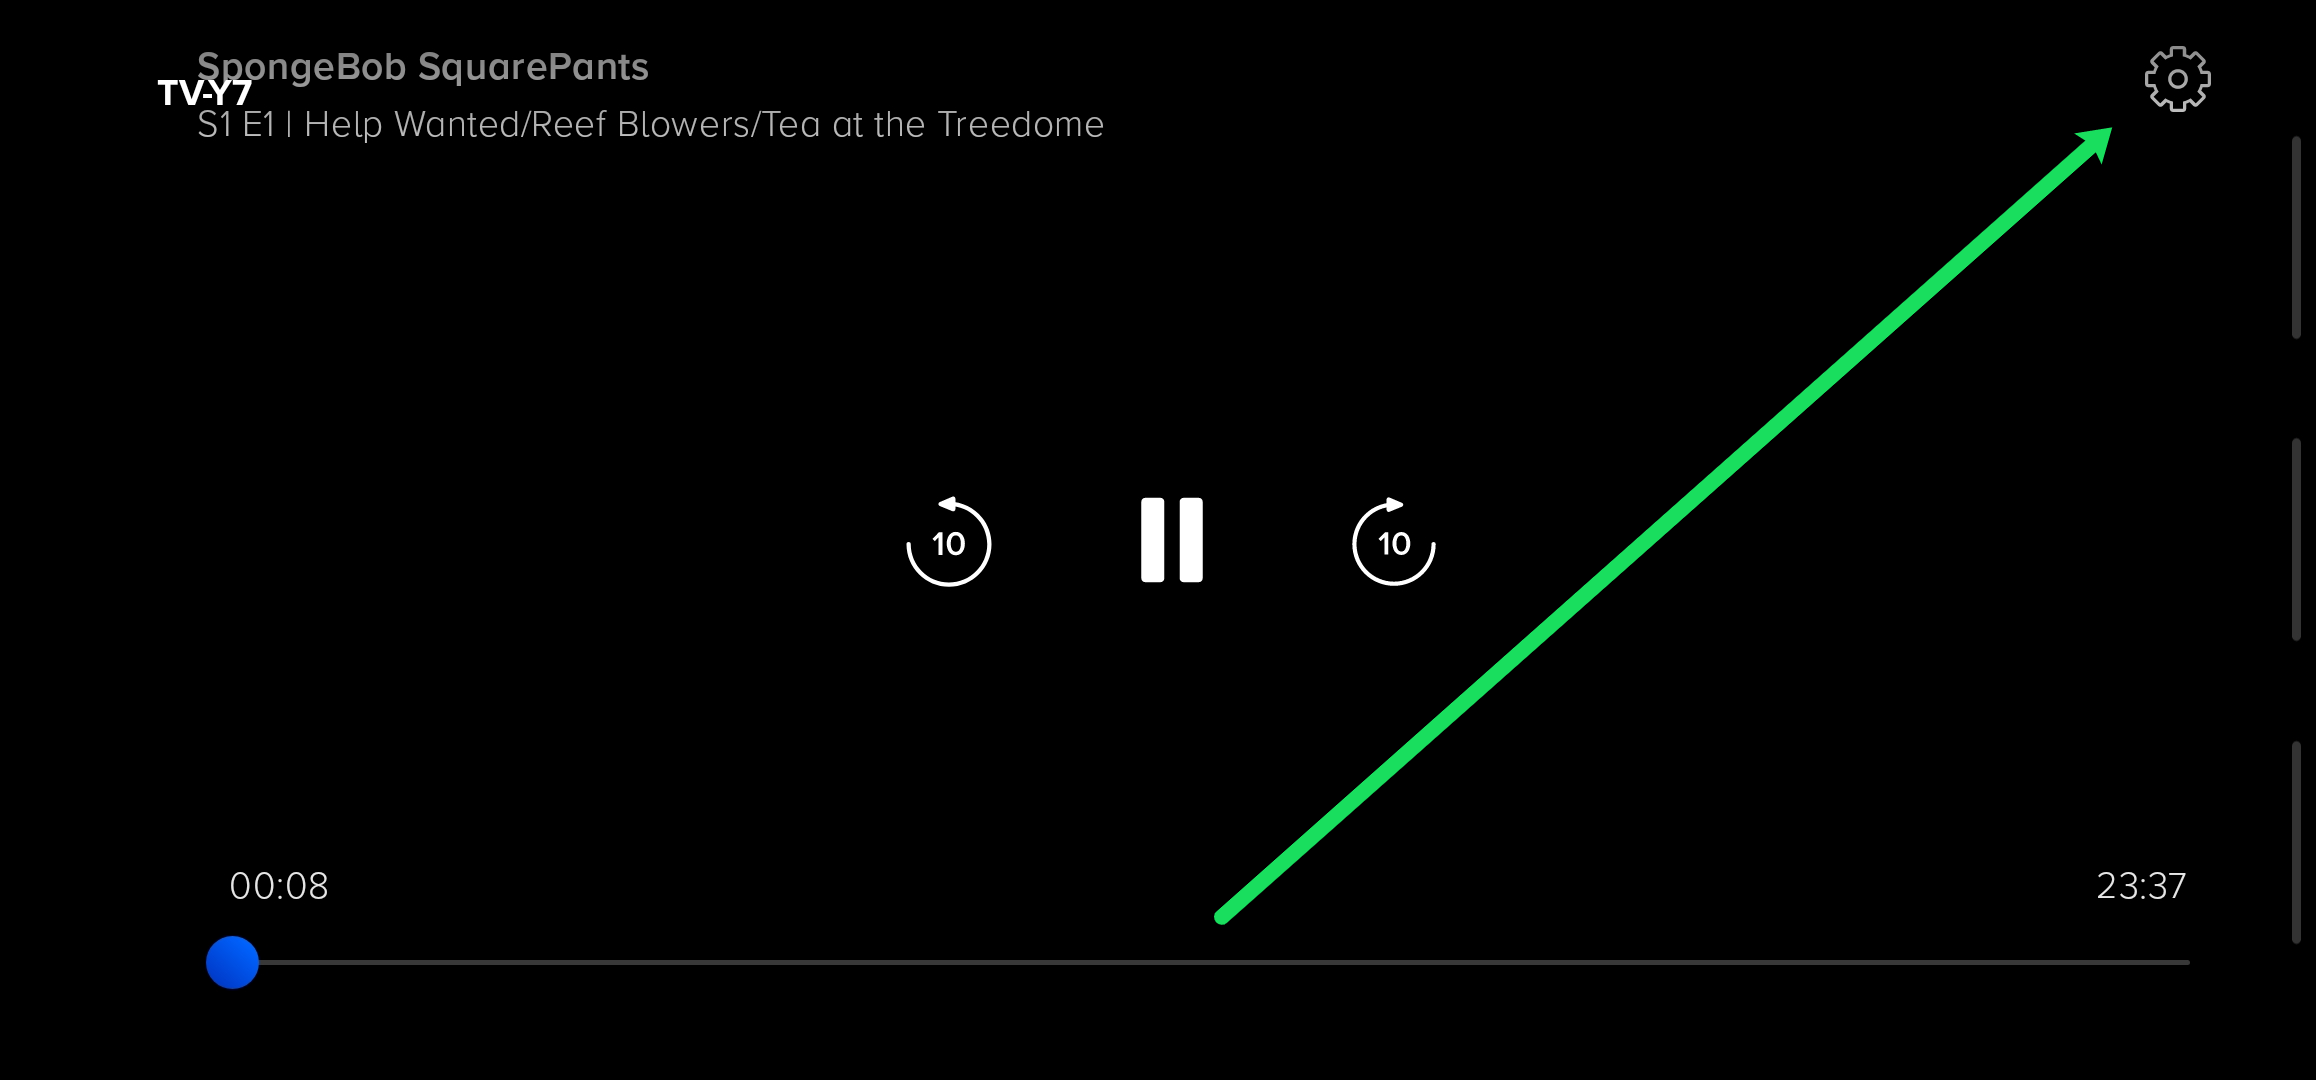
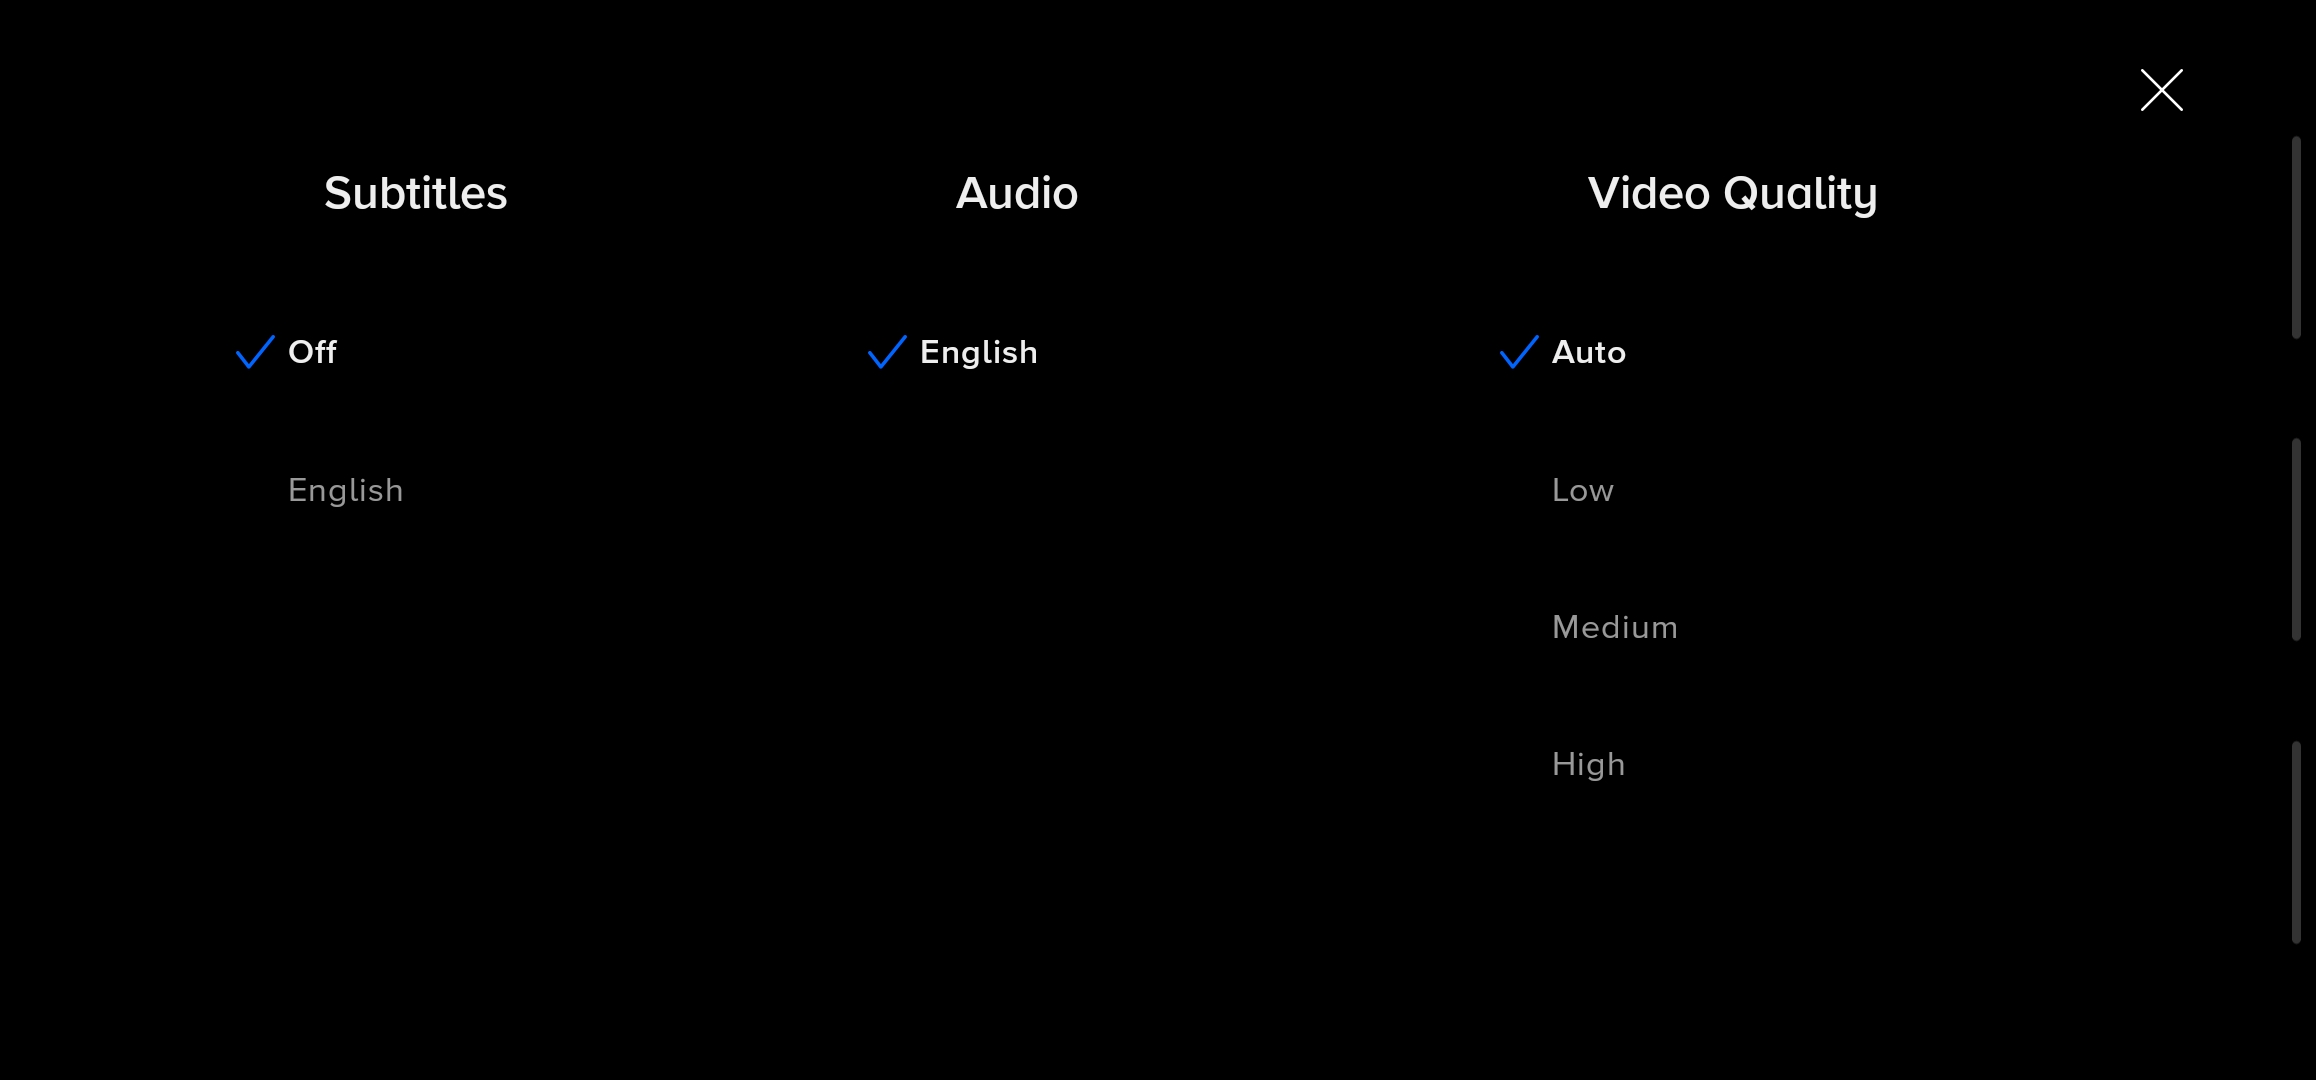
- Thereon, you should follow the on-screen instructions to turn the subtitles on and off or choose different display preferences. Start the show you’d like to watch and tap the screen so the sub-menu appears. Then, tap the Settings cog in the upper right-hand corner.

- Now you can toggle the subtitles on.

If you log in with the same account, the changes should apply to all your devices.
Turn Subtitles On/Off from a PC or Mac
Paramount+ has an excellent web client if you prefer to access the service via a browser. Again, the interface is the same on PCs and Macs, and we won’t be including separate instructions.
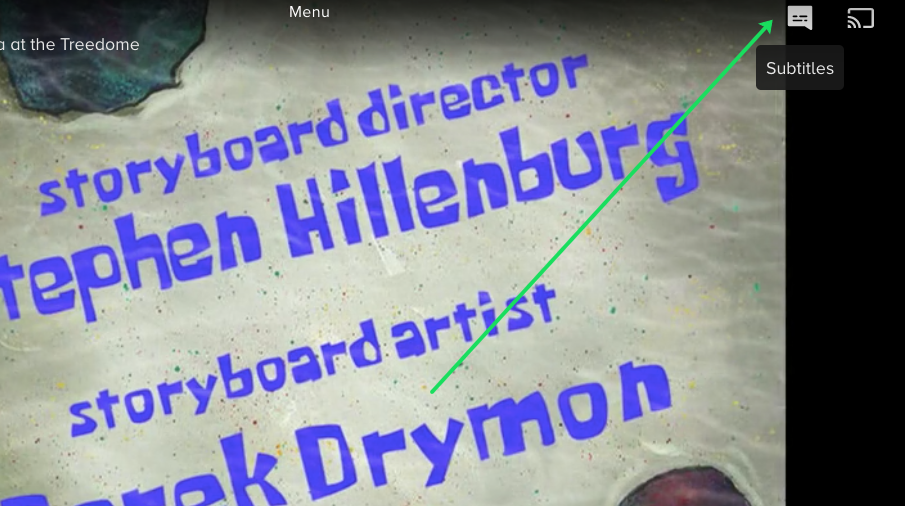
Launch your preferred browser, log in to Paramount+, choose the content, and play it. Once the playback starts, hit pause and click on the CC icon on the screen. The CC icon should appear before the gear icon in the upper right section.
The pop-up menu allows you to enable and disable the subtitles and change the display preferences. The great thing is that you see the changes instantly on the screen.
Turn Subtitles On/Off from a Smart TV (Samsung, LG, Panasonic, Sony, Vizio)
After you install the Paramount+ app for smart TVs, turning the subtitles on and off is pretty much the same as when you’re using a web client. The CC icon pops up the moment you pause the playback. You then need to navigate to it to enable the subtitles.
With this in mind, the subtitles on your TV must also be enabled. The following sections will show you how to ensure they’re on.
Paramount+ Subtitles on Samsung Smart TVs
Go to your TV’s home screen and use the remote to access Settings. Then, choose General, followed by Accessibility.
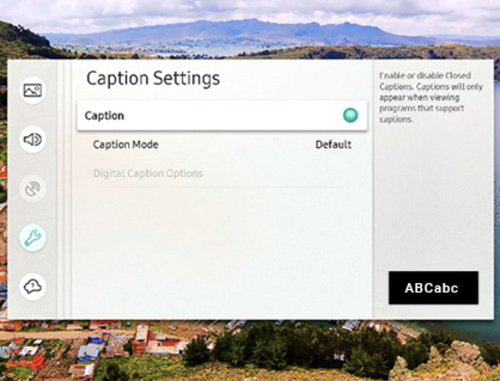
Under Accessibility, navigate to Caption Settings, then choose Caption to turn the subtitles on or off. There’s a small circle next to the Caption option, which turns green when the subtitles are enabled. Now you can launch Paramount+ and turn on the captions there.
Paramount+ Subtitles on LG Smart TVs
Take your LG remote, press the home button, then choose the settings icon from the home screen menu. Navigate down to the Accessibility menu and select it for more actions.
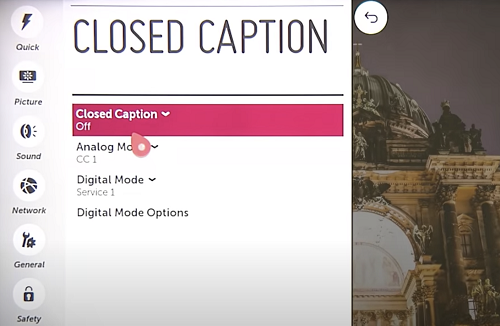
To turn the subtitles on or off, select Closed Caption, and choose the desired option from the drop-down menu. You can now exit and launch Paramount+ and make the changes there. The action should also apply to the app if you prefer to keep the subtitles off.
Paramount+ Subtitles on Panasonic Smart TVs
At the time of writing, Paramount+ did not provide support for Panasonic smart TVs. But if you have a streaming device or a gaming console hooked up to your Panasonic, you’ll be able to enjoy the featured content.
![Manage Subtitles for CBS All Access [All Major Devices]](https://www.alphr.com/wp-content/uploads/2020/06/Manage-Subtitles-for-CBS-All-Access-All-Major-Devices.png)
The supported consoles and streaming devices include AppleTV, Chromecast, Xbox One, PlayStation 4, and more. And the good news is that there might be native app support for Panasonic TVs in the future.
Paramount+ Subtitles on Sony Smart TVs
Sony Bravia smart TVs run on Android. Therefore, you can install the app directly. Here’s how to make sure Bravia’s subtitles are on.

Hit the home button on your remote and then choose Settings (it’s the briefcase icon). Then, choose Digital Set-up and press the round button to confirm.
In the following menu, choose Subtitle Set-up and then Subtitle Preferences. There’s an option to turn them off and on, plus the TV allows you to display visual aids for those with hearing impairments. It’s important to note that the visual aids might not be available for all Paramount+ content.
Paramount+ Subtitles on Vizio Smart TVs
Press the menu button on the remote to turn the subtitles on your Vizio TV on or off. Then, navigate down to Closed Captions and press the OK button.
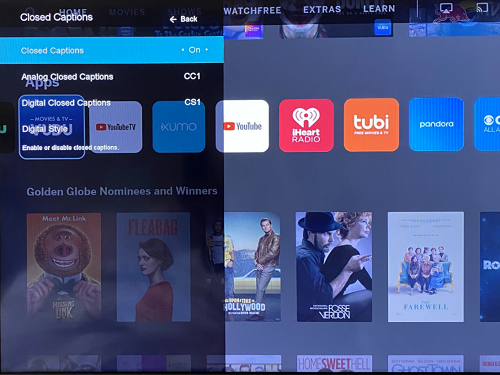
Select On or Off using the arrow buttons and press OK again to finish up. Of course, the in-app subtitles should also be enabled when you play the video.
Overall, there’s still room to improve the subtitles on Paramount+, but they’re generally easy to turn off and on. The improvements might come in some devices’ customization menus or the smart TVs’ accessibility section. As the streaming application receives updates, performance and functionality continue improving.
Paramount+ Subtitle FAQs
Paramount+ is relatively easy to use, but the streaming service isn’t without its quirks. Aside from the troubleshooting tips, this section also tells you about the different subtitle customizations.
Can I change the subtitle language for Paramount+?
By default, the Paramount+ subtitles are in English, but you can change them to a different language. However, the included languages may vary depending on the content watched.
You must access the CC menu after pausing the video playback to make the changes. Then, navigate to the language options and select your preferred input.
Paramount+ subtitles keep coming back on. What can I do?
The first line of defense is to inspect the subtitle or closed caption settings on your TV, console, or streaming gadget. If they remain on, there’s a possibility the preference might override the in-app settings.
Another thing you can do is inspect the Paramount+ setting via the main in-app menu. To access this, press the asterisk button on your remote and navigate to Captions. Then make sure they’re Off.
Can the text size of Paramount+ subtitles be adjusted?
Paramount+ doesn’t feature a setting to change the text size, but there’s no reason to worry. The subtitle settings on your streaming device or TV might have that option. Navigate to the Subtitles or CC Setting and try to find the feature to tweak the text size.
If that doesn’t work, a neat hack is to change the font size.
Can the font size of Paramount+ subtitles be changed?
Yes, the font size option appears in the CC menu on the playback screen. Use your remote or mouse to access the menu. The font size should be the first option on the far left.
There are three sizes to choose from—Small, Normal, and Large. You should know that the Large font size might appear too big when streaming on mobile devices.
Paramount+ subtitles aren’t syncing correctly. What can I do?
Out-of-sync subtitles are a rare glitch on Paramount+. And if you’re using the default subtitles, they should follow the framerate of the given video.
Nevertheless, if the subtitles start lagging or speeding up, it’s best to exit the playback and then try to replay the video. Another trick is to disable the subtitles and then enable them again.
While you’re at it, move down the video timeline to make sure the subtitles get synced all the way through.
Disclaimer: Some pages on this site may include an affiliate link. This does not effect our editorial in any way.

![How to Manage Subtitles for Amazon Prime Video [All Major Devices]](https://www.alphr.com/wp-content/uploads/2020/06/How-to-Manage-Subtitles-for-Amazon-Prime-Video-All-Major-Devices.jpg)


