A MAC (Media Access Control) address is a unique code provided by the manufacturer that will help you identify the brand and model of the devices connected to a network. The MAC address is always the same – a 12-digit code comprised of a series of numbers from 0 to 9 and letters from A to F. The easiest way of finding out the MAC address of a computer is by using its IP address. In this article, you’ll learn everything there’s to know about a device’s MAC address.
Find Your MAC Address on a Windows Computer
Using your IP address is the most common method to find your computer’s MAC address. You just need to follow the steps below:
- Type “
cmd” in your computer’s search bar and click “Open”. A Command Prompt window will open.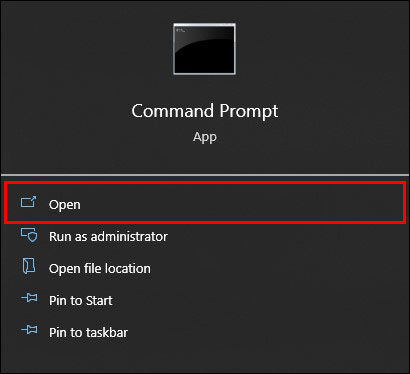
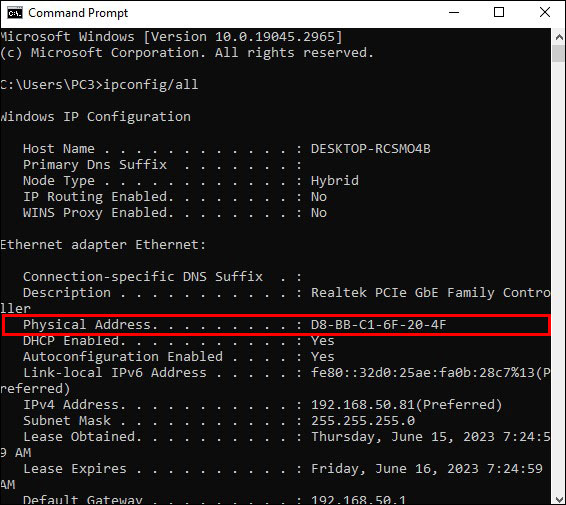
- Next to the line that starts with “C:\Users” type “ipconfig/all” and press Enter.

- Scroll down till you reach the section called “Ethernet adapter Ethernet.” Under “Physical address” you’ll find your device’s MAC address.

Find MAC Address from an IP Address Using Arp Command
Another method to get the MAC address of a computer is through the “arp” command. Whether you’re using Windows, iOS, or Linux, you can follow the same process with just a few variations. With this method, you can retrieve the MAC address of a computer that’s not yours by running a PING. On your iOS computer, follow these steps to get the MAC address:
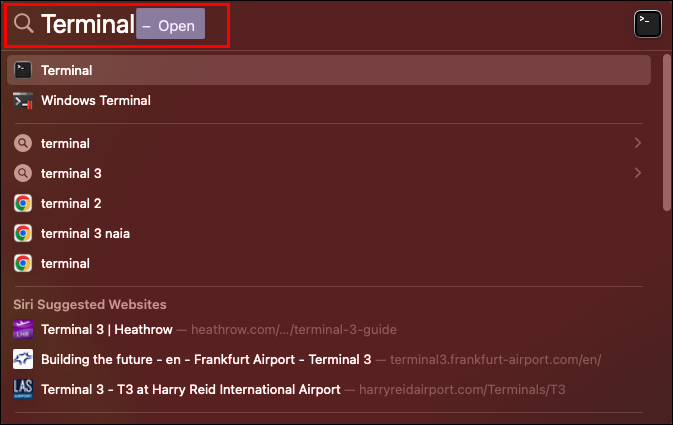
- Go to the Spotlight Search (the magnifying glass in the top right of the screen) and type “
Terminal.” - Type “
ping” and the IP address of the device you want to find out the MAC address. You can type the computer’s hostname if you don’t have the IP address. It will show up when you press Enter. - Run “arp -a plus the IP address” and press Enter. Under “HWaddress,” you’ll find the MAC address.


If you want to use this same method using a Windows computer, follow these steps:
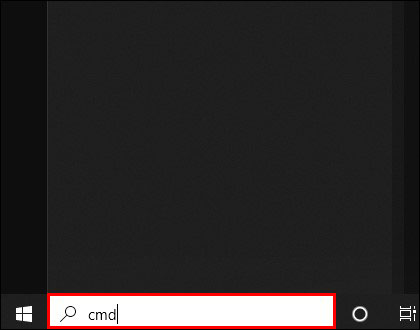
- In the Search bar, type “
cmd” to open the Command prompt. - Select “Run as administrator.”
- Run “ping” and the computer’s IP address to let the system know what information you’re trying to acquire. If you don’t know the IP address, type the hostname. That way, you’ll get the IP address you’ll need to continue.
- Type “
arp -a plus the IP address” and press Enter. You’ll find the MAC address under “Physical Address.”


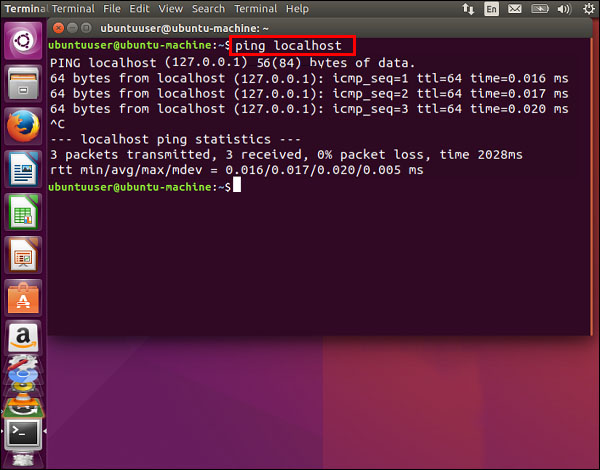
If you have a Linux computer, you can follow similar steps to get the MAC address of a computer. Here’s a step-by-step guide on how to do it.
- Press “Ctrl + Alt + T” to open the Terminal Window or Command Prompt.
- If you know the IP address, type “
ping” and the IP number. Otherwise, you can type the hostname. - Once you have the IP address, run “arp” The MAC address will appear under “HWaddress.”


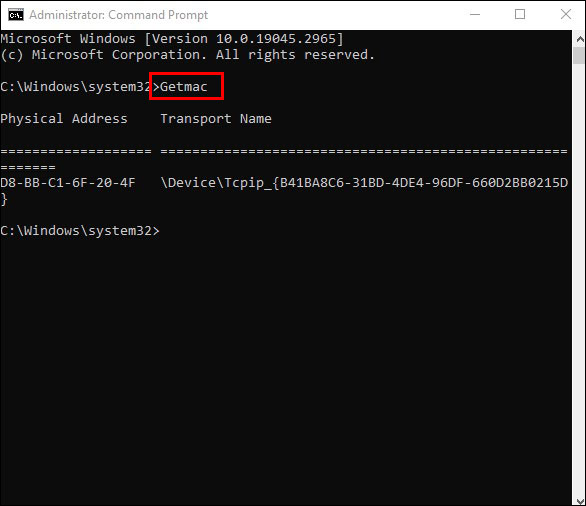
Use Getmac Command on Window Computer to Get MAC Address
Windows computers have various methods to retrieve the MAC address of a computer. Another frequently used method is the Getmac Command. Follow the troubleshooting below to get a MAC address:
- Open the “Command prompt” by typing “
cmd” on the search bar. - Right-click “Command prompt” and select “Run as administrator.”
- To run getmac, you must type the command “
getmac“. You’ll find the MAC address under the column called “Physical Address.”
Scan Your Local Network
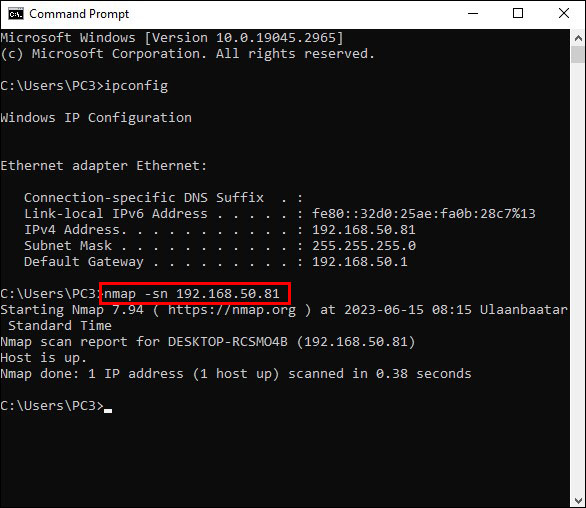
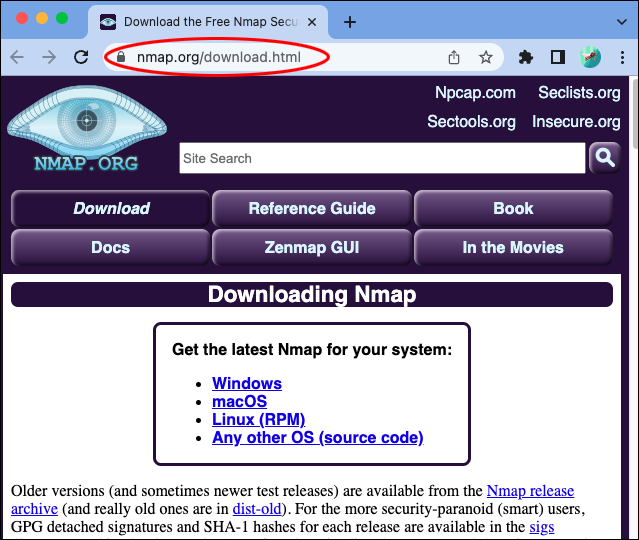
You can install Nmap software to discover the IP and MAC addresses of all the devices connected to your network. This software is compatible with Windows, Linux, and iOS. You’ll need to follow these steps to run Nmap on your Windows computer:
- Go to Nmap and follow the steps to install the software.
- Open a Command prompt by typing “cmd” on the search bar. To scan your network, you’ll need your IP address.
- Type “
ipconfig.” You’ll find your IP address next to IPv4. - Run Nmap by typing “nmap -sn xxx.xxx.xxx.” You must replace the “x” with the network you want to scan. A few seconds later, you’ll get all the information on the devices connected to your network.


The process is very similar if you want to perform it on an iOS computer. Here’s a step-by-step on how to do it:
- Go to Nmap and follow the steps to install the software.
- To open a command prompt, type “
Terminal” on the Spotlight search. - To get your IP address on an iOS computer, you must open “System Preferences” and “Network.”
- Click on “Advanced” and then “TCP/IP.”
- Run Nmap by typing “
nmap -sn xxx.xxx.xxx.” You’ll need to replace the “x” with the network’s IP.
Finally, with Linux, the process is very similar, with just a few changes. Follow the steps below to scan your network on a Linux computer:
- Visit the Nmap site, install the software, and then follow the instructions.
- Press Ctrl + Alt + T to open the terminal window or prompt command.
- Run “ipconfig” to get your IP address and type “
nmap -sn xxx.xxx.xxx,” replacing the “x” with your IP address. In a few seconds, you’ll see all the devices connected to your local network listed below.


Additional Questions
What are the differences between IP and MAC addresses?
The MAC address is assigned to a device by the manufacturer. The IP address, on the other hand, is assigned by the ISP (Internet Service Provider) or the network administrator. It’s important to point out that the IP address of your devices will change depending on the network you’re connected to, while the MAC address remains the same.
Why is an IP address important?
The network assigns an IP number to every device to locate them in a global network and send the necessary information.
A Network of Possibilities
To find information about the devices connected to your network, you’ll need to get their MAC number. This code contains specific information about the brand and model of each device. To retrieve a MAC address, you must access the Command Prompt and request the information by entering a series of codes.
Do you know your computer’s IP address? Which method did you find easier to retrieve your MAC address? Let us know in the comments below.


Disclaimer: Some pages on this site may include an affiliate link. This does not effect our editorial in any way.


