Device Links
When shopping on Amazon, it often happens that you need to change the default language. Maybe you’re looking for a specific product but you only know the name in your native language. Changing the language can also make it easier to read and understand product descriptions, so you can more easily decide on the one you want.
Whatever the case might be, changing the language on Amazon is quite simple and can be done in a few steps. In this article, we’ll walk you through the necessary steps to change the language on Amazon.
How to Change the Language on the Amazon Website on a PC
There are a variety of languages available on Amazon, but depending on your location, you may only be able to select from a restricted number of them. It is possible to use local languages on each of Amazon’s regional sites. Those in the United States have the option of English or Spanish, while those in India can pick between Hindi and a couple of other regional languages.
Here are the steps to change the language on the Amazon website using a PC:
- On your PC (Mac, Windows, Chromebook computer, or Linux), access the Amazon website in a web browser.

- Sign in to your account.

- Select the flag icon that appears beside the search box at the top of the site.
- Upon logging in, Amazon will present you with a “Change Language and Currency Settings” option. The “Language Settings” section shows all of the languages supported by the platform.
- Select a language from the drop-down menu to make it the default.
- You may save your new settings by clicking on “Save Changes” at the bottom of the page once you’ve scrolled all the way down (or the corresponding button in your newly selected language).


You may now shop at Amazon in the language of your choice. You’re good to go. Under the “Change Language and Currency Settings,” you also have the option to change the default currency. In this way, you’ll also be able to view products in the currency you prefer or use daily.
How to Change the Language on the Amazon Website on an iPhone
When it comes to iPhones, you have two options. You can either access the Amazon website through the mobile browser, or you can use the iPhone app. The variety of languages accessible in your smartphone application may vary depending on where you are.
Here are the steps to take when using an iPhone mobile browser like Safari:
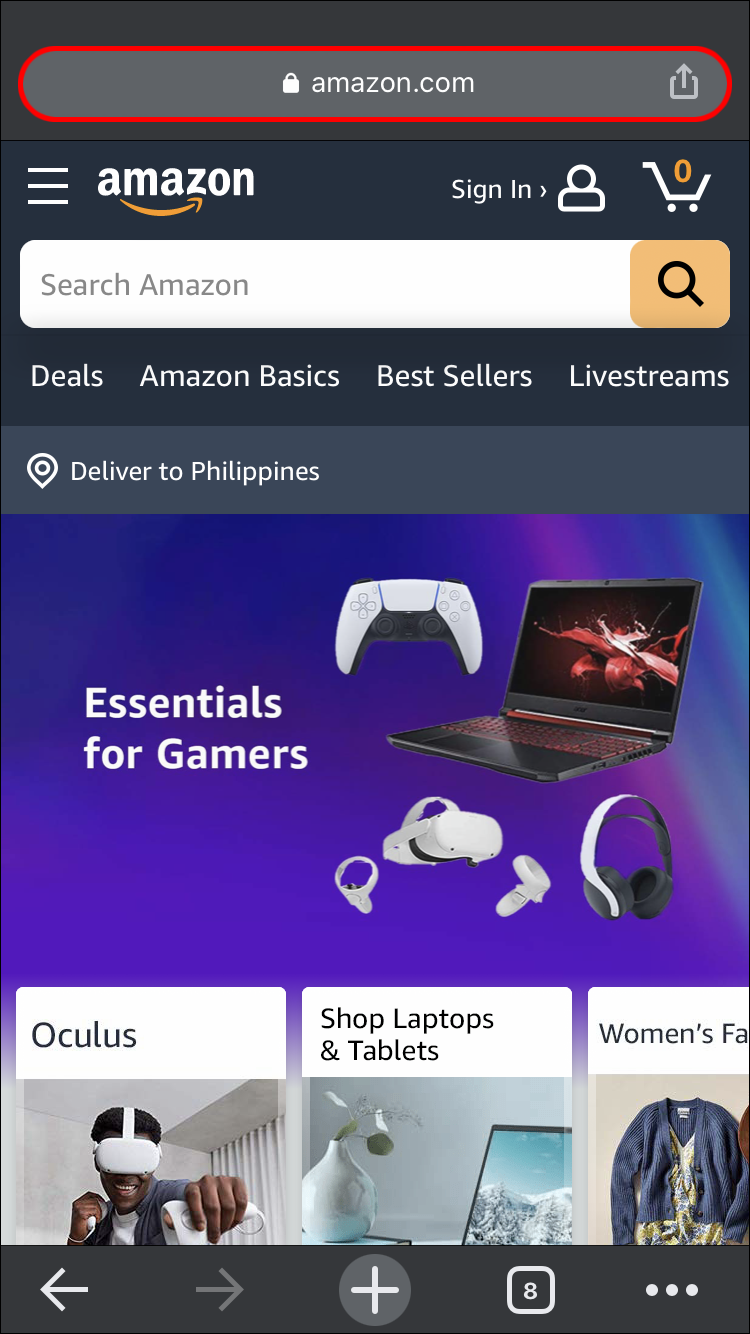
- Access the Amazon website using your mobile browser.
- Log in to your Amazon account.
- Tap on your profile.
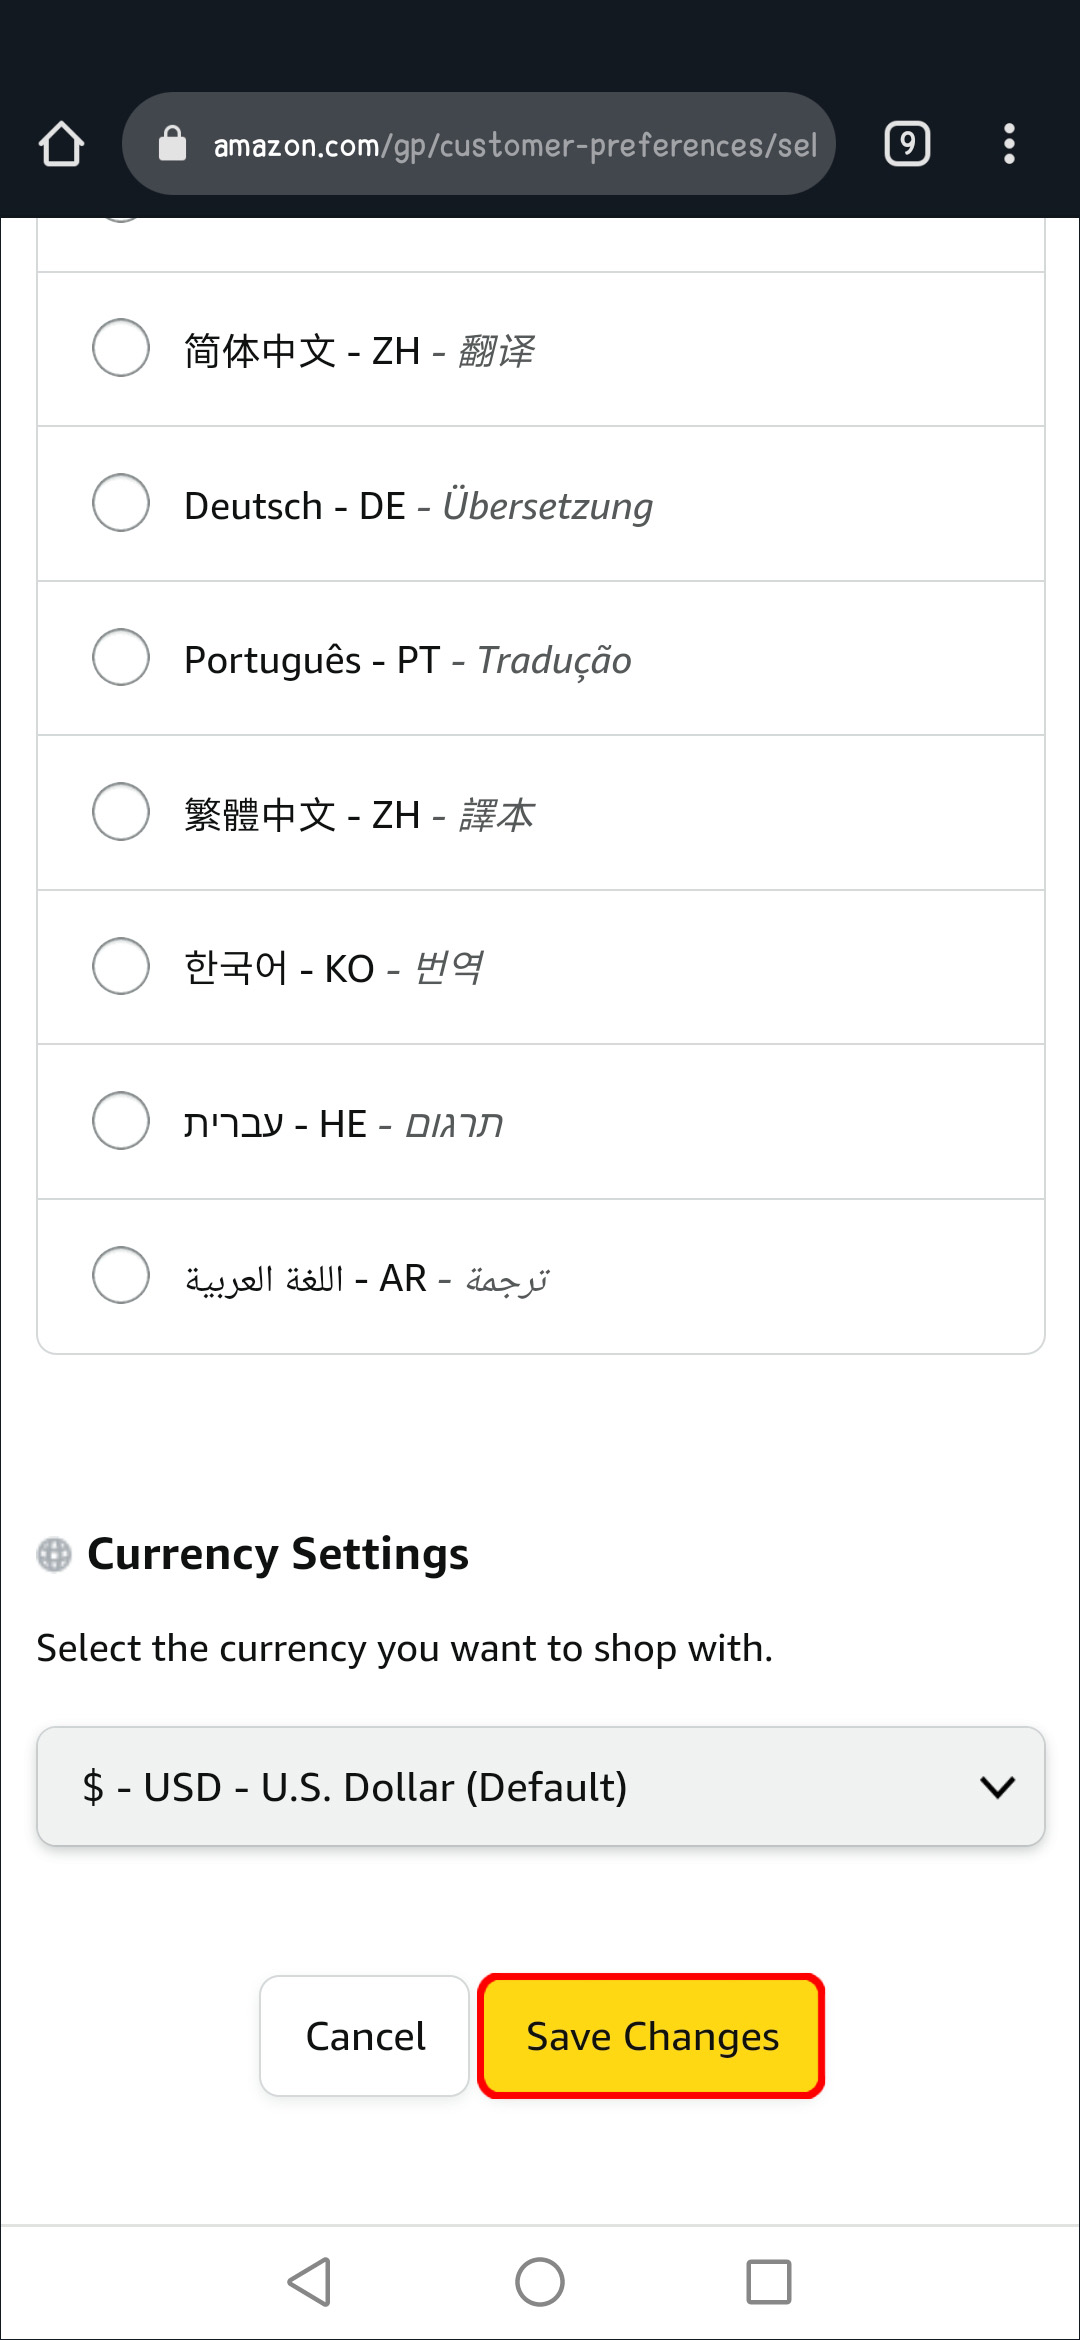
- Scroll all the way down to Settings and you will see the language and it’s country, tap on the language.
- Pick a language from the drop-down menu to make it the default.
- Once you’ve finished, scroll to the bottom of the page and click “Save Changes” (or the corresponding button in your newly selected language).


If you have the Amazon app downloaded on your iPhone, follow these steps:
- In the Amazon app, touch the three horizontal lines.
- Select “Settings” from the pop-up menu.
- Pick “Country & Language” from the enlarged “Settings” menu.
- You’ll notice a table of numerous Amazon region-specific locations, along with their accessible languages. In the list, select the location and language of your choice.
- The application will then reload in the newly selected language.


How to Change the Language on the Amazon Website on an Android
You have two choices when it comes to Android devices. Again, you may either use a mobile browser to view the Amazon website or the Android app. The languages available in your smartphone application may change according to your location, as with the PC version. Here’s how to do it:
- Using your mobile browser, navigate to the Amazon website.
- Sign in using your Amazon credentials.
- Tap on your profile.
- Scroll all the way down to Settings and you will see the language and it’s country, tap on the language.
- Select the language you prefer.
- When completed, go to the bottom of the page and click “Save Changes,” which will save your new settings (or the corresponding button in your newly selected language).


If you already have the Amazon app installed on your Android device, proceed as follows:
- Tap the three horizontal lines in the Amazon app.
- From the pop-up menu, select “Settings.”
- From the expanded “Settings” menu, select “Country & Language.”
- You’ll notice a selection of several Amazon region-specific languages. Select the site and language of your choice from the list.
- Reload the app, and it will be displayed in the newly selected language.


How to Change the Language on the Amazon Website on an iPad
iPads and iPhones use the same operating system: iOS. Hence, when it comes to changing the language on Amazon, you’ll have the same options as using an iPhone. Here’s how to change the default language on the Amazon website using an iPad:
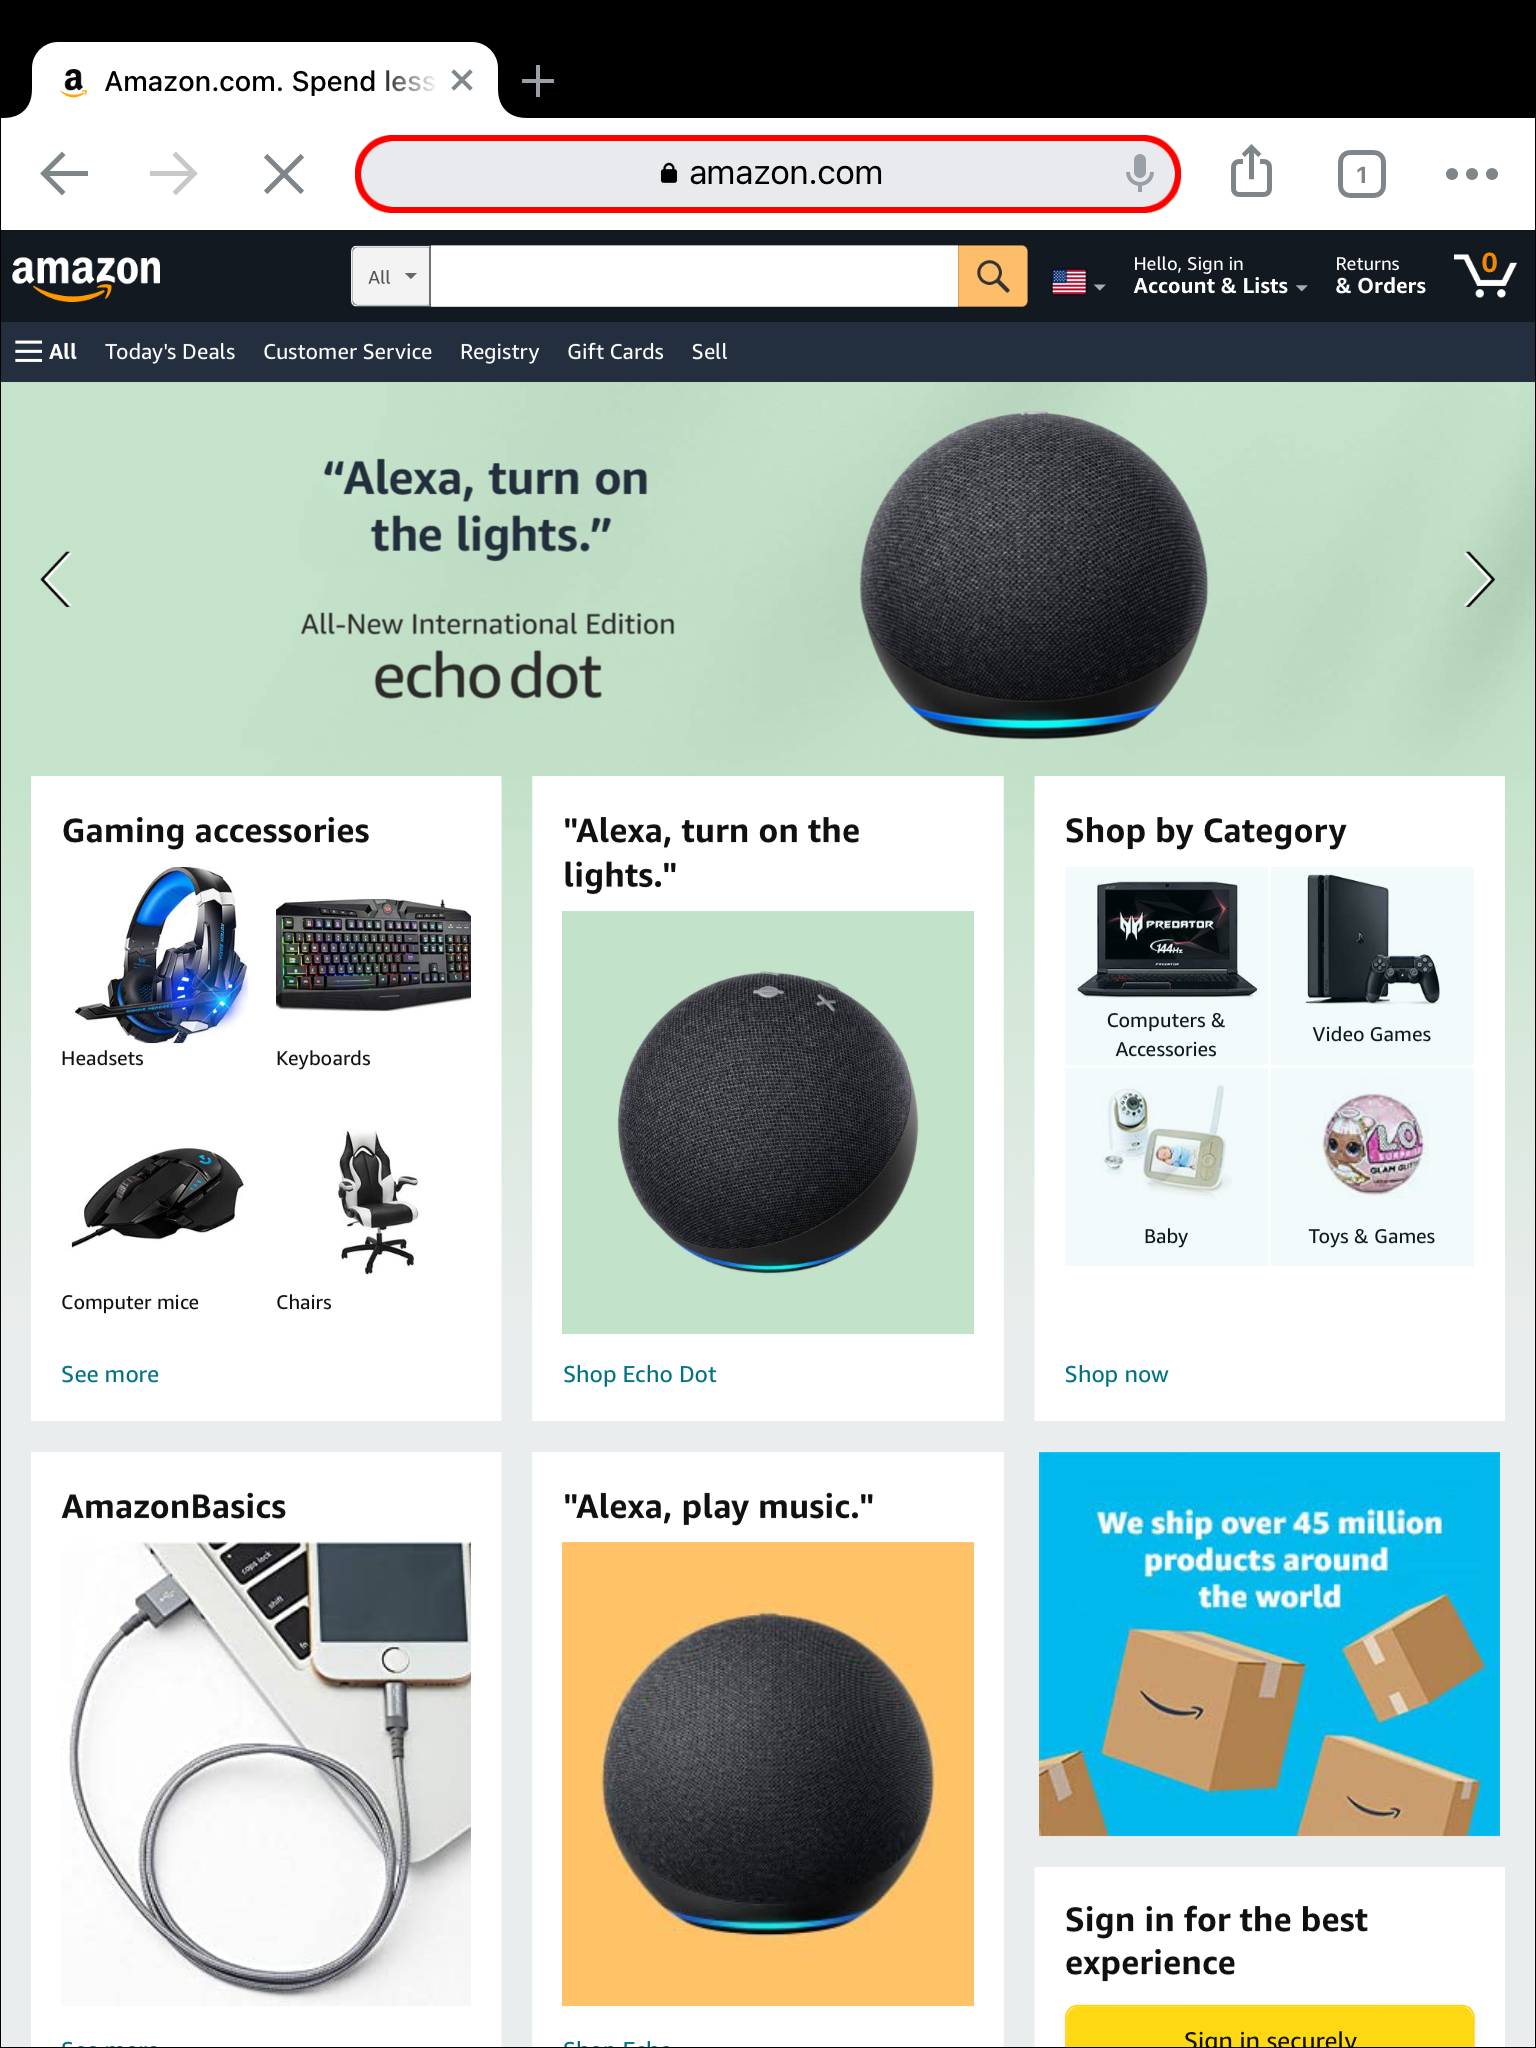
- Go to the Amazon website using your mobile browser.
- Log in to your Amazon account.
- At the top of the page, click on the flag icon directly beside the search box.
- A menu item titled “Change Language and Currency Settings” will be available. The section under “Language Settings” includes a selection of all available languages.
- Pick a language to designate as the default from the drop-down option.
- When finished, scroll down to the bottom of the page and click “Store Changes,” which will save your newly configured settings (or the corresponding button of that in your freshly selected language).


If your iPad already has the Amazon app installed, follow these steps:
- In the Amazon app, go to the three horizontal lines.
- Select “Settings” from the pop-up menu.
- Choose “Country & Language” from the enlarged “Settings” menu.
- You’ll see a selection of numerous Amazonian dialects. From the list, pick the site and language of your choosing.
- Reload the app, and the application will display in your newly selected language.


Shop in the Language of Your Choice
Changing the default language is quick and straightforward. However, you will be restricted when it comes to choosing languages based on your region. If you want to change the default language on Amazon to one that is not offered to you, there is a workaround. You can install a VPN like ExpressVPN to have access to other languages.
The VPN makes it appear as though you’re accessing the internet from any location you choose. It’s as simple as downloading the VPN and selecting the server of your preference. You’ll have access to any language in no time.
Have you tried changing the language on Amazon? What is your default language on Amazon? Let us know in the comment section below.
Related Posts
 How to Change the Language on Netflix [All Devices]
 How to Change the Default Language on Facebook
 How to Change the Default Profile Language in LinkedIn
 How to Change the Language in MIUI
 How to Change the Language on a Samsung TV
 How to Change the Language in BeReal
 How to Change the Language in Procreate
Disclaimer: Some pages on this site may include an affiliate link. This does not effect our editorial in any way.


