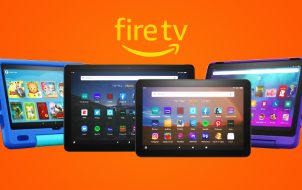
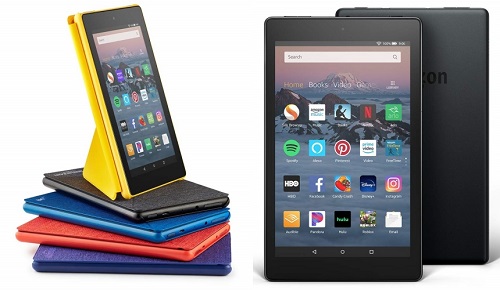
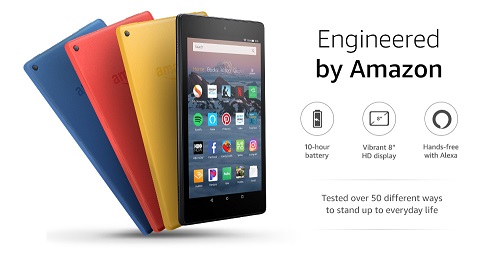
If you want a reasonably decent and inexpensive tablet, Amazon Fire Tablet is a fantastic choice. And here’s the thing, when buying your Fire Tablet, Amazon offers you to save $15 by opting to receive “Special Offers.”
These are just ads and recommendations for movies, music, books, and other offers. It sounds like an easy trade. But after a while, those ads might become too cumbersome. This article will show you how to get rid of them. We’ll also show you some other cool stuff you can do with your Fire Tablet.
How to Remove the Ads
In case you read or watch movies on your Fire Tablet every, you might get tired of looking at the constant ad flow on your device. Unfortunately, you can’t deal with them through the device’s settings. You have to go back to your Amazon account and manage the issue from there. Here is what you need to do:
- Log into your Amazon account.
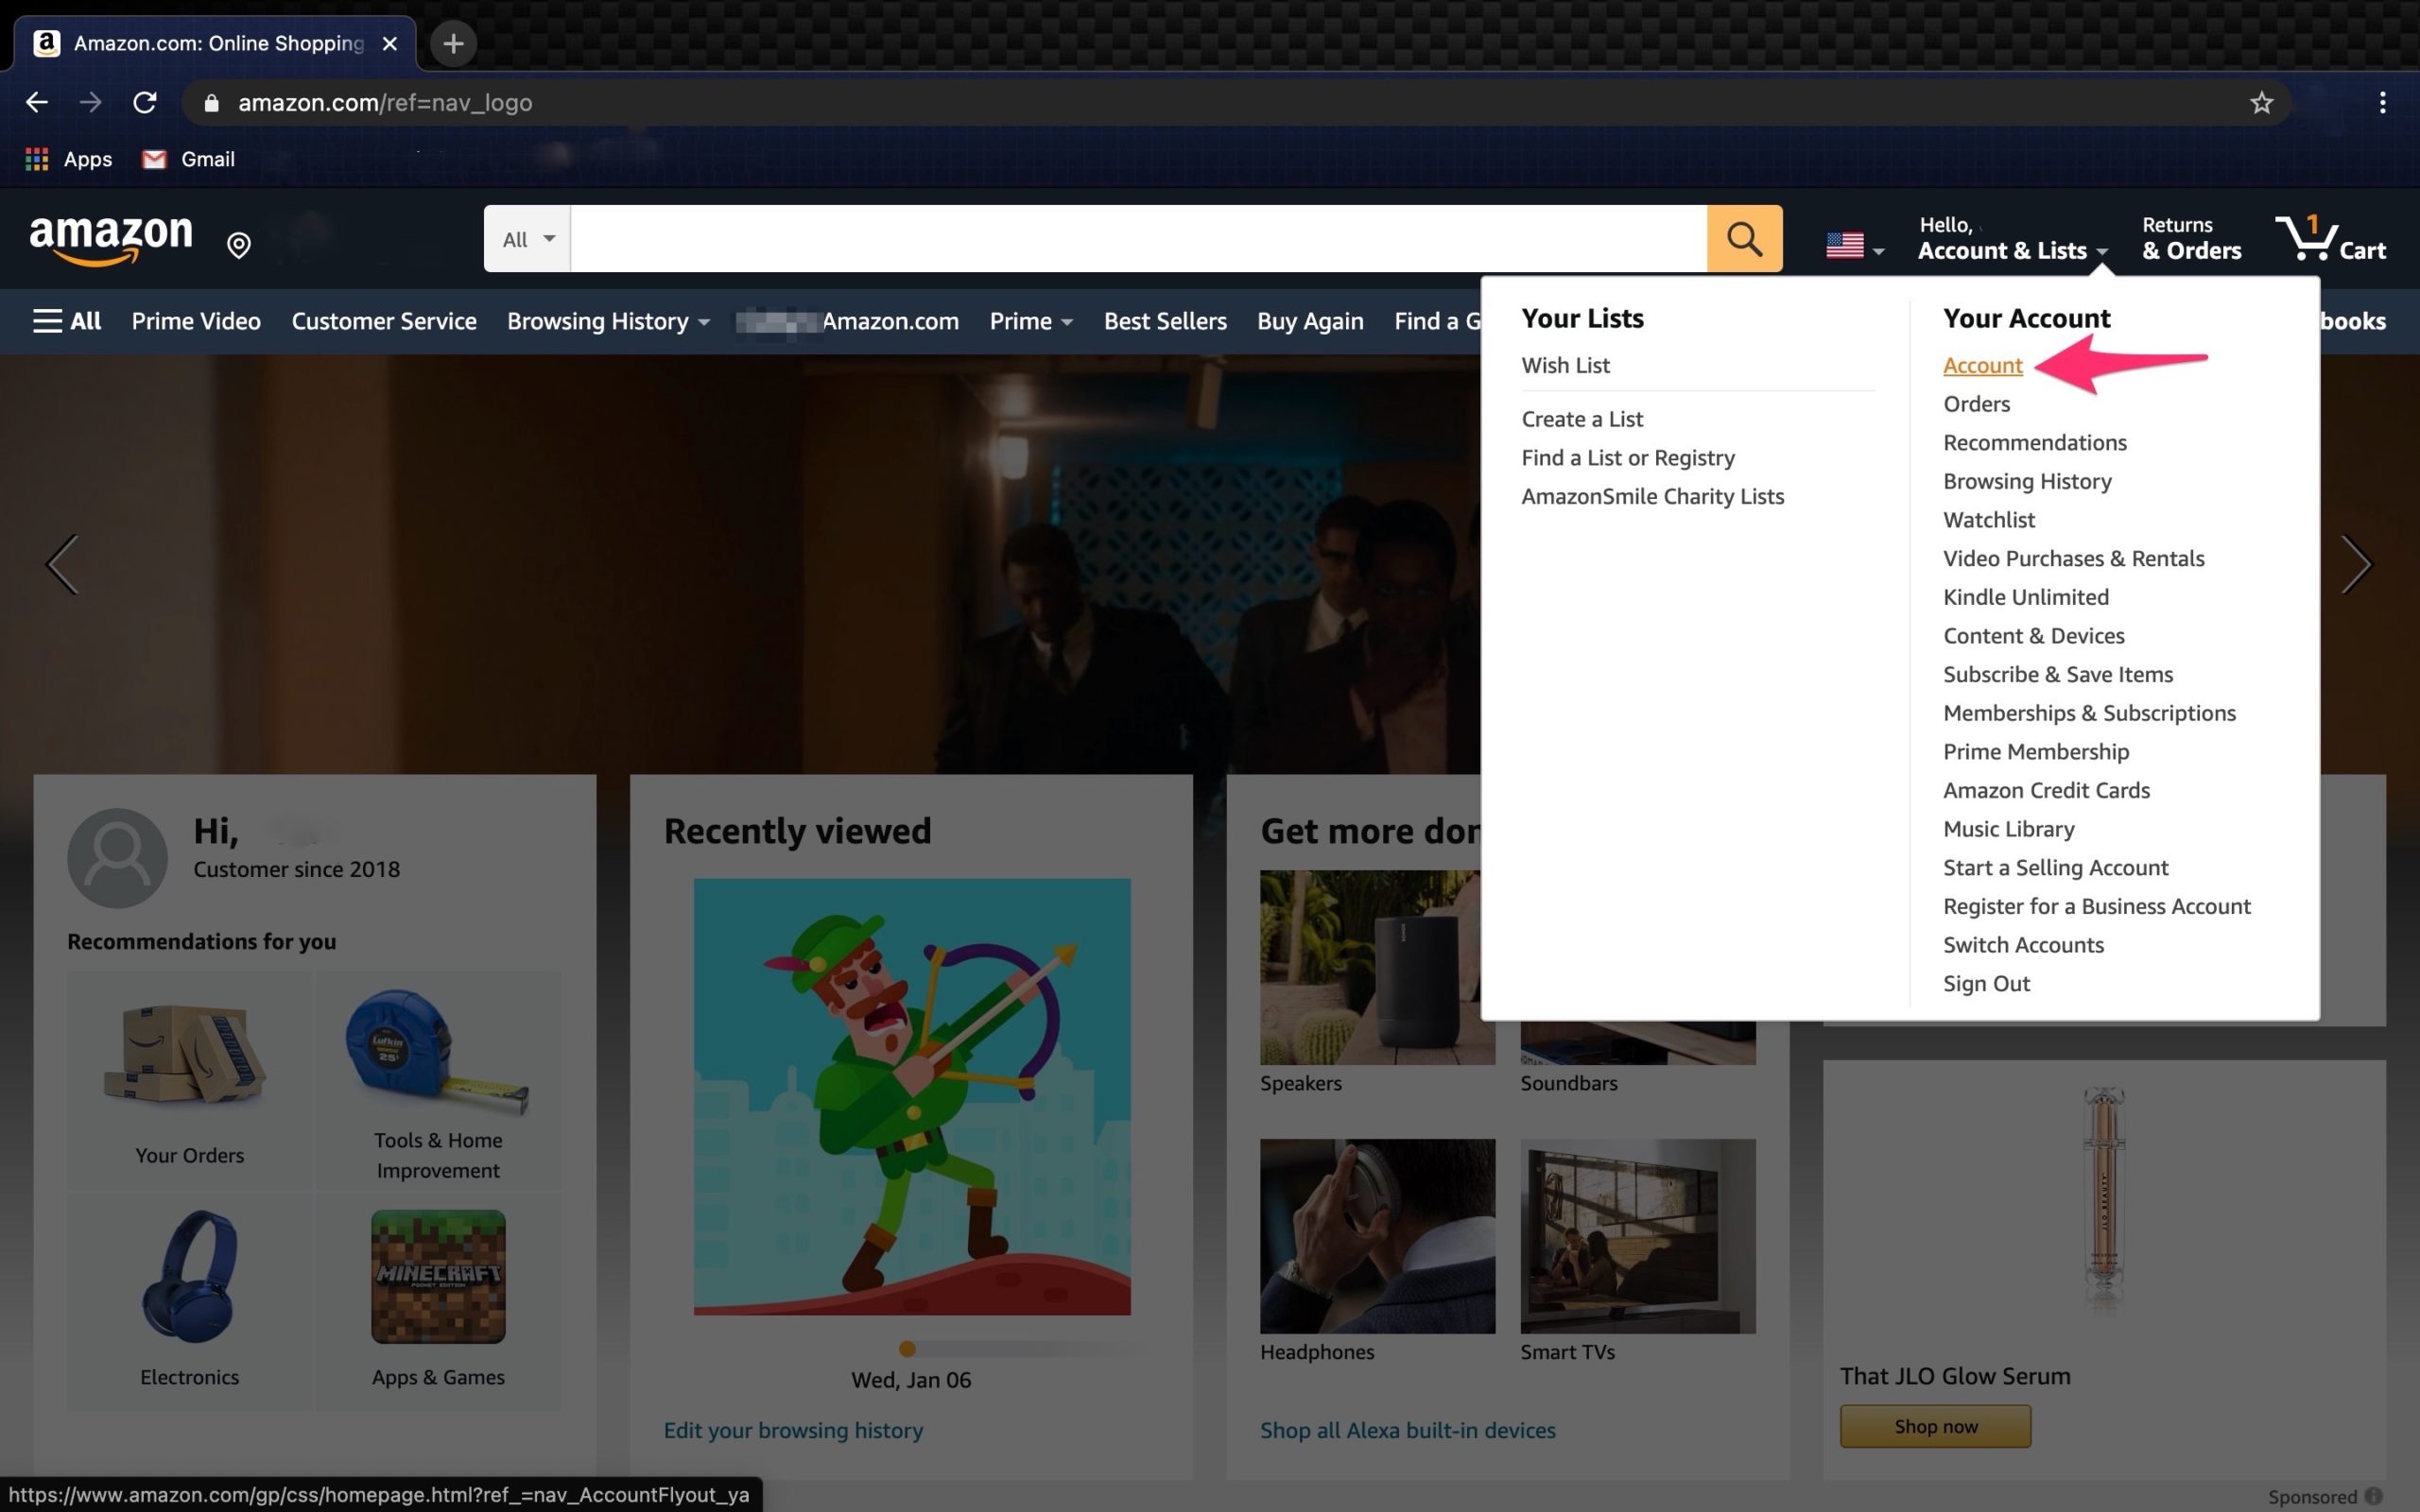
- Hover over Accounts and Lists and click on Account.

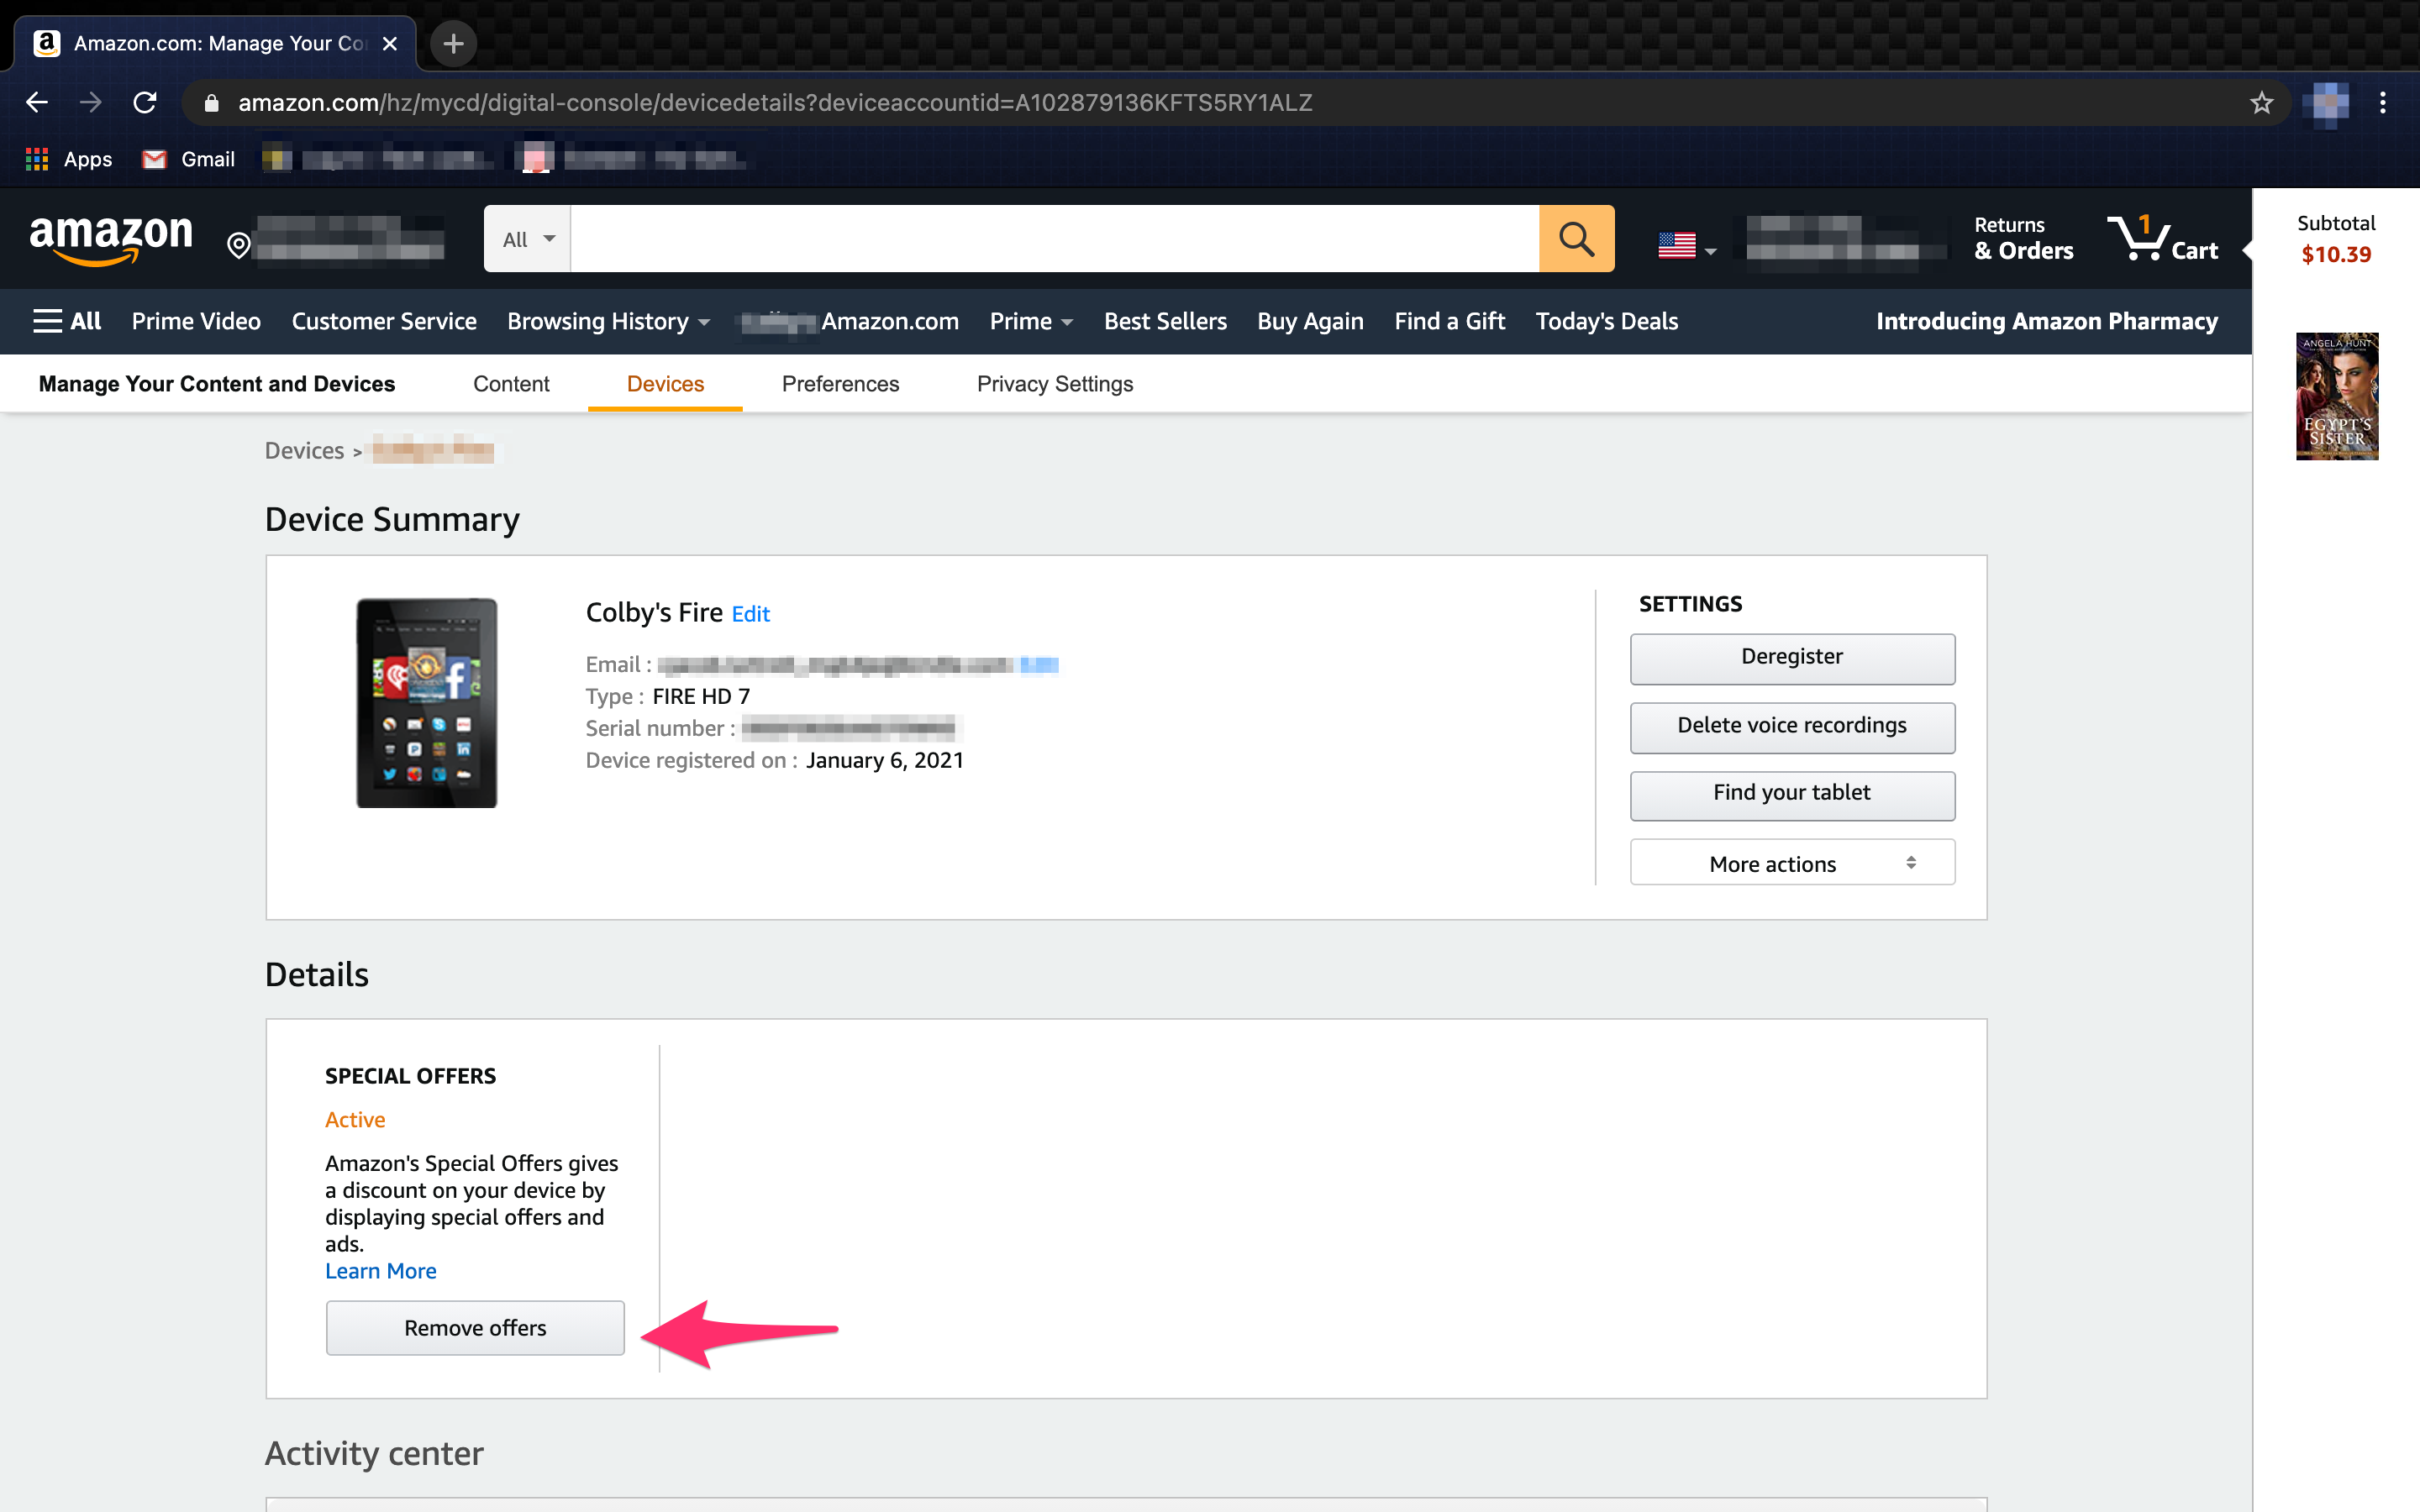
- Go to Your devices and content.
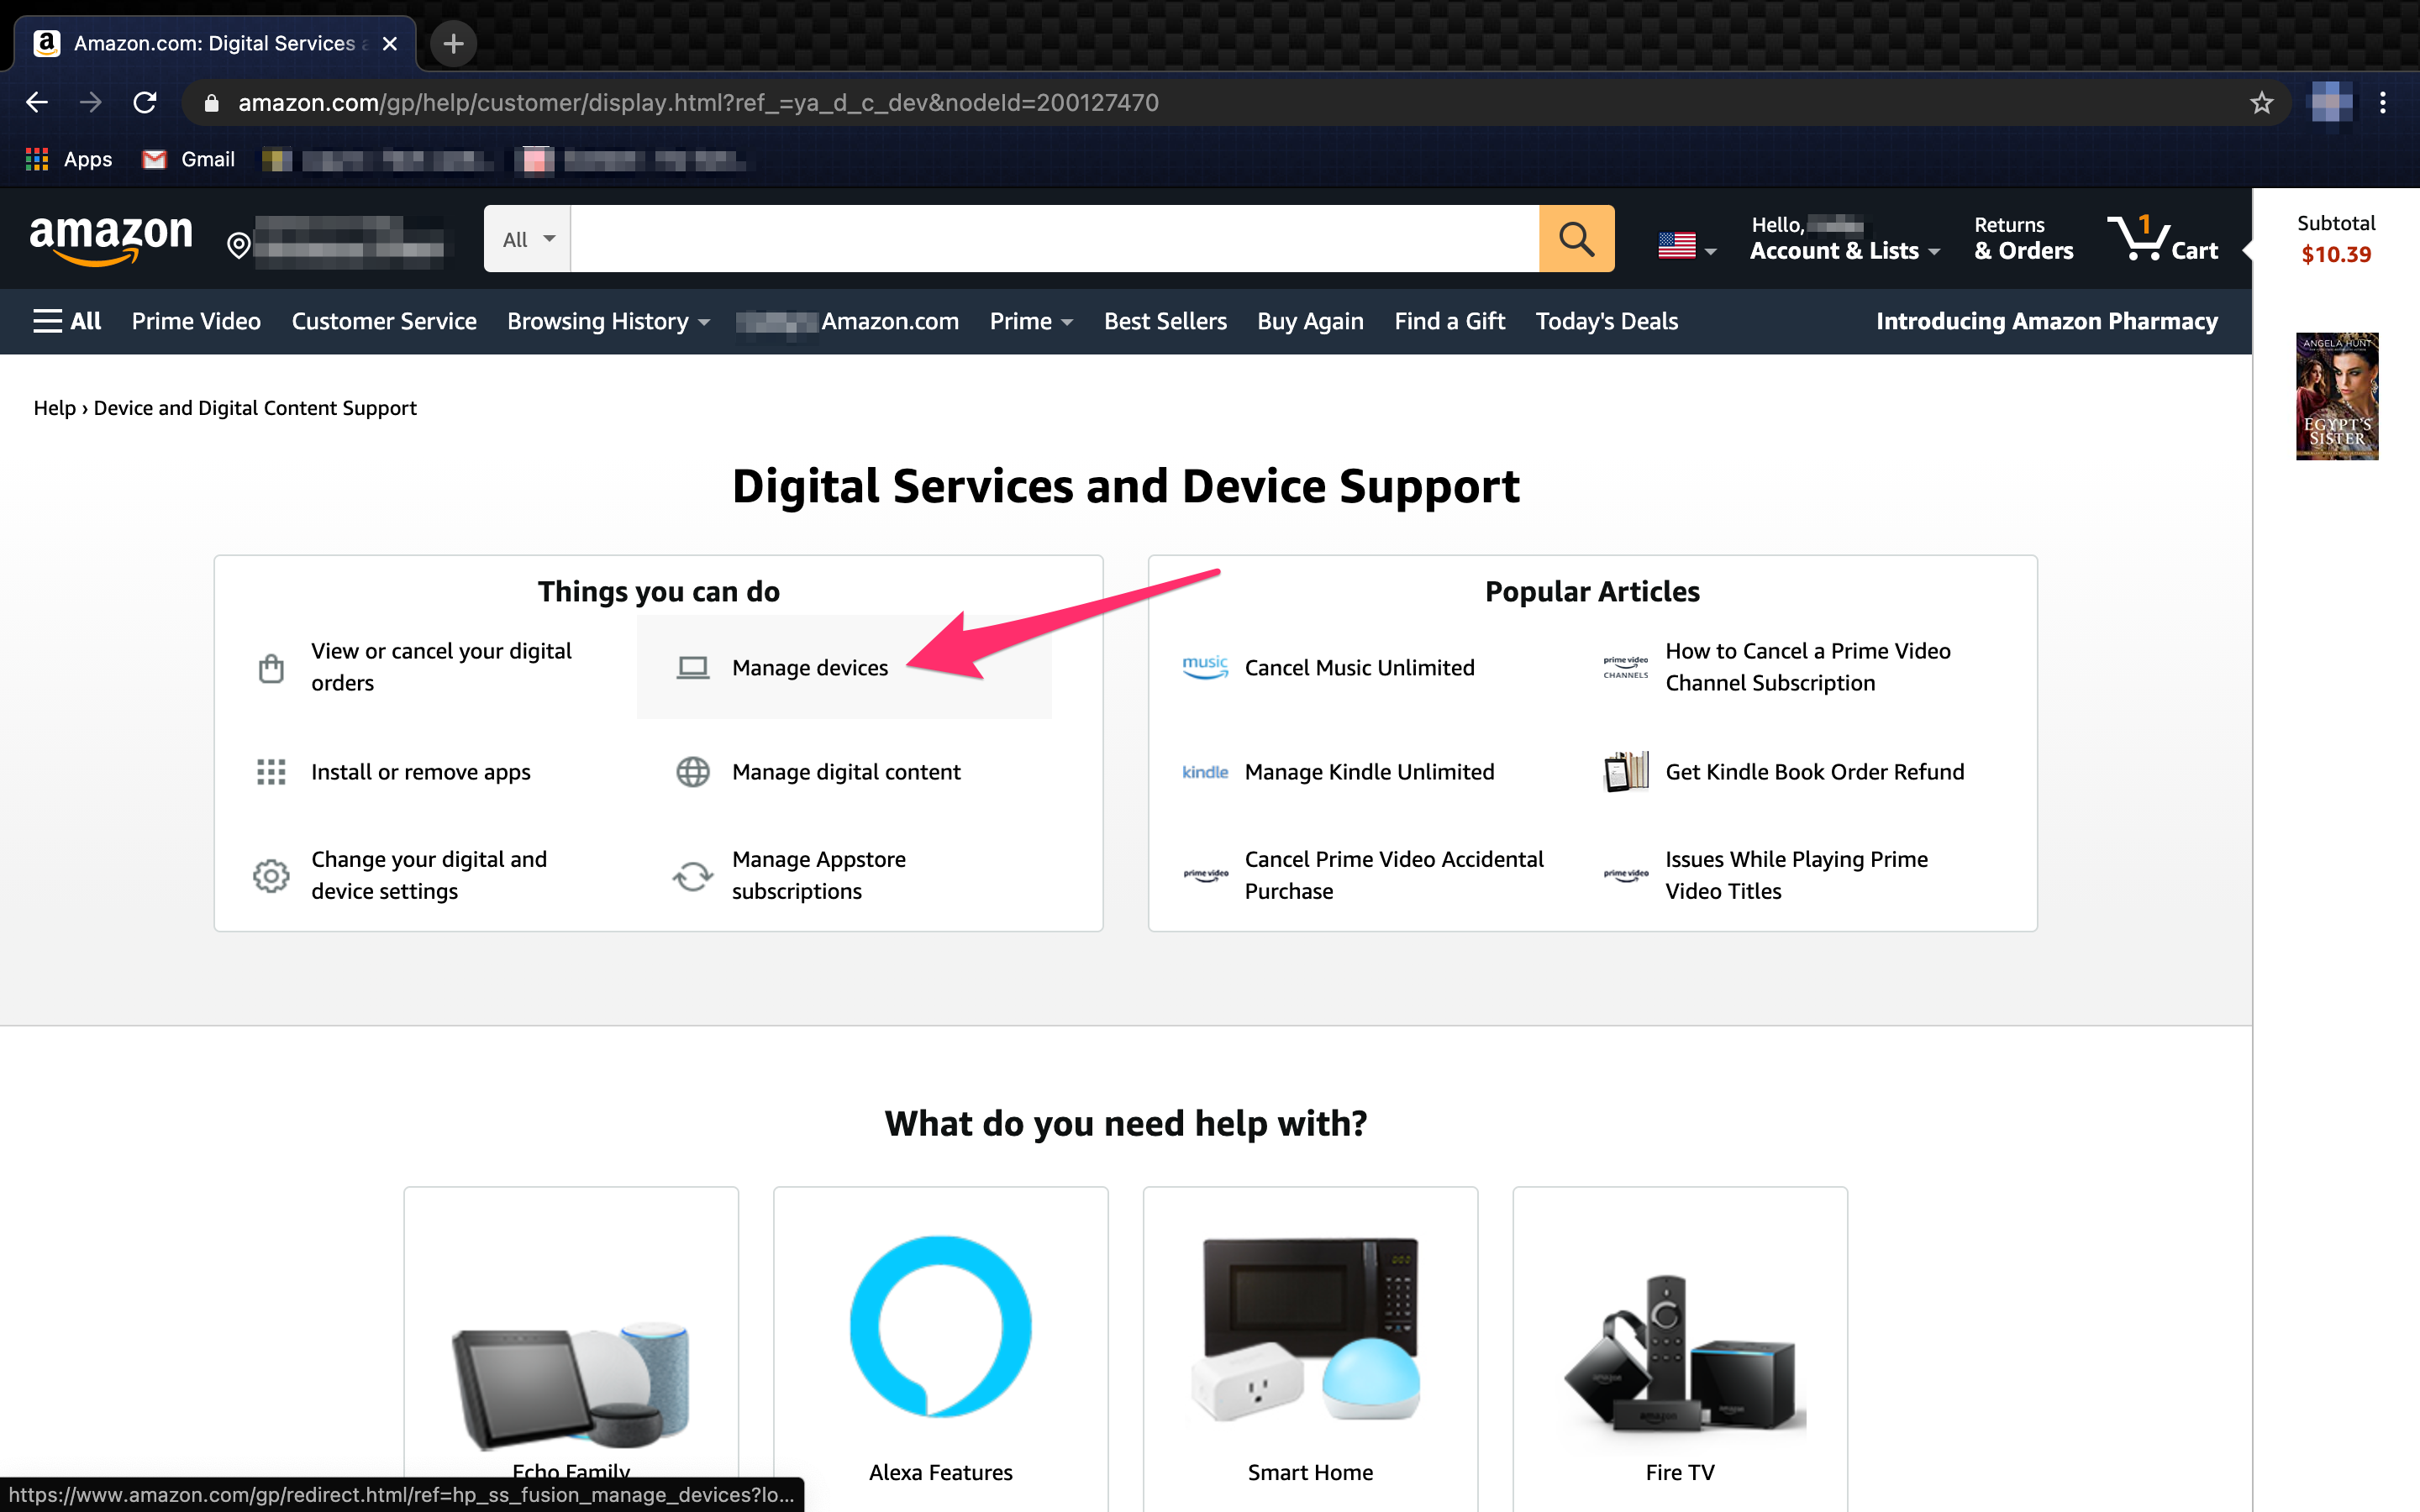
- Choose Manage Devices.
- Find and then click on your registered Fire Tablet.
- Under the Special Offers section, select Remove offers.
- Click on End offers and Pay the Fee.


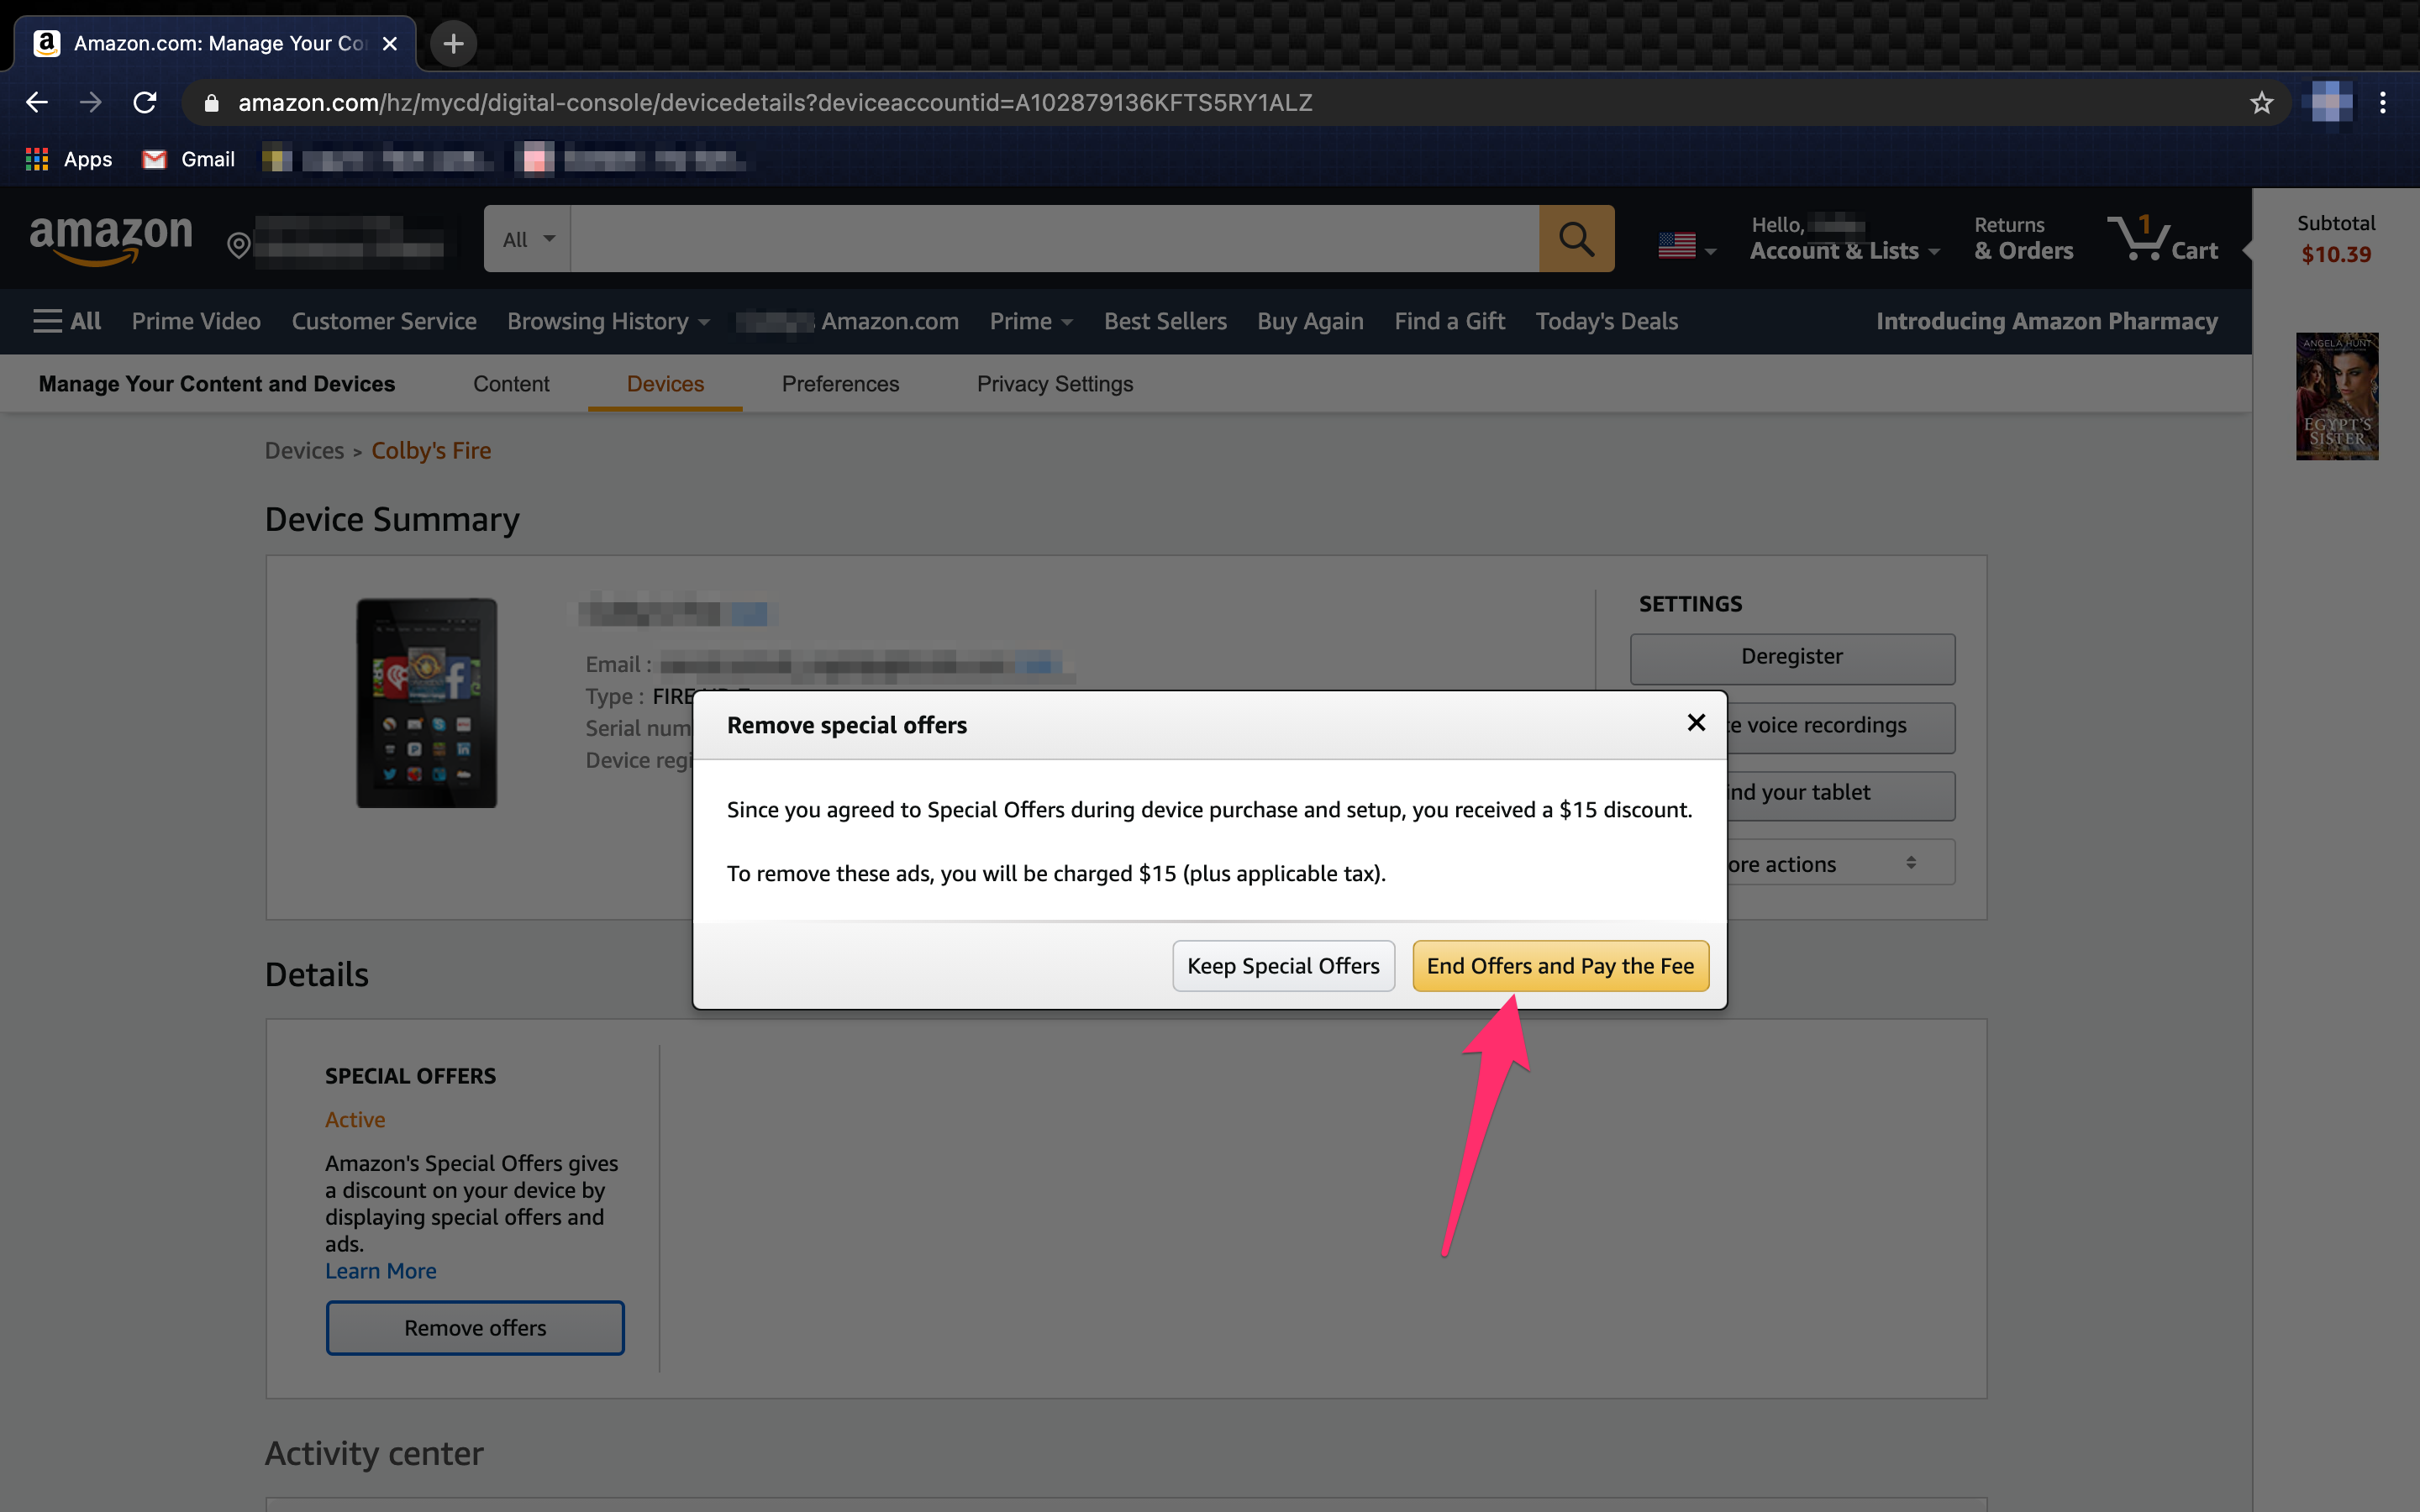
That is all you need to do. But here is the catch. When you unsubscribe from receiving ads, Amazon will charge you $15 plus taxes. This amount will be deducted from your Amazon account. Once you’ve unsubscribed from special offers, turn on your Fire Tablet and make sure it’s connected to Wi-Fi. Your lock screen should no longer show ads.

Now you’ll see some default HD photos or images from your gallery. You can also expect all the ads from the Home screen to disappear as well. Keep in mind that even though ads are gone now, you will still receive some recommendations from other parties.
Saving Yourself the Trouble
Saving $15 when purchasing your new Fire Tablet seems like a fantastic offer. But before going through with it, it’s probably a good idea to think twice about it. If the answer is that they won’t bother you at all, then go ahead and save the money.
But if you know deep down that you will go back and unsubscribe, you can save yourself the trouble and pay the full price straight away. For the indecisive, option one is likely preferable.
Changing the Wallpaper
On the older Fire Tablets, there is no way to change the wallpaper. So, even when you delete the ads from the background, you are only left with what Amazon gave you. Fortunately, the newer models have the option of adding custom wallpapers. So, after you’ve gotten rid of the ads, it’s time to update the wallpaper. Here is how you do it:
- Swipe down the Quick Actions panel on the Home screen and go to Settings.
- Select Display and then Select Home screen wallpaper.
- Then select Change your Home screen wallpaper.
- Select a photo from your device or one of the pre-installed images.
Now your Fire Tablet is both ad-free and more personalized.
Changing the Lock Screen
Probably one of the biggest eyesores on the Fire Tablet was the ads spreading across the lock screen. Once you’ve paid the $15 to remove them, it’s time to upgrade and customize the lock screen. Here’s what you need to do:
- Go to Settings and then select Lock Screen.
- Then tap on Select a lock screen scene.
- Go through the library of the available scenes.
- Or select the Your Photo option and choose a photo from your gallery.
- Confirm your selection.
If you go with the scenes option, the default Fire Tablet settings are to change them every day. But you can disable this feature. Note: if your device battery is low, the interactive scenes on your lock screen will stop moving to extend the battery life.
Issues When Removing Ads
As reported by some users, you might run into some problems when you attempt to remove the ads from your fire tablet. If that occurs, you might be forced to reset your device to factory settings, thus deleting all of your apps and preferences, etc.
In the event you do have to reset your device, remember to backup any photos, files, etc. before proceeding with the reset.
Remove the Ads, Add the Pictures
Ads are everywhere, and they mostly desensitize people. But it’s one thing to have them on a website or a billboard, and another for them to occupy your Fire Tablet screen. Unfortunately, you’ll have to pay up to get rid of them. But then a whole world of wallpapers and lock screen images and scenes opens up.
How do you feel about ads on your Fire Tablet? Let us know in the comments section below.
Related Posts
 Samsung Tablet and the Amazon Fire Tablet Comparisons
 TikTok Ads vs. Facebook Ads
 What to Do If Your Amazon Fire Tablet Won’t Turn On
 How To Use a VPN with an Amazon Fire Tablet
 How to Add Google Chrome to an Amazon Fire Tablet
 How to Find the Latest Fire Tablet on Amazon Store
 Amazon Fire Tablet Safe Mode – All You Need to Know
 How to Find the MAC Address of Your Amazon Fire Tablet
Disclaimer: Some pages on this site may include an affiliate link. This does not effect our editorial in any way.