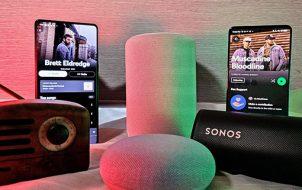
Google Home makes it easy to fill your living room with the music you love most. In the last two years, Google Home made a move to support the free version of YouTube, which opened the gates for users to experience their favorite music with astounding clarity.
While the idea of playing YouTube Music over your Google Home speakers is relatively straightforward, connecting the two for the first time is sometimes a challenge. In this guide, we will show you how to play YouTube Music on your Google Home system.
How to Play YouTube Music on a Google Home
Linking up your Google Home smart speaker to play YouTube Music may prove challenging the first few times you try it out. But once you get the hang of it, it is smooth-sailing.
Your Google Home system connects to your devices, be it a smartphone or tablet, via Bluetooth. Setting up a Bluetooth connection between your chosen device and your home system makes it possible to play YouTube Music.
Let’s look at how to connect your device to your Google Home speakers and get your YouTube Music playing.
- Open up your Google Home App on your Android or iPhone device.
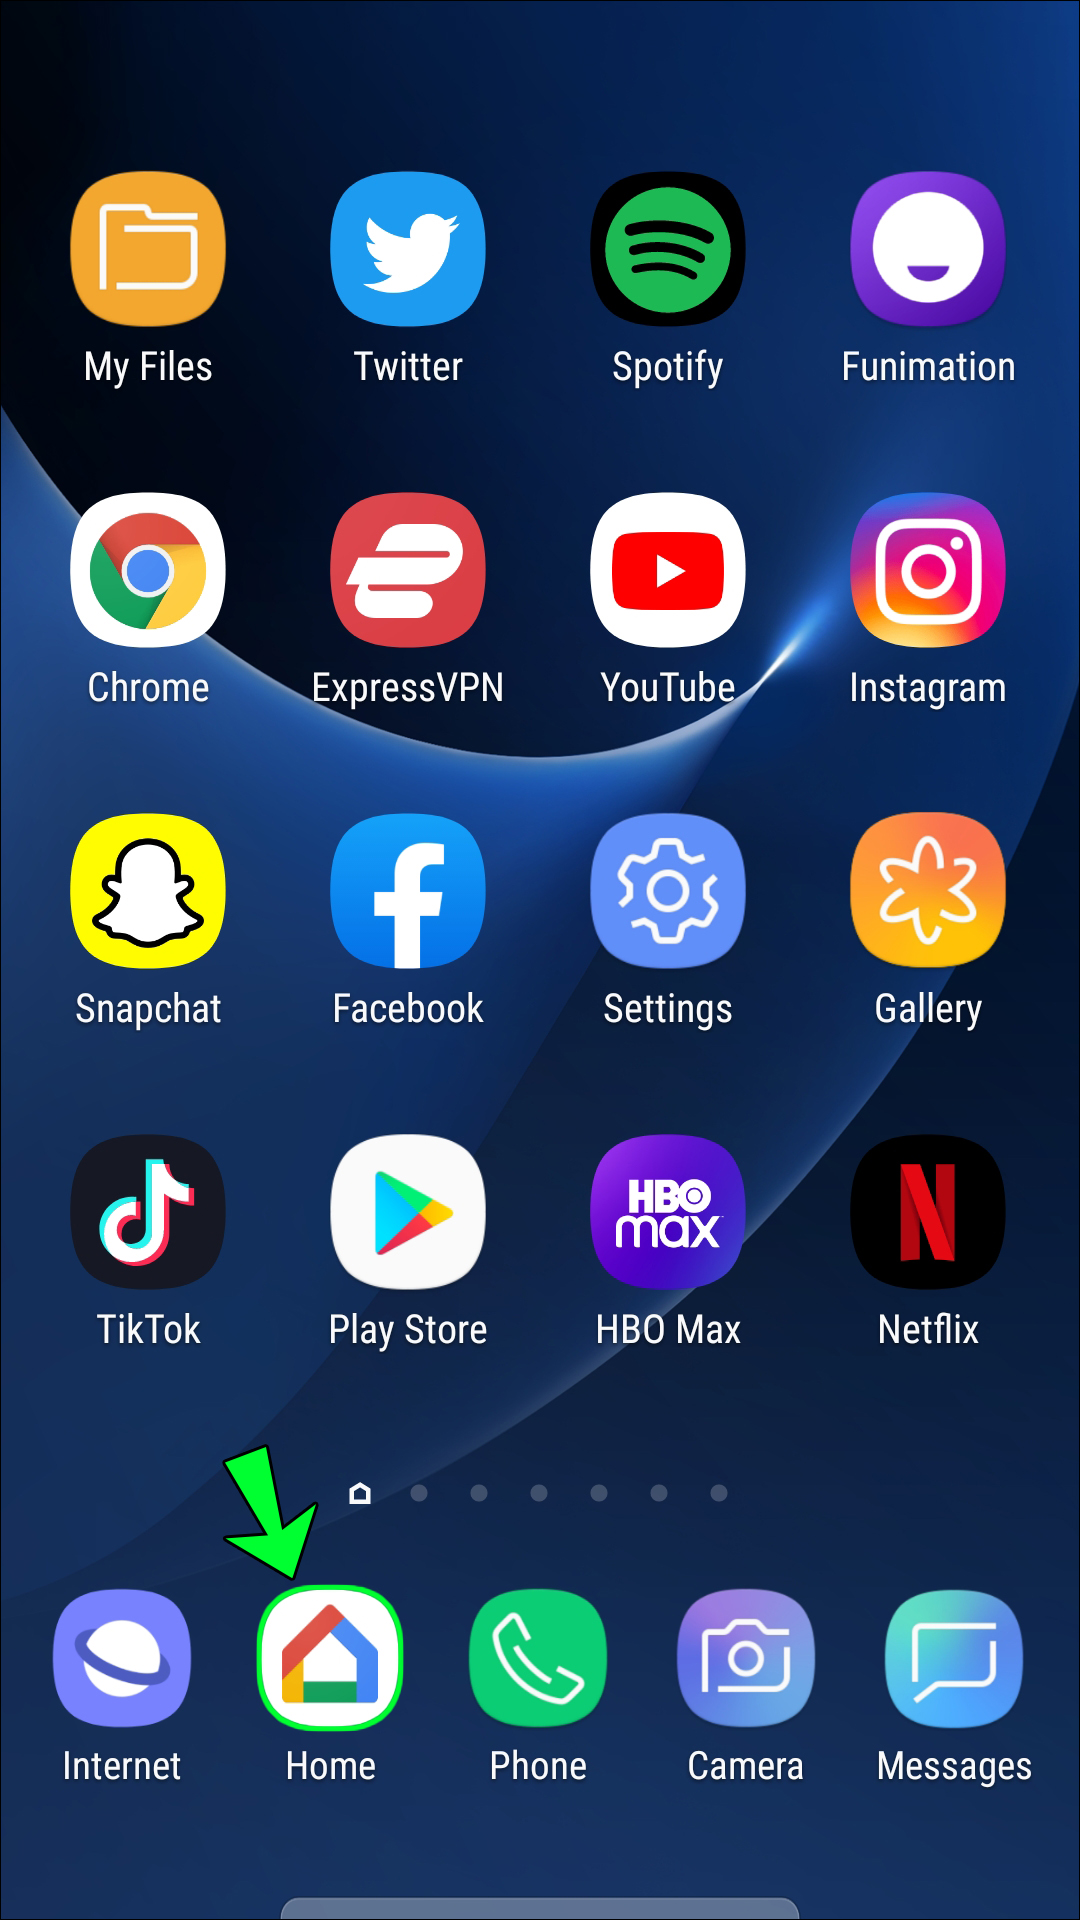
- Once the Google Home App screen is open, click on the speaker icon.

- Tap on the “Settings” option in the top right-hand corner of the screen.
- Scroll through the drop-down menu that appears until you find “Device Settings” – select this option.
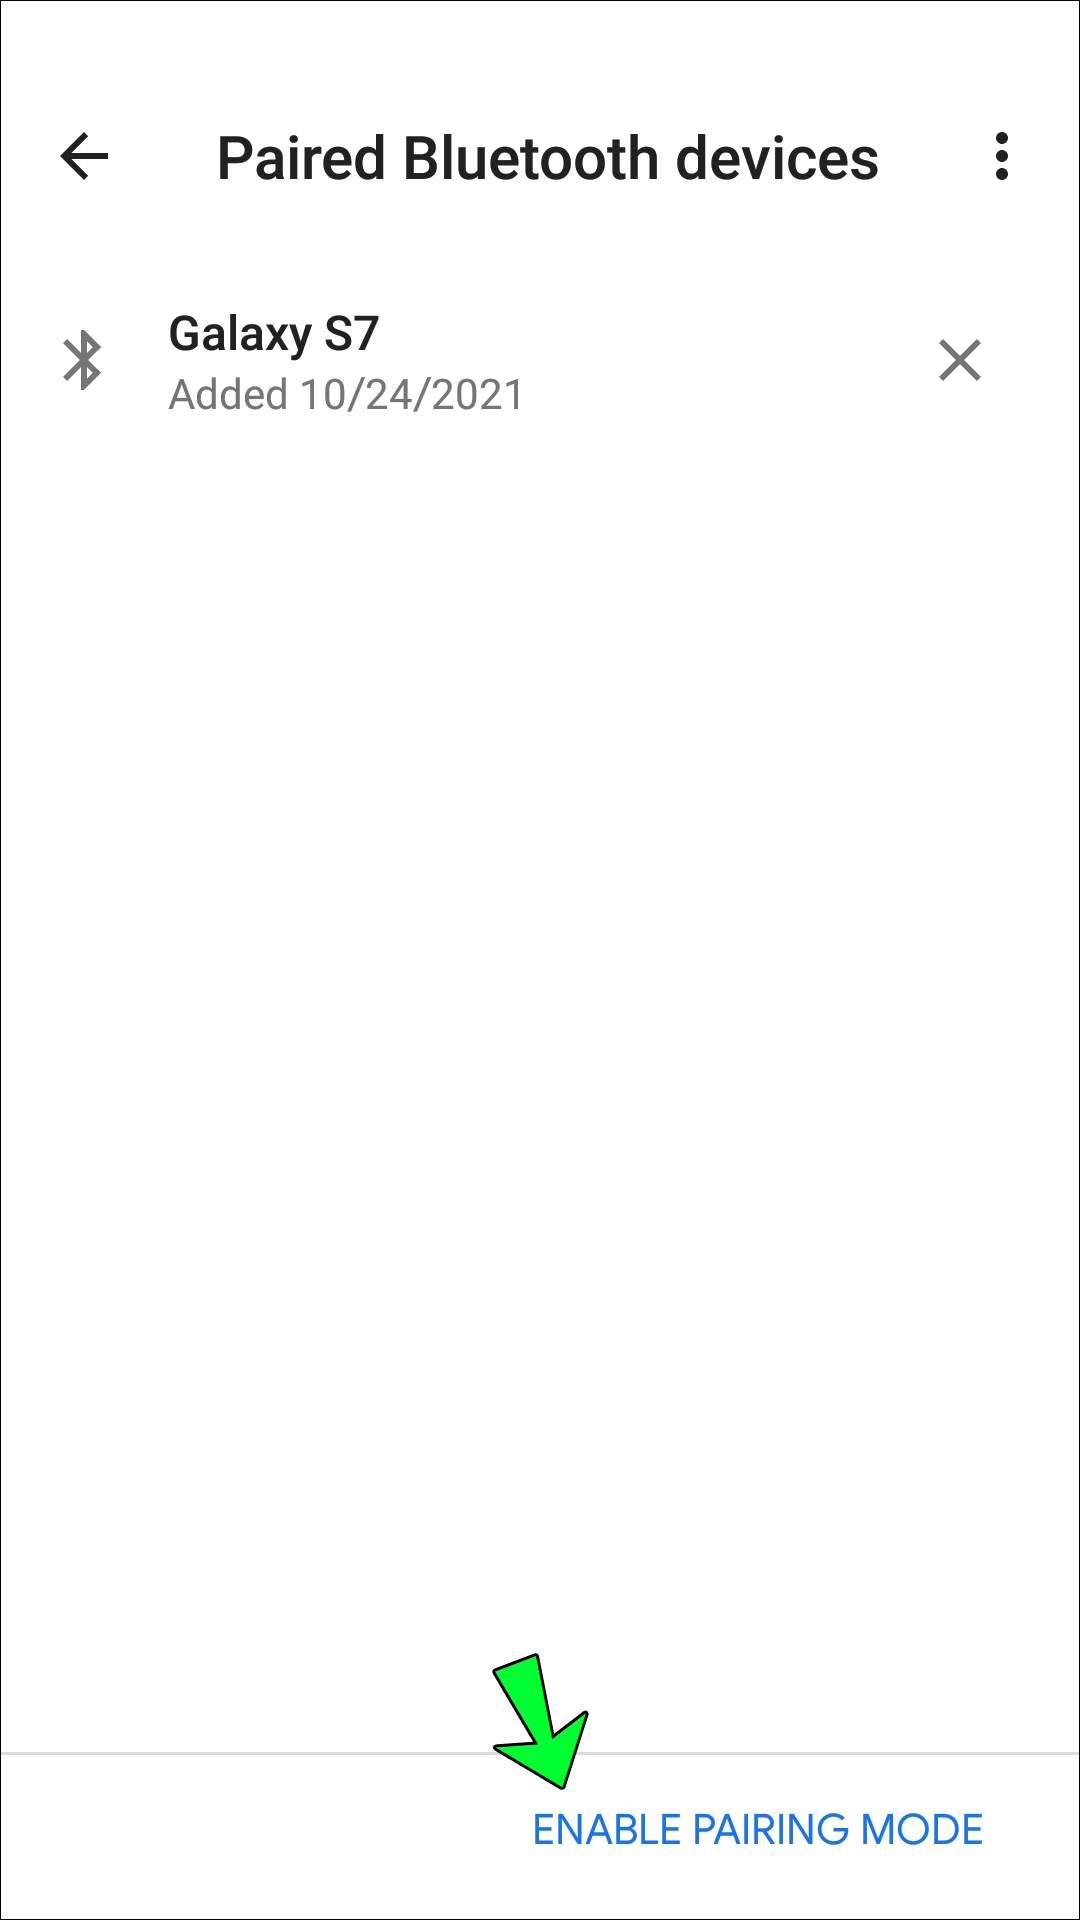
- From the Device Settings menu, choose the “Paired Bluetooth Devices” tab.
- Click on the “Enable Pairing” option that you will find in the top right corner of the screen.
- Now close your Google Home App.
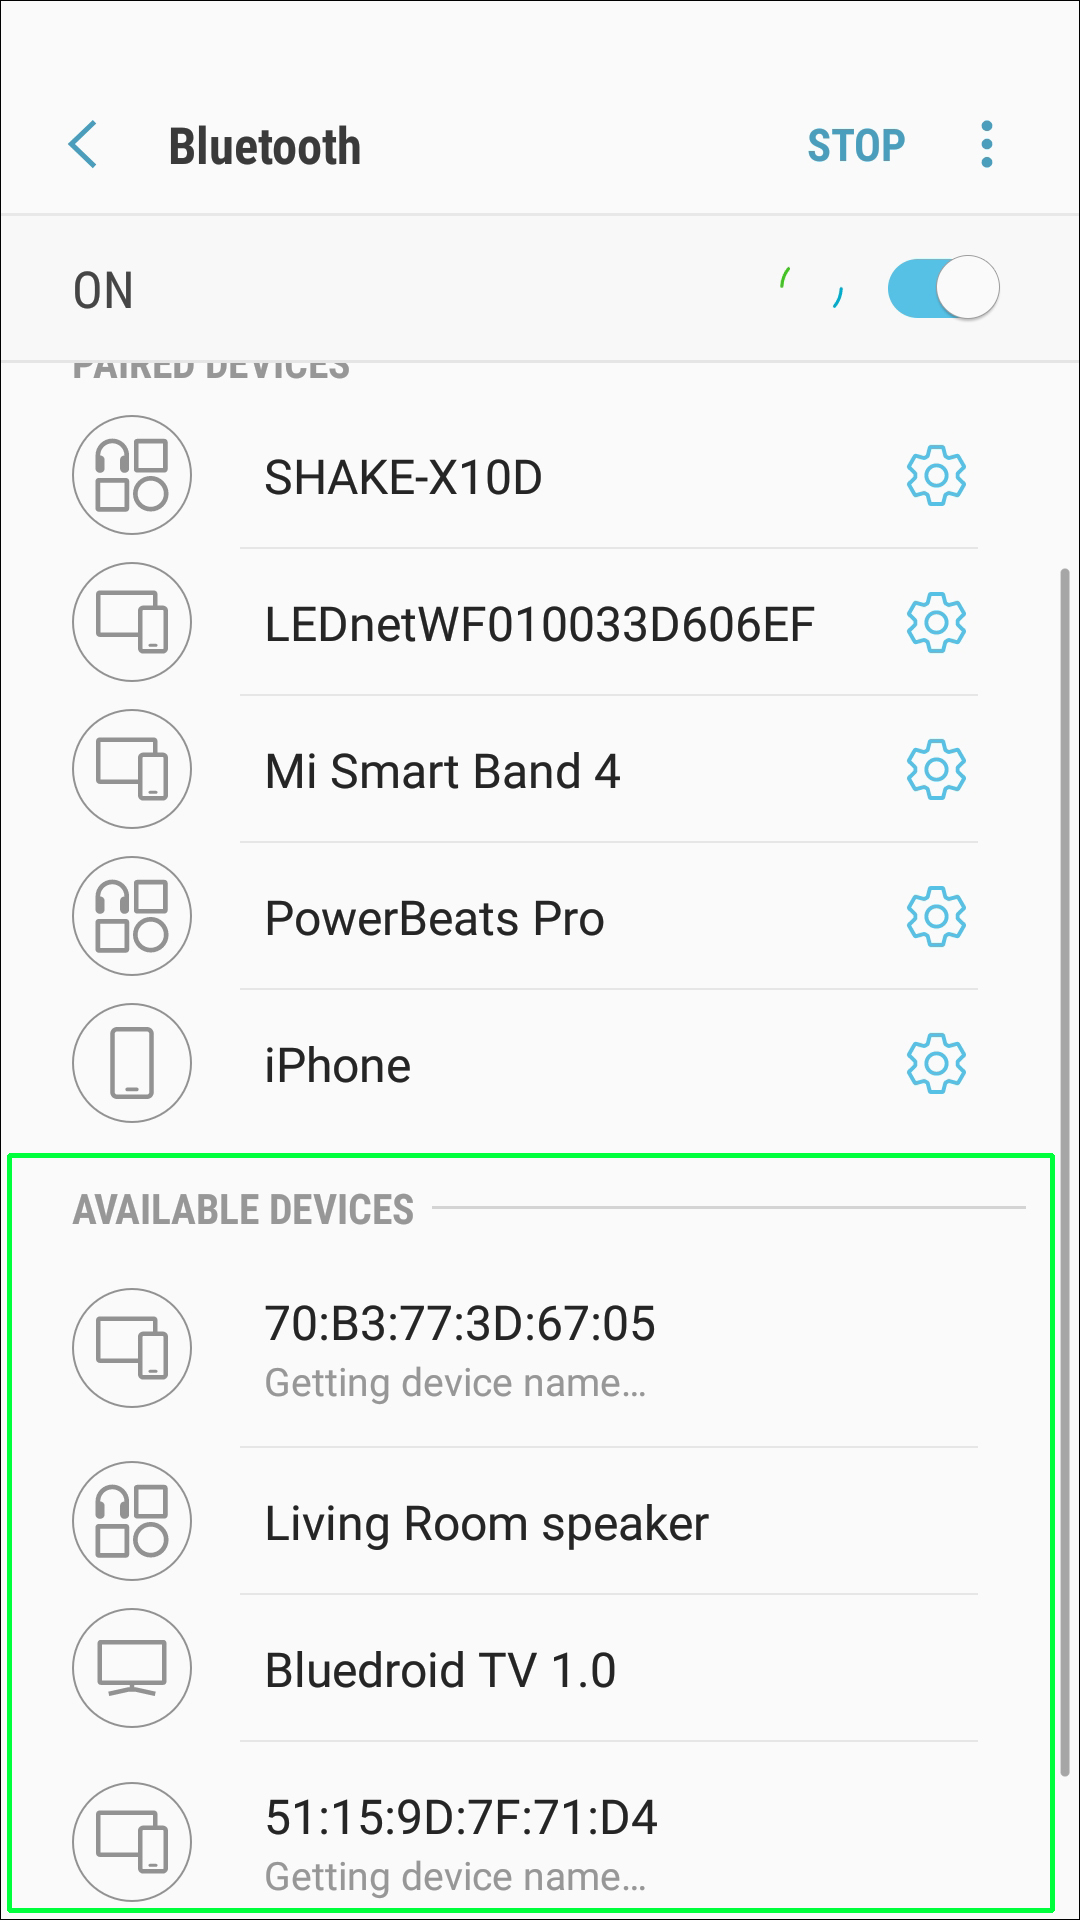
- Continuing to work with your Android or Apple device, navigate to your Settings menu. Once you are there, choose the “Bluetooth Pairing” option.
- Ensure that your device’s Bluetooth function is switched “on” before tapping the “Other Devices” menu.
- Here you will choose the name of your Google Home speaker.
- Once the speaker and your device have paired, exit your Settings.
- Now head over to the YouTube App on your device and open it up.
- Select the music you want to hear and press play.


This method is compatible with both Android and Apple devices. Always ensure that the Bluetooth on your device is “on” when connecting to your Google Home system.
You can skip the reconnection process if you keep your Bluetooth connected to your Google Home app. Begin instead with step eight the next time you want to play your music.
How To Play a YouTube Music Playlist on a Google Home Device
Playing a single song here and there on YouTube is fine if you are in the mood to skip about and look for different tunes. However, playing your favorite YouTube Music playlist on your Google Home system gives you the freedom to sit back and enjoy the music.
While a great idea, getting your YouTube Music playlist to play over your Google Home speakers is a little tricky since there are no outright instructions, at least until now.
We have put together the step-by-step guide below to make playing your playlists a cinch.
- Open up your Google Home App on your Android or iPhone device.
- Once the Google Home App screen is open, tap on the speaker icon.
- Click on the “Settings” option in the top right-hand corner of the screen.
- Scroll through the drop-down menu until you find “Device Settings” – select this option.
- From the Device Settings menu, select the “Paired Bluetooth Devices” tab.
- Tap on the “Enable Pairing” option in the bottom right corner of the screen.
- Now close your Google Home App.
- Continuing to work with your Android or Apple device, make your way to your Settings menu. Once there, select the “Bluetooth Pairing” option.
- Switch “on” your device’s Bluetooth function and choose the “Other Devices” menu.
- Now select the name of your Google Home speaker when it comes up on the list of devices.
- When your device and the speaker have paired, exit the Settings.
- Navigate to the YouTube App on your device and open it.
- Select the music playlist you want to hear and press play.
Once you have followed these steps, your YouTube Music playlist will play over your Google Home speakers.
Additional FAQs
Why Is My Google Home Not Working With YouTube Music?
When working with technology, chances are you will, at some point, troubleshoot a problem or two. For example, if you find that your Google Home is not working with your YouTube Music, there are a few steps you can try to remedy the situation.
1. Make sure you plugged in your Google Home device and switched it on at the socket.
2. Check that you have YouTube Music set as your default music player.
3. Ensure you have signed into Google Home with the correct Google account (this is an excellent place to start if you have multiple Google accounts).
4. Make sure that Google Home and your casting device are both connected to the same Wi-Fi network.
5. Restart your Google Home device.
6. Reboot your router.
7. Close your YouTube Music app and then re-open it after a few minutes.
8. Make sure you have correctly linked your casting device to Google Home.
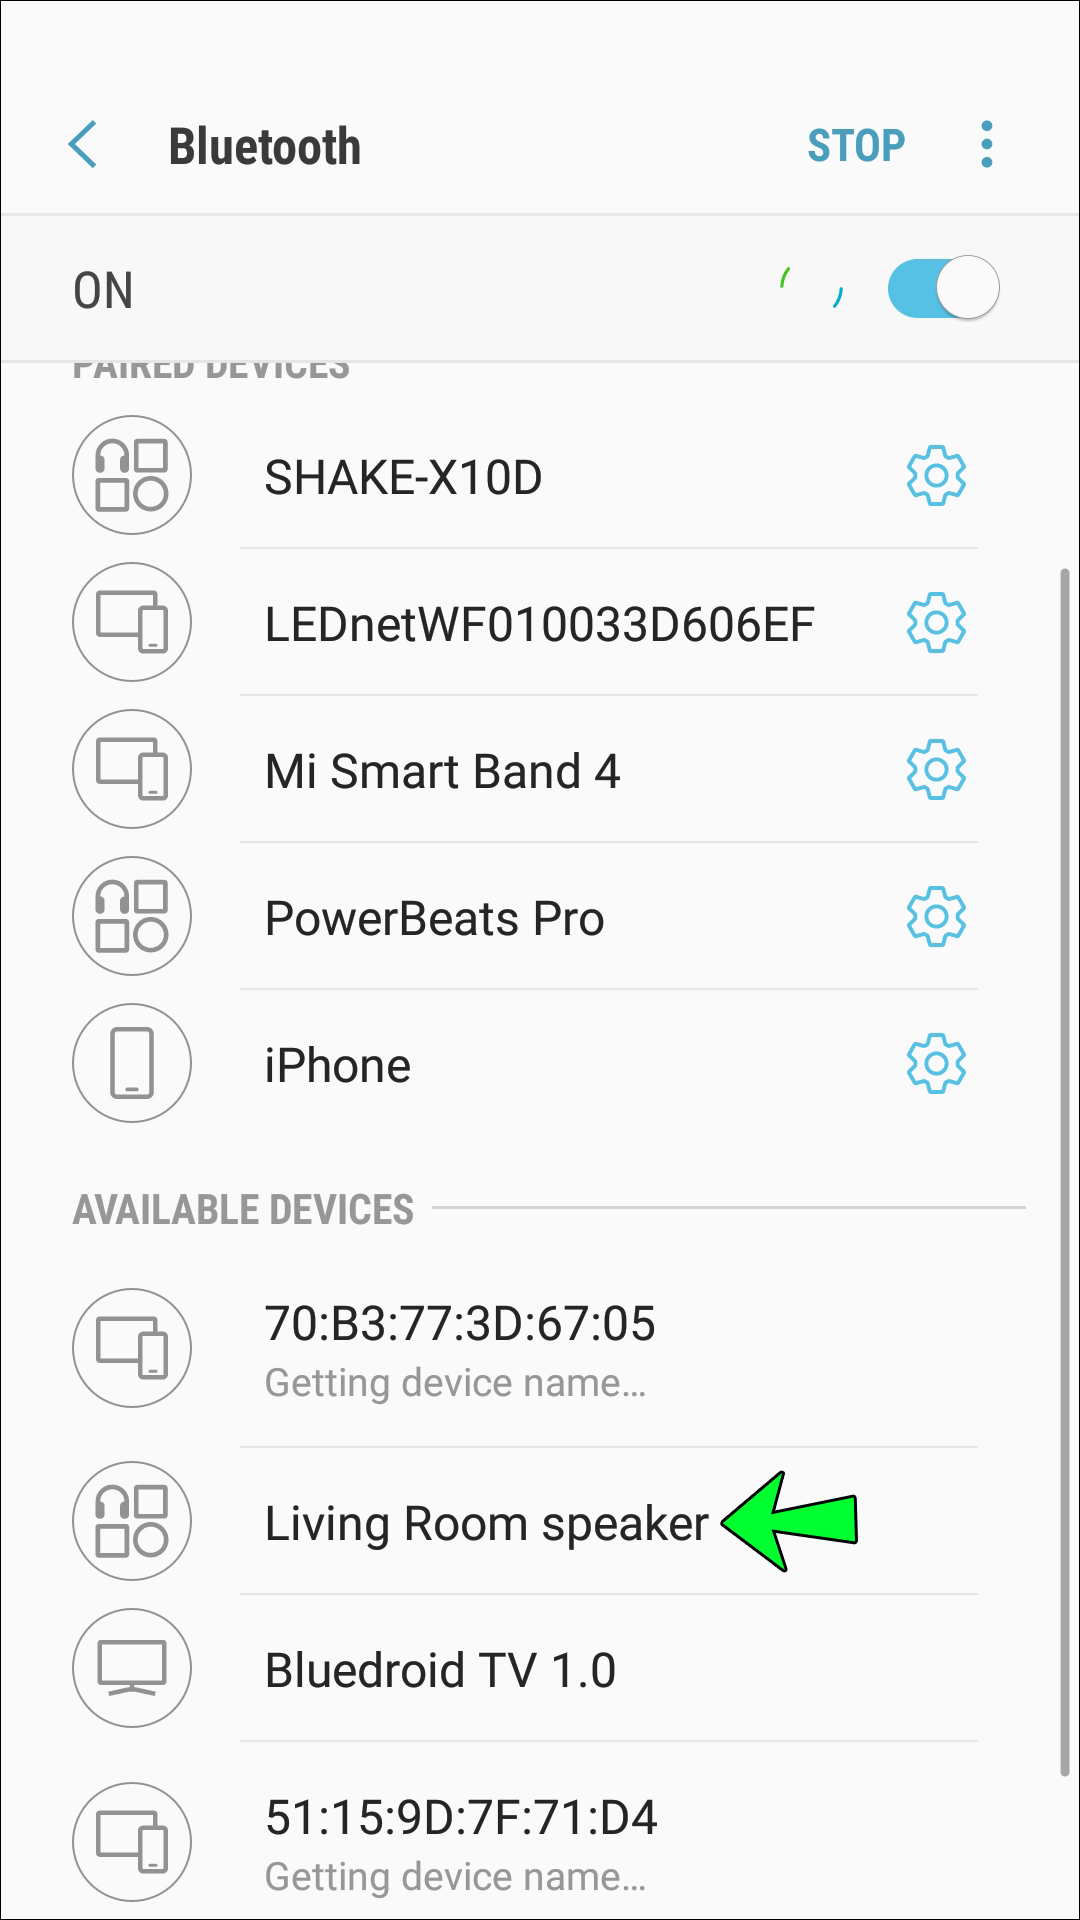
9. Check that your device’s Bluetooth connection is with the correct speaker system (in this case, Google Home).
10. Confirm you have activated Bluetooth on both your device and on Google Home. You can check this by following these steps:
· Go to your “Settings” menu on your Android or Apple device.
· Choose the “Connections” tab.
· Then, select the “Bluetooth” option.
· The screen that opens next will let you see whether your device’s Bluetooth is on. It will also provide you with a list of “Paired Devices.” If you don’t see the name of your Google Home speaker on this list of paired devices, the Bluetooth on your Google Home system is not activated and needs turning on.
How Do I Make YouTube Music the Default Music Player on Google Home?
Google Home has a selection of music players that you can pick from when playing your music through the system. Some options you’re presented with include:
· Google Play Music
· Pandora
· Spotify
· YouTube Music
You can change the default media player on Google Home by using the Google Home app on your Android or Apple device. Here is how to go about it:
1. Launch the Google Home app on your Android or Apple device.
2. Click the “Account” tab on the bottom right of the screen (an icon of a person indicates this tab).
3. Ensure that the Google account here is the same one linked to your Google Home.
4. Now navigate to “Settings” and from there select “Services.”
5. Choose the “Music” option, and a list of the different music players available will pop up.
6. Click the radio icon displayed next to the YouTube Music media player – this sets it as your default player.
7. Close the app.
Connection Complete!
Getting YouTube Music to play on your Google Home device is relatively straightforward once you know how. Follow these easy steps a few times, and you will be operating the system like a pro.
The only thing you’ll need to worry about is what playlist to choose next!
Have you played YouTube Music through your Google Home before? Did you use a method similar to those outlined in this guide? Let us know in the comments section below.


Disclaimer: Some pages on this site may include an affiliate link. This does not effect our editorial in any way.