Have you ever been captivated by a photo’s vibrant colors and felt compelled to capture them in your artwork? One hurdle often arises: recreating the exact color palette. But Procreate offers a solution. You can directly import your photo and effortlessly generate a color palette from it, streamlining the process of transforming it into art.
Each color in Procreate comes with a variety of associated hues and tones. However, selecting the exact colors that match an image can take time with so many colors. But the good thing is that Procreate allows you to import photos and create a color palette. Here are the different ways of selecting a color from an image.
Setup Gesture for Eyedropper Tool
An eyedropper is a fun tool that allows you to precisely select colors from your canvas. Before using it, you should assign a gesture to speed up your art process. A gesture is an action you perform on the screen to activate a tool. Here’s how you activate an eyedropper gesture.
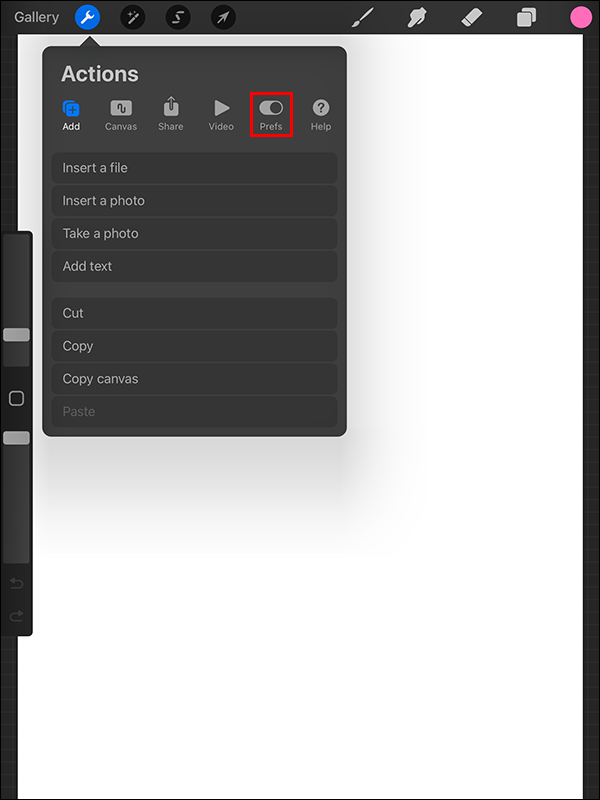
- Go to the Toolbar in the top left corner and tap the Wrench icon.
- Within the Actions menu, tap Prefs.
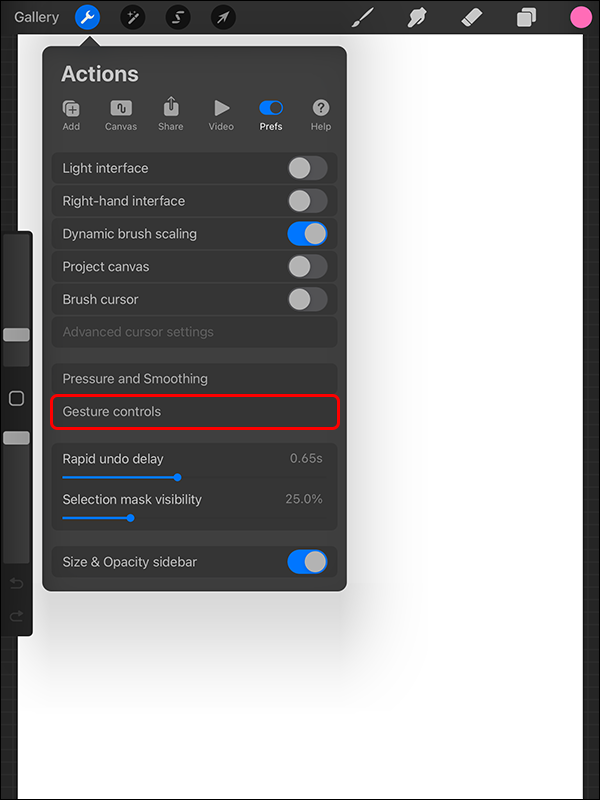
- Scroll toward the bottom and select Gesture controls.

- Select Eyedropper. A list of all actions you can use to select the eyedropper appears to the right.
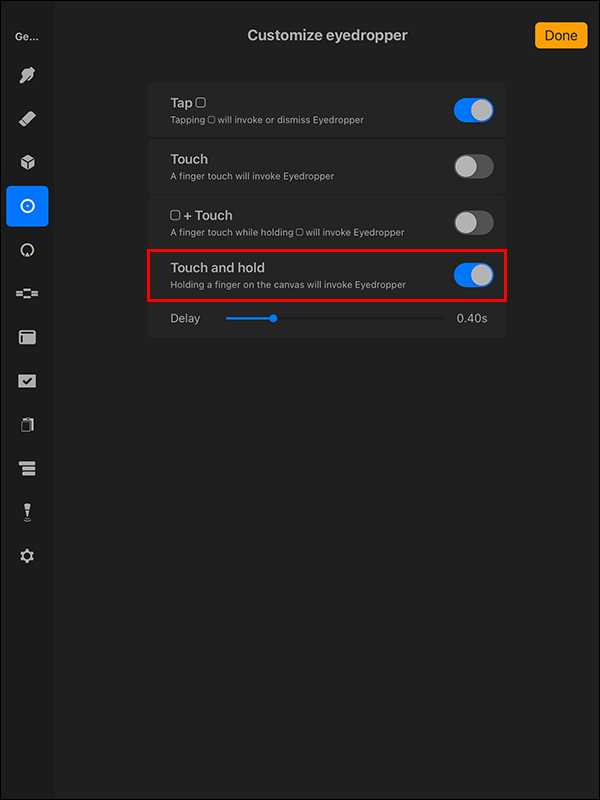
- Turn on the toggle for the gesture you want. In this case, let’s turn on the toggle for Touch and hold.
How to Select a Color from an Image Using the Eyedropper Tool in Procreate
After setting up the eyedropper tool, you use the following steps to select colors from an image you took or found online using Procreate.
- Tap the Wrench icon in the top left corner.
- Tap Canvas in the Actions menu and enable the Reference toggle.
- The above action opens a window to draw or import your reference. Scroll to the bottom and select Image.
- Tap Import at the top. This takes you to your gallery to pick your desired image. The image you select gets populated in the Reference window.
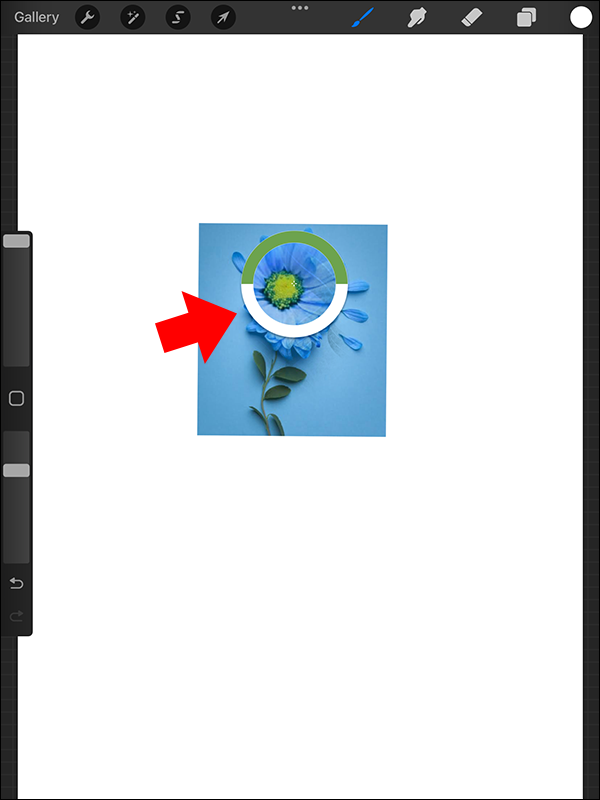
- Touch and hold the image to activate the eyedropper.
- Drag the eyedropper across your image until you select a color. Release it when you pick a color.
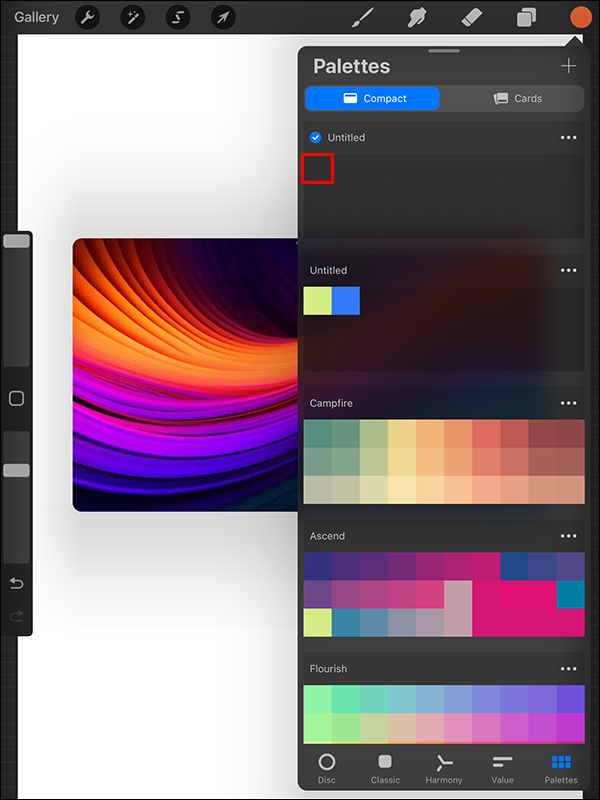
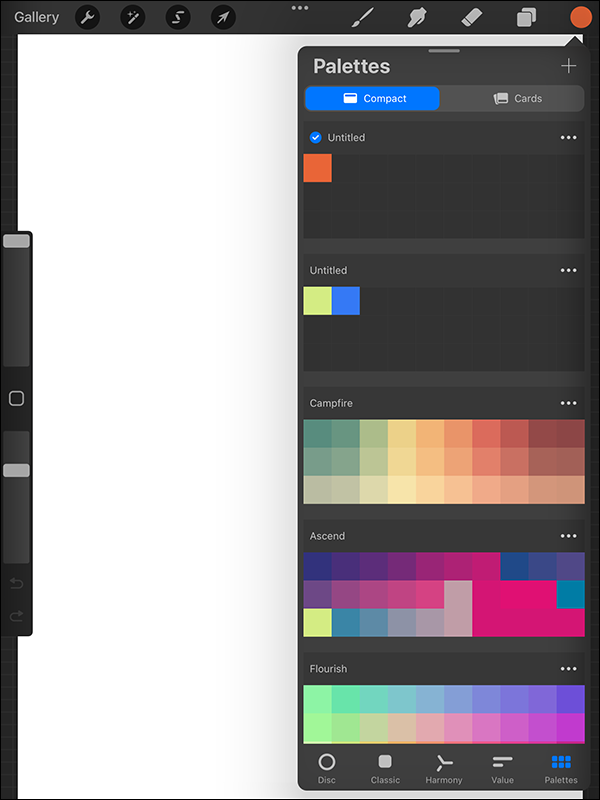
- Tap the Color icon to open the color panel. Navigate to the Palettes and select + to create a new palette for your image.
- Tap a space on the palette to save the color from your image.
- Repeat the process for other colors in your image. To isolate all colors from your image, drag the corners of the reference box to enlarge the image.


Alternatively, you can upload your image into your Procreate canvas as follows:
- Tap the Wrench icon in the top left corner.
- Hit the Add button from the Actions menu.
- Tap Insert a photo and select the image you want to use as a reference.


Once you have your image, follow steps five to nine above to select colors from your image. You can then copy and paste the color in other Procreate layers.
How to Select a Color from an Image Using the Color Panel
Selecting the colors from an image using the Color panel does not require much more effort than uploading the photo. Once your image is on the canvas, Procreate automatically makes a palette from the image colors.
Although this method is fast, it also has its downside. Sometimes, your image’s palette may contain too many shades of one color and leave out dominant colors. So, after creating the palette, you need to clean it up by removing unnecessary colors and adding new ones.
Here is how to select a color from an image using the Color panel:
- Open Procreate and select the + button to create a canvas.
- Tap anywhere inside the canvas to activate the settings. Tap the Color icon to open the color panel.
- Tap the + button to create a new palette.
- Tap New from photos and pick your image from the options.
- Once you select your image, it goes to your canvas. Procreate picks the colors from the image and automatically makes a palette.


This method picks all the colors from an image. If you want just a few colors from your picture, you can go to your palette and delete the ones you don’t want.
How to Select Color from an Image Using a Layer in Procreate
Using the Layer feature to select colors from an image is the most efficient method, particularly when an image has minimal color. It removes the need to expand your image to capture all colors. Here are the steps you follow:
- Open Procreate and create a new canvas.
- Tap the Wrench icon on the top left of the screen to open more action.
- Hit the Add button and select your image. This adds your image to the canvas.
- Tap anywhere inside the image to activate the settings. Select the Layers icon (it’s square-shaped) from the top right corner.
- You’ll find your image’s layer highlighted in blue. Tap on it to open more actions.
- Scroll to the bottom and select Reference. Return to your image and touch and hold the screen to access the eyedropper.
- Drag the eyedropper on the image to pick a color. Once you do, open the Color panel and tap the + sign to create a new palette.
- Tap an empty spot to add your color to the palette. Repeat the process until you select other colors. Once you finish, return to the Layers panel and disable the settings from reference to normal.


The only downside to this method is that if you don’t want to remove the image immediately after, you must move it around your work a lot.
Remember, you can also select multiple layers in Procreate.
Inspire Your Art with Image Colors
Although all Procreate features are stunning, being able to create a palette from an image is by far the best. It opens up unlimited doors of creativity while making your artwork look natural. The next time you take a colorful picture, use any of the above methods to create a palette to transform your photo into art.
Next, you might want to learn how to use fill color in Procreate.
FAQs
The color profile of files in Procreate is decided when you create the canvas. Once you add a new canvas, you can set the color profile in the Colour profile tab, but you cannot change it again after that. Anything you import will automatically be converted to that color profile. If you want to change your work to RGB from whatever it was previously set to, you will need to export the original as an image and import it into a new canvas where the color profile is set to RGB.
You can remove the background of an image by using the Selection tool in Procreate. Either using automatic or manual selection, you can select the foreground of an image and copy it to another layer. Then, all you have to do is remove the original layer, and voila! You have removed the background.


Disclaimer: Some pages on this site may include an affiliate link. This does not effect our editorial in any way.