Disclaimer: Some pages on this site may include an affiliate link. This does not effect our editorial in any way.
Today, we all have access to gigantic libraries of movies, both new releases and classics of the past. Whether you use your smartphone, your computer, or a TV, you’re able to access enormous numbers of legitimate (and not so legitimate) copies of movies. Sites like Hulu, Netflix, and Prime Video stream terabytes of video content constantly. You can watch pretty much anything you want to watch, whenever you want to watch it.
One of the more simple solutions for consumers to stream video to their television is the Amazon Fire TV Stick. This option raises the question, can you download movies to your Fire TV Stick? The answer is no, not directly.
The Fire TV Stick doesn’t have enough local storage to store any videos; it has to stream things from another source and use its limited space for caching and storing apps. However, there are ways to download movies onto other devices for later viewing.
In addition, your Fire TV Stick can access Amazon Prime Video, Hulu, Netflix, or similar services. This guide shows you several different options for getting movie content onto your Fire TV Stick.
How to Stream/Watch Movies on the Fire TV Stick
The first and easiest way to gain access to movies is to use Amazon Prime, Hulu, Netflix, or another service. Just install the appropriate app. You will need a subscription for most such sites, although there are some excellent free alternatives, then surf the service’s available libraries to your heart’s content.
Note that not all movies you might want to watch will be available on one service; sometimes, you have to bounce around between several different sites to find what you want.
There are several great paid and free streaming services; here are some of the most popular ones.
Use Amazon Prime Video on Fire TV Stick
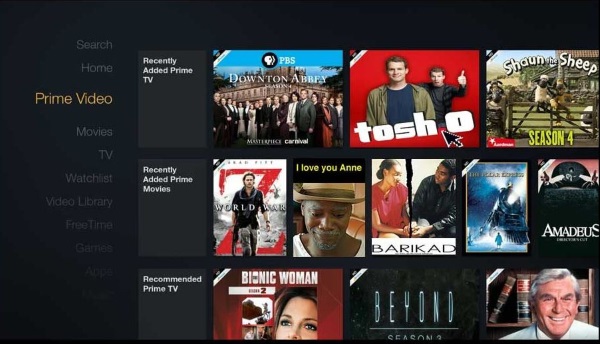
Amazon Prime Video is a bundled service included for free with a subscription to Amazon Prime. Prime generally costs $119 per year or $12.99 per month. For most people, the Prime Video subscription is not the primary reason for getting Prime, but it is a nice bonus with many solid, high-end movies and TV content.
Use Netflix on Fire TV Stick

Netflix is one of the most popular streaming services around. With plans starting at $8.99/month, it’s an excellent choice for a primary video streaming service. There are lots of movies, TV series, and an ever-increasing amount of original content.
Use Hulu on Fire TV Stick

Hulu is another primary streaming site with the desirable benefit of offering upgrades to premium channel packages like HBO and Showtime and live TV options. It also produces some high-quality original content. Starting as low as $6.99 a month, Hulu has quite a selection.
Use Pluto TV on Fire TV Stick

Pluto TV has the advantage of being completely free to watch as well as providing an excellent cable-TV-like array of channels that feels like you have a (low-end) cable TV subscription. There’s a variety of movie channels and TV show channels, such as MTV channels, Nickelodeon channels, an Action channel, and lots more.

Use Classic Cinema Online on Fire TV Stick

Classic Cinema Online is one of the all-time greats among free service providers. There are no new movies here because CCO focuses purely on the old classics, and there are some great films (and a lot of B-movie fillers) on the site. This option is a must-have for fans of the old Hollywood scene.

Use Popcornflix on Fire TV Stick

Screen Media Ventures own Popcornflix, and it has licenses to show more than 1,500 movies, all streamed free. They have a good mix, with some films that nobody has ever heard of but quite a few classics and even some newer films.
Use CONtv on Fire TV Stick

Viewster is an indie-oriented streaming channel with a lot of fan-made and independent content. It has a lot of animation and anime, so if you’re a fan of those genres, this is a site worth checking out.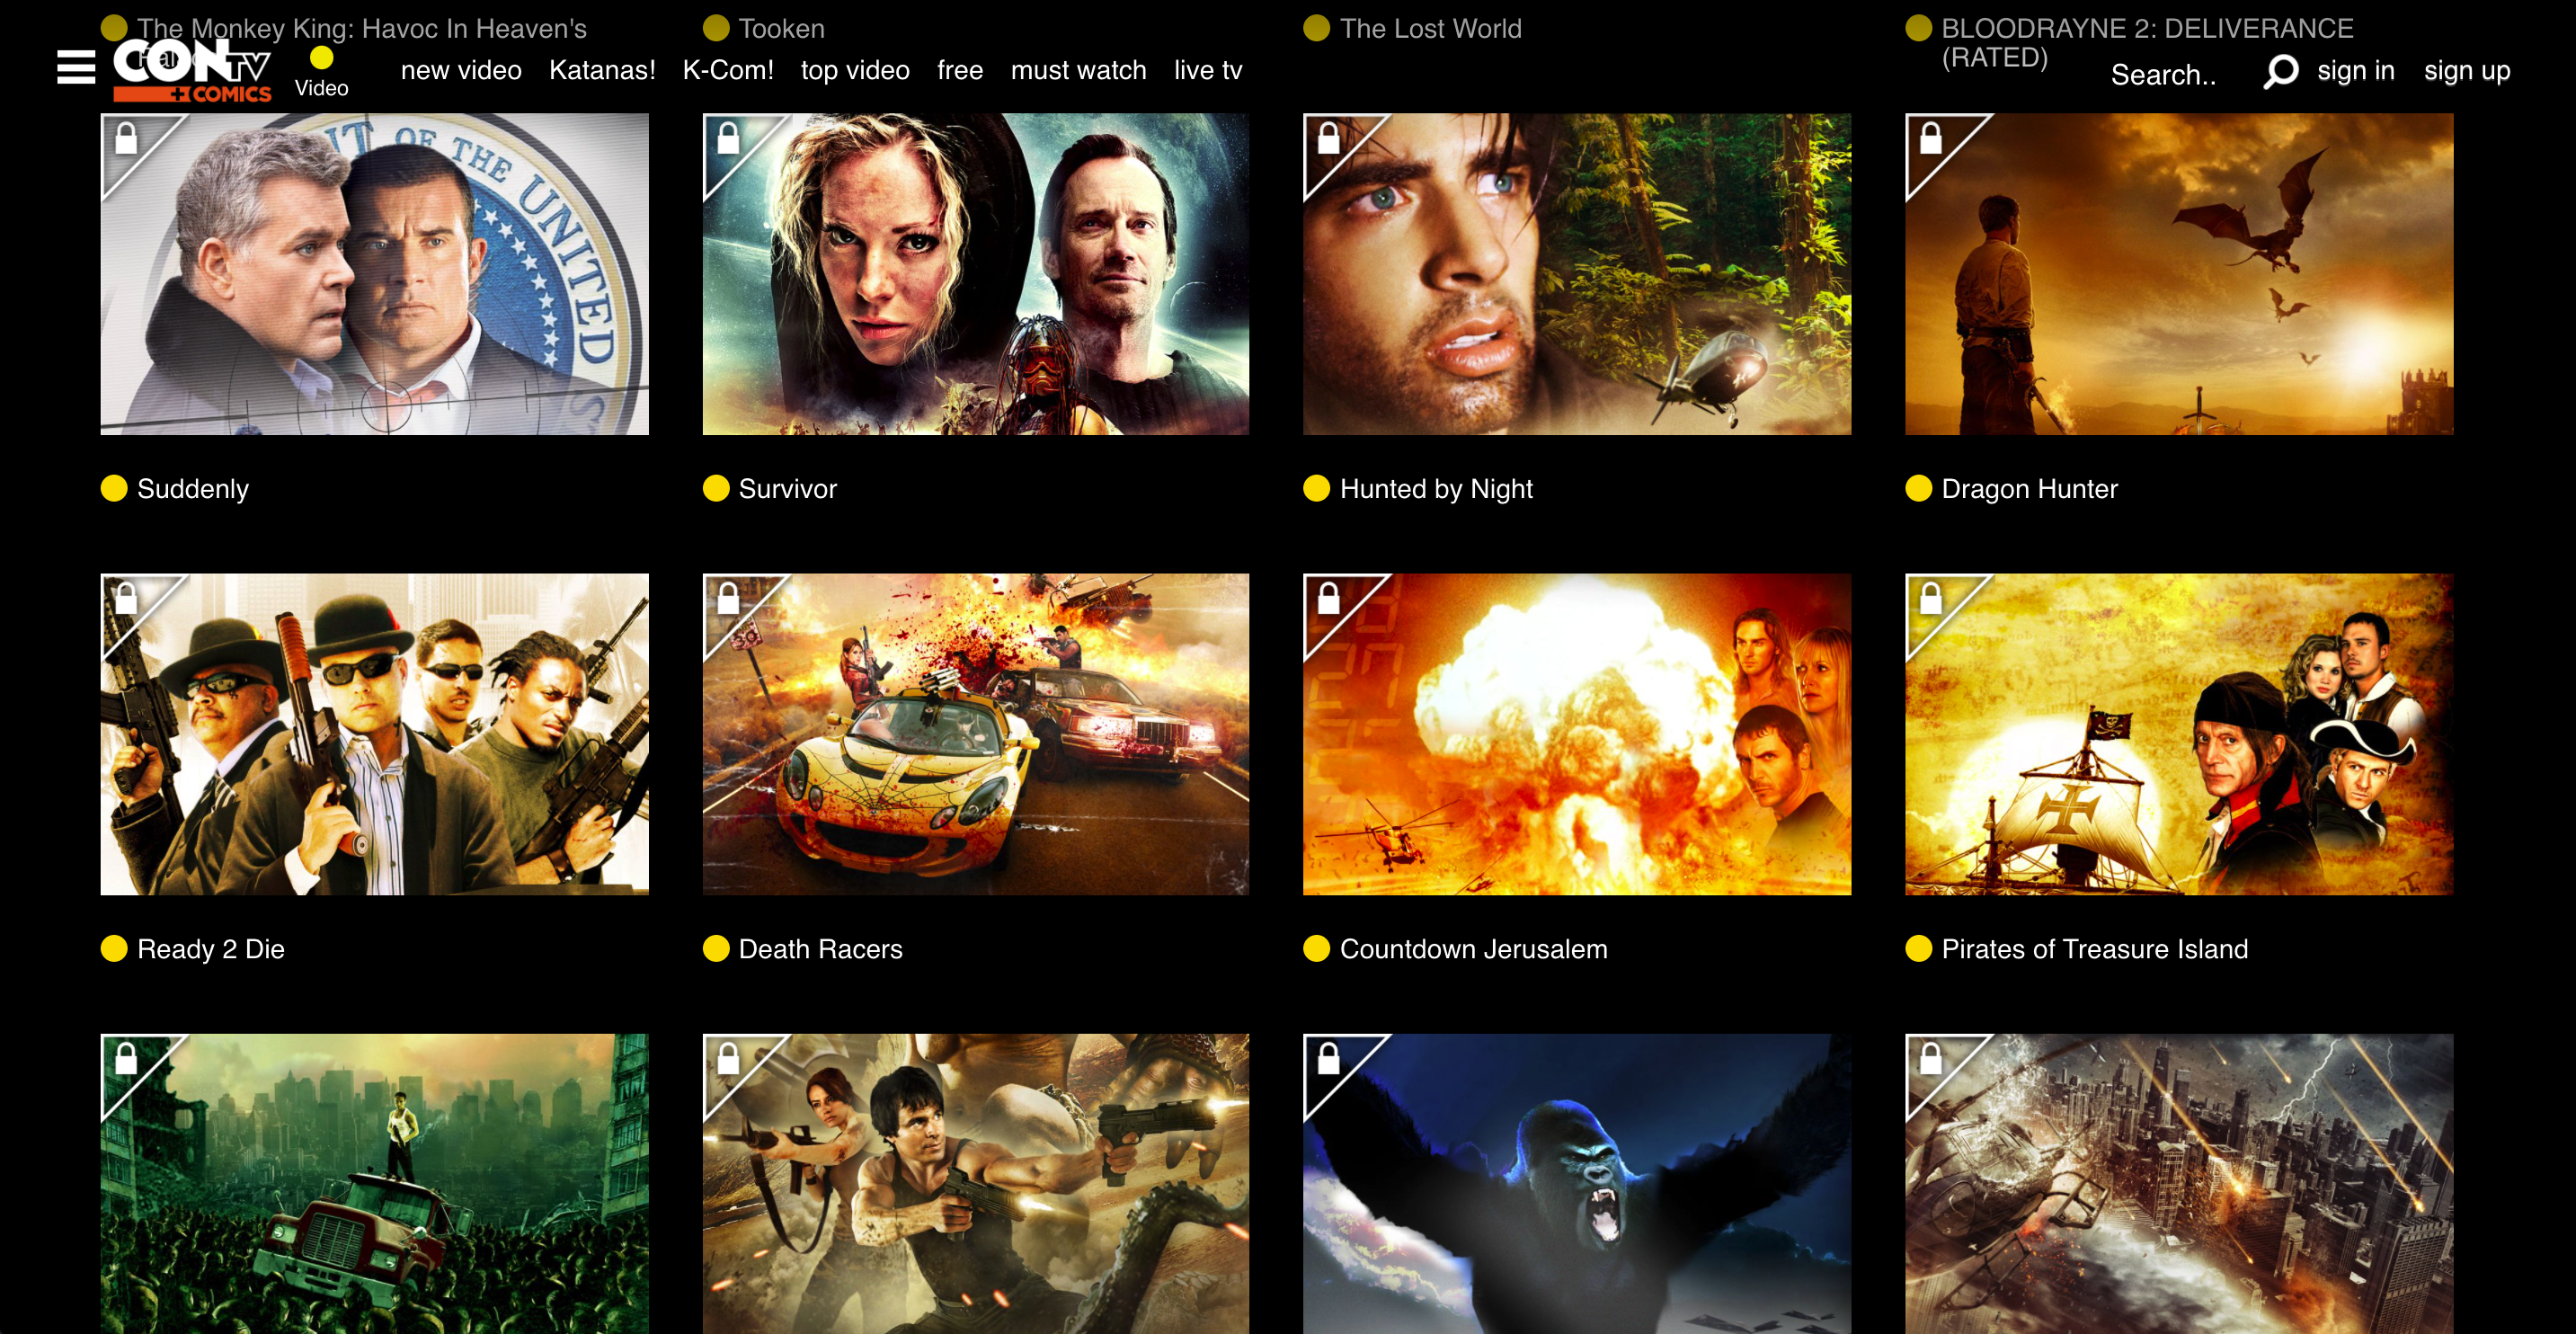
How to Use Kodi to Watch Downloaded Movies on an Amazon Fire TV Stick
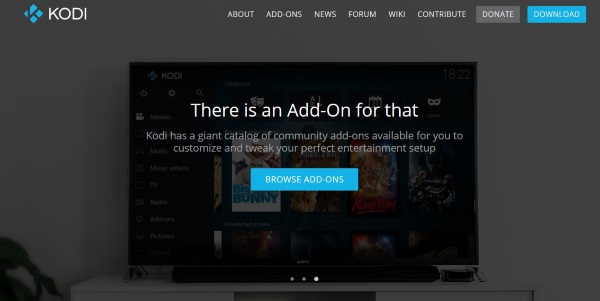
If you want to download content, have it on your local network, and then stream it to your Fire TV Stick on demand, then Kodi is the solution for you. Kodi is a media server system that takes a little work to get set up, but once it’s working, it’s fantastic. You’ll need to install Kodi both on your Fire TV Stick and on whatever computer you set up as a media center. Here’s how to do it.
- In the Fire Tv Stick’s Home screen, select Settings.
- Navigate to Device and Developer Options.
- Set Allow apps from unknown sources to On.
- Navigate back to the Fire TV Home screen.
- Use Search to find Downloader and select to install it.
- Open Downloader and allow it to access your photos, media and files.
- Downloader will prompt you for a URL, add http://kodi.tv/download and select Go.
- Select the most recent build of Kodi and then Install it.
- Navigate back to the Fire TV Home screen.
- Select Your Apps & Games, then find Kodi, but do not launch it yet.
- Install Kodi onto the computer that has all your media.
- Open Kodi on the computer.
- Select the gear (settings) icon.
- Choose Service Settings and then select UPnP/DLNA.
- Toggle Share my libraries and all options to On.
- Open the Kodi app on your Fire TV Stick.
- Select Files from the left menu and Add videos.
- Choose Browse and then select UPnP Devices.
- Select Video Library and choose Ok.
- Rename the library if necessary and browse it to play your movie.
If you follow the instructions above, you should be able to stream your downloaded movies to your Amazon Fire TV Stick. Kodi is exceptionally good at managing itself and should find the other Kodi app, link to it, and stream content directly. This option is just one more way to enjoy your content!
You need fast Internet to get good streams? Check out our tutorial on optimizing your network speed.
Want a little more information about Kodi? Here’s our guide to watching movies on Kodi.


Disclaimer: Some pages on this site may include an affiliate link. This does not effect our editorial in any way.


