Disclaimer: Some pages on this site may include an affiliate link. This does not effect our editorial in any way.
The BBC iPlayer is one of the most popular streaming channels anywhere. It carries mainly British TV shows but has a global audience counted by the millions. Some programming is available outside the UK, but not all of it. You can access BBC iPlayer on multiple devices, including Amazon Fire TV.
This tutorial will show you how to watch all programs on the BBC iPlayer on the Amazon Firestick.
Can I Watch BBC iPlayer on an Amazon Fire Stick?
If you’re a fan of Downtown Abbey, Luther, The Bodyguard, Doctor Foster, or one of the many other British TV programs going around, BBC iPlayer is where you go to watch them. Britbox is excellent and will be undergoing something of a transformation soon as more UK networks sign up, but for now, iPlayer is the place to go for UK TV shows.
Some of these shows are available here in the US, and some are not. The BBC is hamstrung by licensing like other institutions, and it should be no surprise that not all programs are available in all regions. As always, there is a way around that. By the time you finish this tutorial, you will know exactly how to get around such annoyances.
First, we need to install BBC iPlayer on the Amazon Firestick.
If Outside the UK, Activate a VPN
Installing a VPN on your Firestick is easy. The ExpressVPN app is available on all FireTV devices and Firestick devices 2nd generation and higher. Their network also guarantees that you will be able to watch BBC iPlayer content outside of the default UK region. You can follow the instructions below for activating a VPN that will allow you to switch regions, or check out our more in-depth guide on installing a VPN on a Firestick.
- Follow this link to sign up for a VPN. After sign-up, you will have the login to activate a VPN, which is necessary when accessing the BBC iPlayer outside of the UK.
- To install an app, go to the Fire TV Stick’s homepage on your TV or device and click Apps.
- Search for ExpressVPN. We like to use ExpressVPN because, time and time again, in our VPN testing, they have proved to be the most secure VPN network. Select Download.

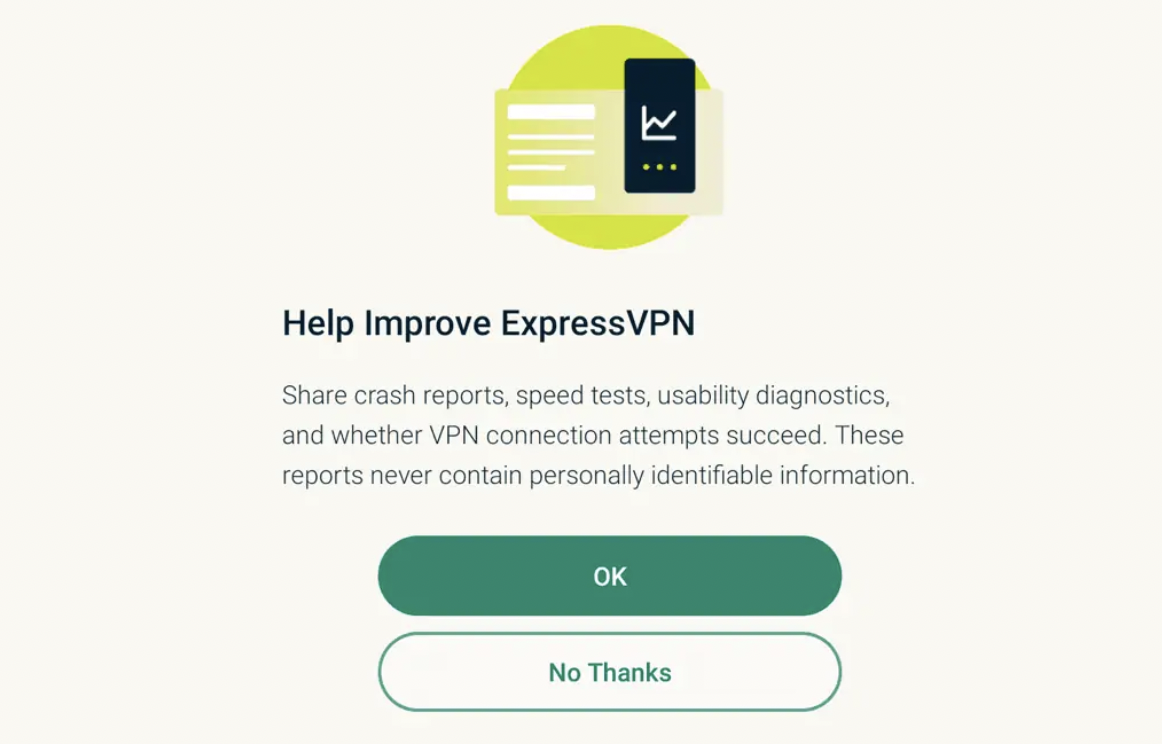
- After installation is complete, select Sign in and input your email and password. Then, proceed through the steps.

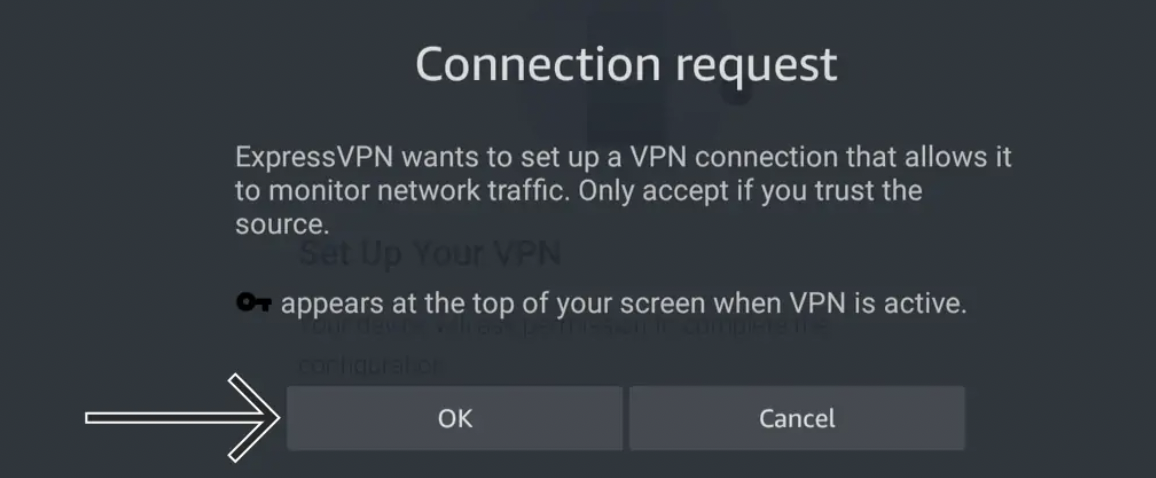
- Select OK to set up your VPN. Then, select OK once more to confirm the connection request.
- Now, you can tap the power icon to connect your Fire TV device to your VPN. You can also choose the Current Location box to change your location. Changing the location to one inside the UK allows you to watch outside the UK.
Installing BBC iPlayer onto the Amazon Firestick
Being a legitimate streaming channel BBC iPlayer is available directly from Amazon. Adding it to the Firestick is then very straightforward. You may need to create a UK Amazon account to get full access to British shows, but you also may not. First, let’s install the app.
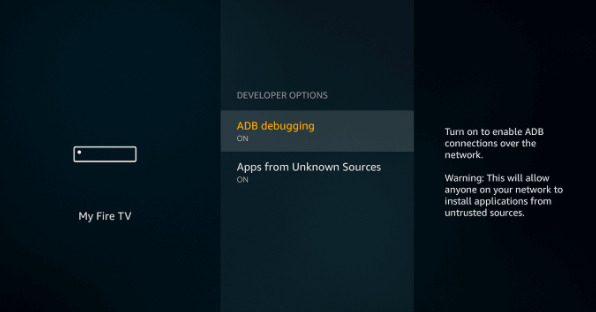
Turn on your Firestick and allow Apps from Unknown Sources if you haven’t already. That’s Settings > Device > Developer Options>Apps from Unknown Sources.
Keep in mind you may need to download the Downloader app before proceeding if you don’t already have it. Simply navigate to the search icon and type in Downloader. Tap the option to download it.

Then:
- Open ExpressVPN and select a UK endpoint server.
- Restart your Firestick if you changed the Apps from Unknown Sources setting.
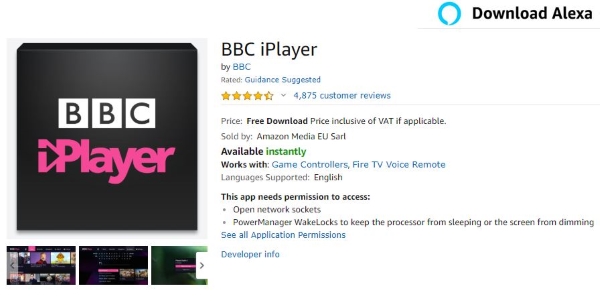
- Search for the BBC iPlayer app and install it.
- Launch BBC iPlayer and check what programming you can access.

Some users report having to change their Amazon account address to one in the UK, while others didn’t. That’s just a case of going to the Amazon UK website and signing up using a British address. This isn’t the most elegant solution as you have to find an address and remember to always log in to your native Amazon account and not this one. But, of course, this is a workaround, so there are bound to be some extra steps.
While it’s not illegal to set up a fake Amazon account, it is certainly against the company’s T&Cs. You also shouldn’t buy anything using this account as that would be illegal. If you don’t want to set up a fake UK account, try changing the region of your real one.
You can change the region on your existing Amazon account if you need to like this.
- Log into Amazon as you normally would.
- Select Your Account in the top right and select the Settings tab from the main page.
- Select Change under Country Settings.
- Select the United Kingdom and then Update.
Restart your Firestick, so that it picks up the new details, and try opening the BBC iPlayer while still using the UK VPN. If all goes well, you should see the full range of programming and be able to stream anything you like.

BBC iPlayer and VPNs
The Brits don’t seem as hot on blacklisting VPNs as American networks, but they do keep an eye on access through VPN servers. Most high-quality providers will watch for this action and offer alternative endpoint IP addresses if they find their current ranges with a blacklist by popular services.
Most VPNs have a UK endpoint server that allows you to watch BBC iPlayer without any problems. If you still don’t see the full range of shows, make sure your Amazon account change has stuck and filtered through to your Firestick and change the endpoint server on your VPN.
The BBC iPlayer offers programming to a global audience, so arguably, all the changes in an Amazon account region and VPN location could be unnecessary. You can watch the iPlayer in the US or any country without doing anything else at all. If the show you want to watch isn’t available, that’s where all this other stuff comes in.
Frequently Asked Questions
We get a lot of questions about using the BBC iPlayer on a Firestick. You’ll find the answers to the more commonly asked questions here.
Can you watch Live BBC on a Firestick?
You can watch regular live TV and BBC live on the Firestick. Download the free TV Player app from the Amazon app store to stream live channels through the stick. It isn’t as good as an aerial, but it does work well enough if you want to watch TV from your bedroom or kitchen.
Can I watch BBC on Amazon Prime?
Yes. Amazon Prime includes BBC America when you subscribe to its services, but you won’t have access to all of the shows that the UK version offers. You can access classic shows like Doctor Who, Orphan Black, and Luther.
Can I get Catch Up TV on Amazon Firestick?
Yes, you can get all of the BBC’s catch-up TV services. This includes the BBC player, All 4, My 5, and ITV. It’s better to have a VPN so that you can switch to a local UK address, but most of the features on UK television can be used in the US.
You can catch up on multiple television shows from all the terrestrial UK channels.
What do I do if the BBC iPlayer app isn’t working on my Firestick?
If you can’t open the BBC iPlayer app on your Firestick, you can uninstall it and reinstall it or clear the cache.
Try clearing the cache first by going to Settings>Applications>Manage Installed Applications. Then, click on BBC iPlayer and click Clear Cache.
Some users have found success when they update their Firestick’s time zone. To try that, go to Settings>Preferences>Time Zone>Europe.
How do I sign up for a BBC iPlayer account?
If you have yet to sign up for an account, head over to the BBC iPlayer startup page and create your account.


Disclaimer: Some pages on this site may include an affiliate link. This does not effect our editorial in any way.


