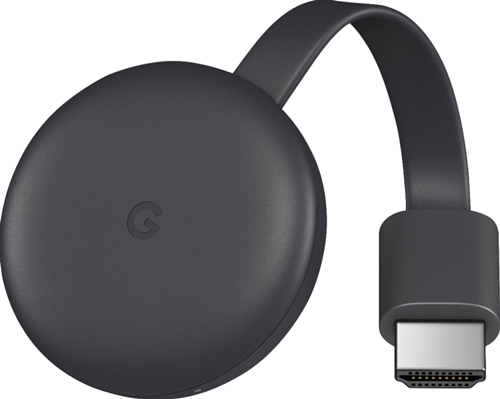
Google’s Chromecast is one of the most common, favorite ways to watch movies, TV shows, and other content straight from your phone, tablet, or laptop. Instead of having to fuss around with a remote and an interface on your television, Chromecast allows you to beam content directly from your device through the web from nearly any Android app (and some iOS applications), including Netflix, Hulu, YouTube, and Google Play Movies.
Since everything you play is delivered straight from your phone, you don’t have to worry about dealing with menu systems and other services that are difficult to navigate. With the current generation Chromecast devices only costing around $35, it’s one of the cheapest ways to get into streaming videos and music on your devices.
If you recently picked up a Chromecast but have difficulties hearing any sound from your television while watching or listening to your favorite shows and movies, this article is for you.
Troubleshooting Audio on Chromecast
There are several reasons why you could be having issues with your Chromecast’s audio, so here are a few of the possible solutions to remedy it.
1. Check Your Television’s Settings
Let’s start with some essential sound solutions to kick things off. Technology can be buggy and imperfect, but some fundamental knowledge in troubleshooting can save the day.
- Ensure the sound issue isn’t coming from your television by checking your volume level and testing a different device for sound output (such as a game console or a cable box).
- Ensure that you have enabled the speakers in your television and not external audio.
- Make sure you have set your audio output to ‘fixed.’
Most modern televisions have a built-in option to disable the television speakers to use a home theater or surround sound system. You can also try turning off and unplugging your television for a few minutes, as well as resetting it to factory settings from the menu. Finally, if you’re using a stereo system to power the audio side of your home theater, ensure that your audio system isn’t malfunctioning.

2. Switch HDMI Inputs and Cables
Sometimes, the HDMI port (or a component on the board) malfunctions. This issue applies to both Chromecast and your TV. In addition, your HDMI cable might be damaged either at the pins or somewhere in the line.
- Start by switching your Chromecast to a different HDMI port. If you have an audio signal, the TV port on the original input may be damaged.
- Next, try using a different HDMI cable. If you get audio using this step, the cable is either damaged at the pins or somewhere in the line.
3. Double Check Your Chromecast’s Installation
There are a few points that you have to consider checking about your Chromecast:
- Chromecast is powered by a micro USB cable with a power adapter, and plugging it into the TV’s built-in USB port doesn’t always provide enough power for it to work correctly.
- If you have a 4K-supported Chromecast Ultra with a dedicated AC adapter, you might want to try a different electrical outlet to rule that power source out.
- Avoid using extension cords when possible.
- Ensure the mini-USB connection on the Chromecast is securely fastened.
- When powering the Chromecast by a USB port on the TV, ensure the Chromecast is not plugged into a USB Service Terminal. This particular USB input is usually labeled as such.

4. Restart Your Chromecast using the Google Home App
After you’ve made sure your device gets supplied with enough power to function correctly, you can also try to restart your device to shake up any bugs that might currently exist. To do this, follow these steps:
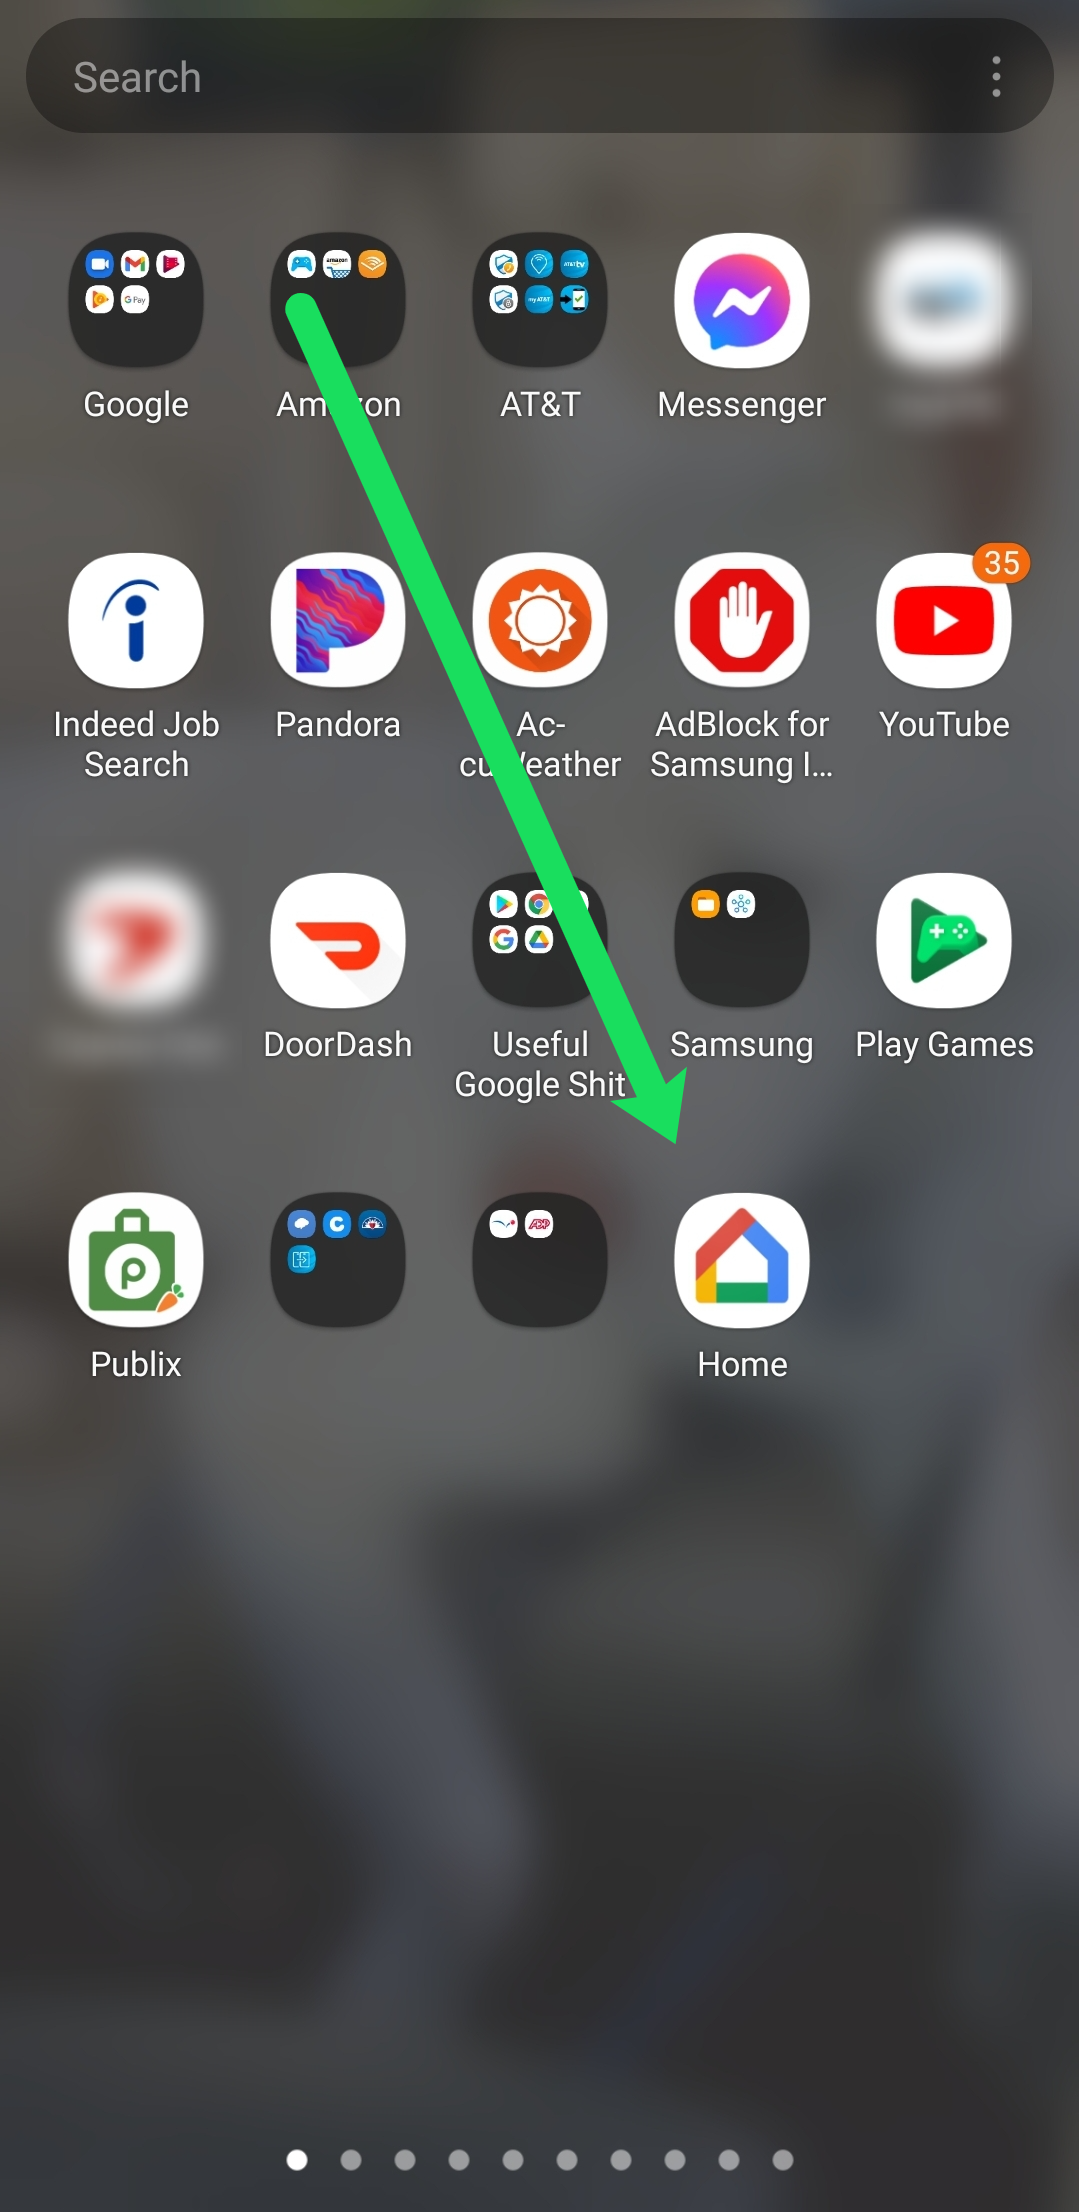
- Open the “Google Home” app on your mobile device.

- Select your device.
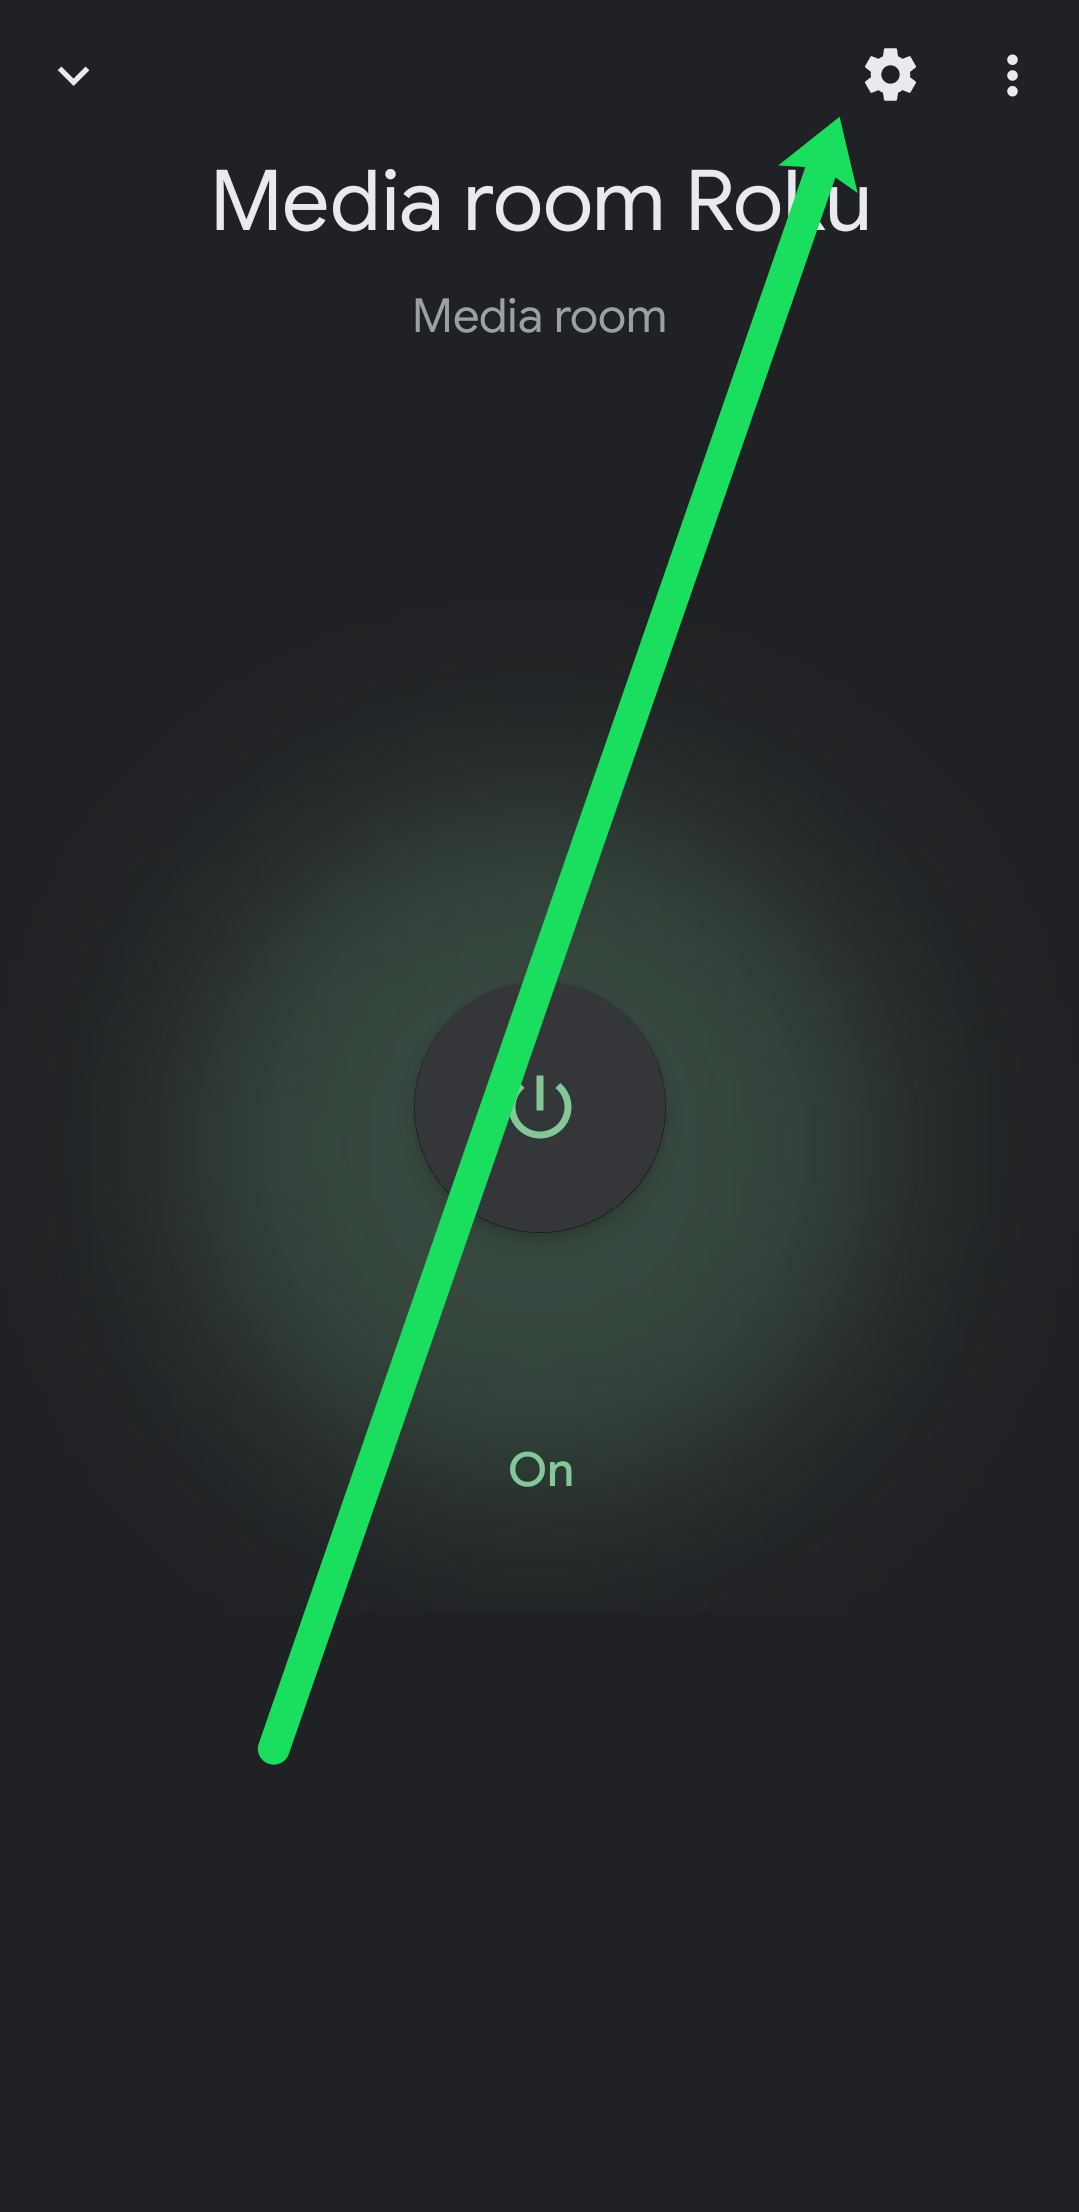
- Tap the “Settings” cog in the upper right-hand corner.
- Now, tap “More” to view additional settings.
- Finally, tap “Reboot.”

The above steps will restart your Chromecast, and it should fix any issues with both visuals and sounds. Alternatively, you can unplug the device from its power source, thus forcing a reset.
5. Check All Audio Volumes
If lack of sound is still an issue using a Chromecast on your TV, it could be the volume level on the TV or phone/tablet.
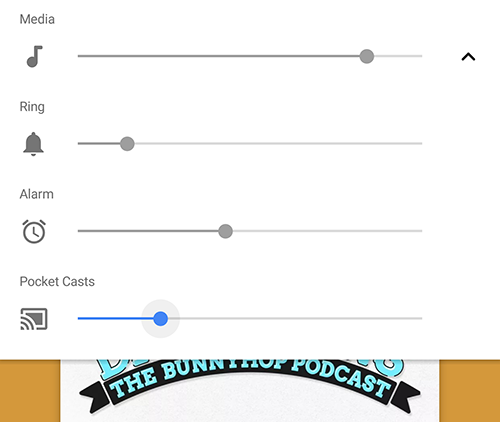
- Play some sort of content with audio on your phone or tablet before checking any volume levels.
- Ensure that the volume is turned up on your phone for Chromecast. It may be labeled as your mirroring app instead.
- Check the TV volume and adjust it if at a low level or muted.
- Check the source’s volume, if applicable. Apps such as YouTube have built-in volume controls that are usually separate from the device’s volume.
6. Restart the Application or URL that Mirrors to Chromecast
Sometimes, an app gets a glitch but keeps running and misbehaves. This scenario can also include losing audio output. Here’s what to do.
If the sound problem is spawning from the application, restarting the stream will force Chromecast to reload the URL from which the device accesses the video or audio feed.
- Try to stop the stream from your mobile device and restart it. This forces Chromecast to reload the stream source/URL.
- Force close the application on your device to see if the problem is coming from the app.
- Restart your phone or tablet if the above steps do not solve your audio problem.
7. Check for Audio Optimization using Chrome Extensions
If you have Chrome on your Chromebook or another computer, you can use the built-in Chromecast extension to ensure audio gets optimized for sound.
- Tap on the extension in Chrome and select your Chromecast device.
- Choose “Cast this tab (optimize for audio).”
8. Factory Reset the Chromecast
Finally, you may want to attempt to factory reset your device. The primary method for resetting the device is using the Google Home app, as we already discussed.
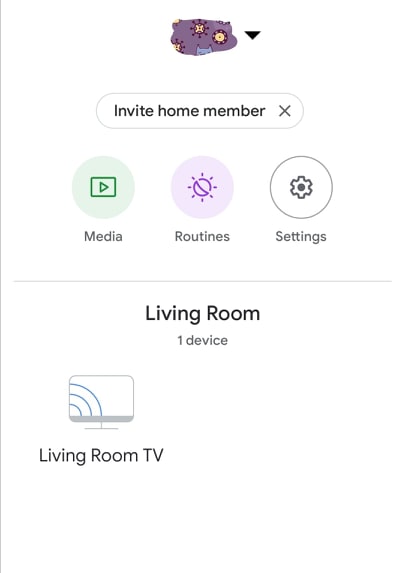
- To reset your device using the app on your phone, tap on the “Device” icon inside the app and select the Chromecast device in your app.
- After opening your device’s “Settings” menu, click on the “triple-dotted icon” inside the settings to select the “factory reset” option.
- Google Home will prompt you to ensure that you want to reset your device. Once you confirm your selection, you’ll be able to completely reset your device with preferences to test the audio again.
If you’re still experiencing problems with your Chromecast after trying these solutions, and you’ve ensured it isn’t another piece of A/V equipment in your setup, the next-best step is to contact Google for a warranty replacement.
Fixing ‘Chromecast Audio’ Devices
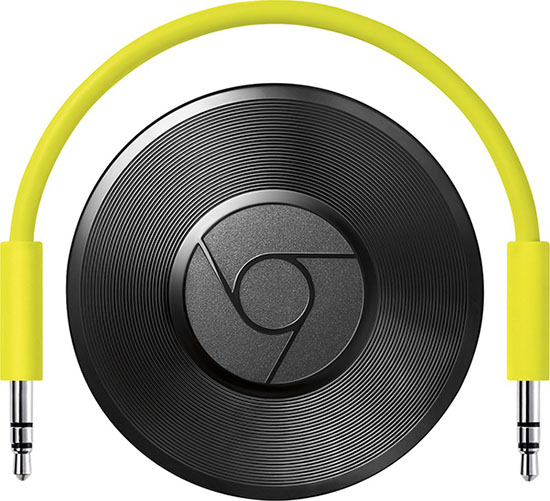
It is also best to mention some ‘Chromecast Audio‘ specific tips for fixing your sound streams. The ‘Chromecast Audio’ device is less popular than its older, video-friendly brother, Chromecast, but it’s a no less exciting device. This product is excellent for those with advanced sound systems and for something that functions better than a Bluetooth device.
If, in any case, you are having any trouble with your ‘Chromecast Audio’ device, here are some tips that might help.
First, we need to dive back into the settings menu of your device in Google Home.
- Open your ‘Chromecast Audio’ “Settings.”
- In the “Sounds” section, try turning on “Full Dynamic Range,” which is only available on Chromecast Audio devices—not Chromecast.
- Check that the 3.5mm cable used by the device is working properly. Unlike typical Chromecasts, the Chromecast Audio uses a modular, analog 3.5mm jack and cable that can get damaged.
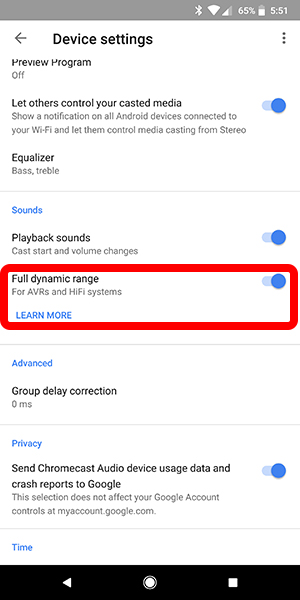
Full dynamic range is designed for premium audio hardware, like digital surround sound audio systems and AV receivers. If you’re trying to pump sound through a $30 pair of computer speakers from Amazon, this setting can cause distortion and improper volume increases on your device. If you’re having difficulty listening to your music, ensure this setting is disabled.
However, this is typically easy to replace. Ensure that the cable is pushed into both your receiver or speaker and the Chromecast Audio unit. It would also be best to test the device with a different aux cable. If you can’t get any sound out of the device, you may need to consider replacing the unit, as the 3.5mm jack may be dead or damaged.
Frequently Asked Questions
My sound still isn’t working. What else can I do?
If you’ve tried the methods above and your Chromecast sound isn’t working, you can reach out to the Chromecast Support team with this link.
Some issues are rare or device-specific, so you may need personalized help, which you can find at the link above.
Audio Problems and Chromecast
Like most technology, Google’s Chromecast has its issues, including occasional hiccups and glitches when streaming media. The old ‘Chromecast Audio’ devices also experience glitches and sound problems. Typically, most of these issues can be fixed by simply turning your device off and on or by changing the USB port powering the device. Of course, problems can often have all sorts of causes and fixes, so keep trying our solutions above until you’ve solved yours. You can do a lot with your Chromecast once you get it working correctly.


Disclaimer: Some pages on this site may include an affiliate link. This does not effect our editorial in any way.

![How to Manage Subtitles for CBS All Access [All Major Devices]](https://www.alphr.com/wp-content/uploads/2020/06/How-to-Manage-Subtitles-for-CBS-All-Access-All-Major-Devices-302x190.jpg)