Device Links
PayPal makes sending and receiving money quick and easy. You only require an email address to get paid through the platform. If you are unfamiliar with the online payment system, it is understandable to be anxious about the status of an expected deposit. You may be wondering how to find out when the payment has hit your account.
Like everything else on its platform, PayPal has made the process of checking for a recent deposit straightforward.
In this tutorial, we will look at checking if someone has paid you on PayPal. We will find out how to retrieve your payment information from a desktop browser and a mobile device.
How to Check if You Got Paid in PayPal on a PC
PayPal sends you an email notification whenever funds are transferred to your account. If you are expecting payment, check your email to find a message from the online service. The email will indicate how much money you have received and from whom.
You can access the deposit information through your PayPal account. Here’s how to do that.
- Head to the PayPal website from your browser.
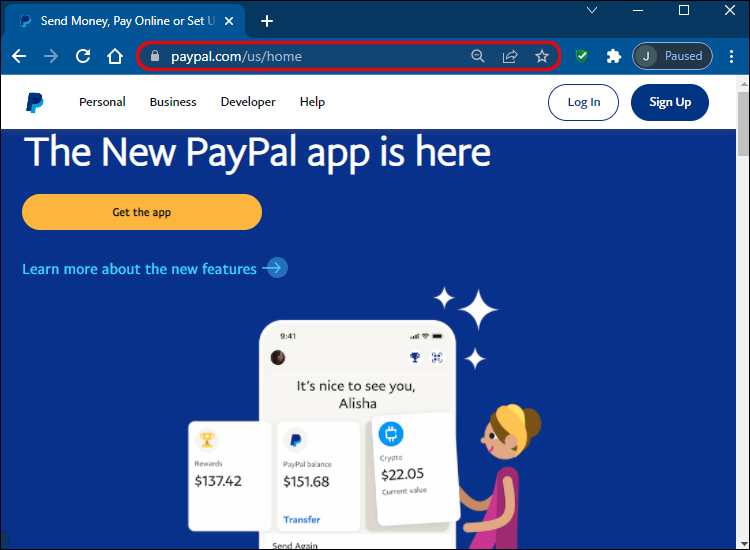
- Enter your login credentials on the sign-in page.

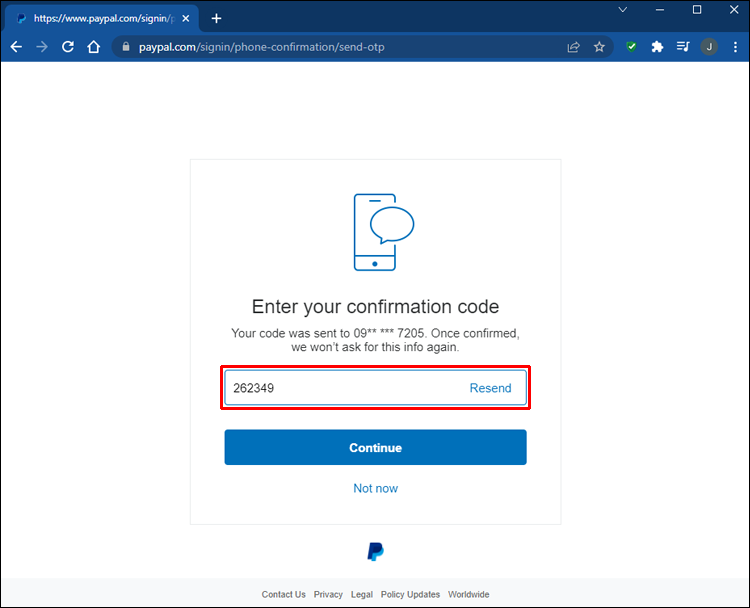
- If you have activated two-factor authentication, input the code sent to your phone.

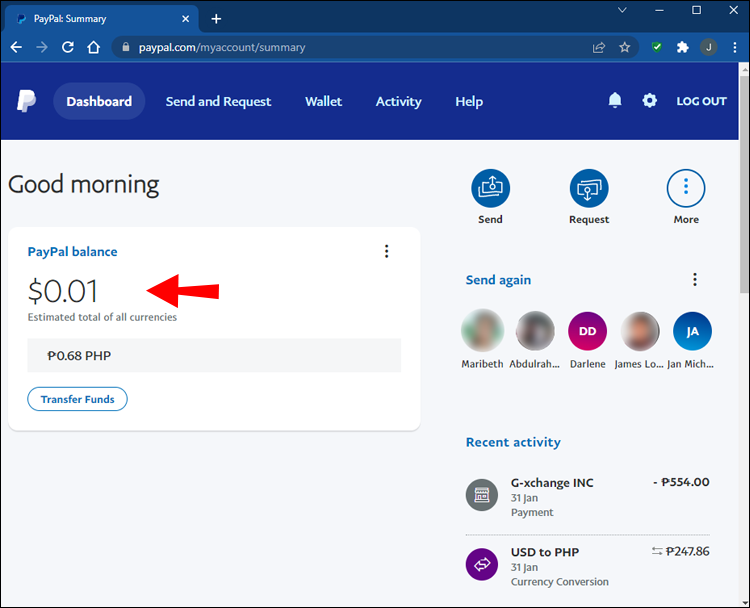
- Once you have entered the homepage, your account balance will be displayed at the top of the left pane.

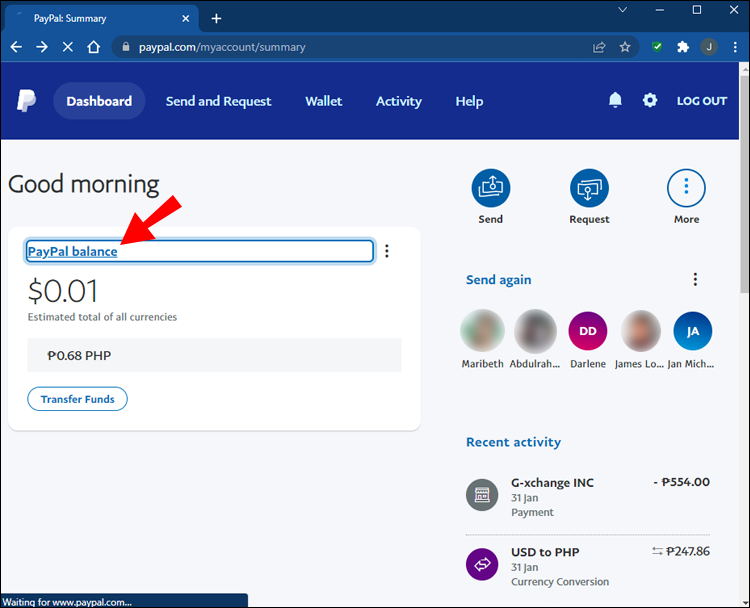
- Click on “PayPal balance” to get more information on your account balance.

The window that opens will show you the particulars of who had sent you money, when the funds were sent, and how much you have received. The transaction history will also indicate the fees charged for the transfer.
Alternatively, you could view your recent payments through the Activity tab. To access this page:
- Open PayPal on your PC browser.

- Input your username and password to log in.

- Type in the code sent to your phone if you have two-factor authentication.

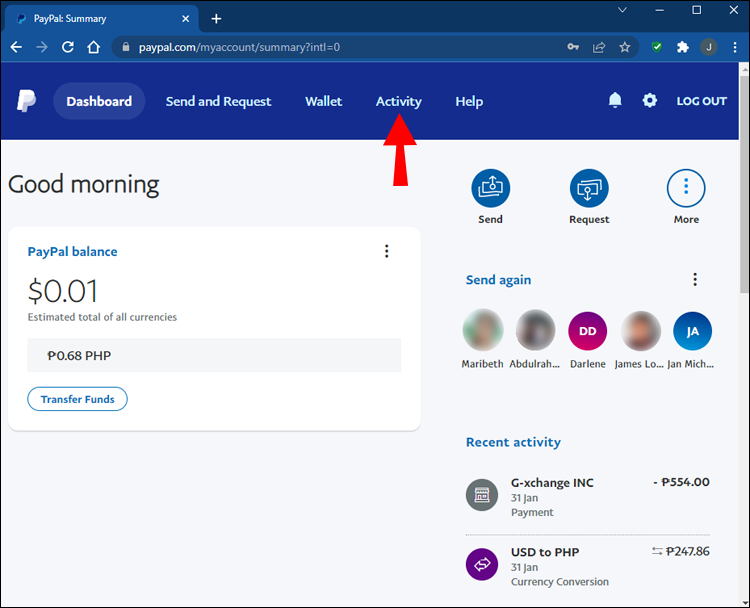
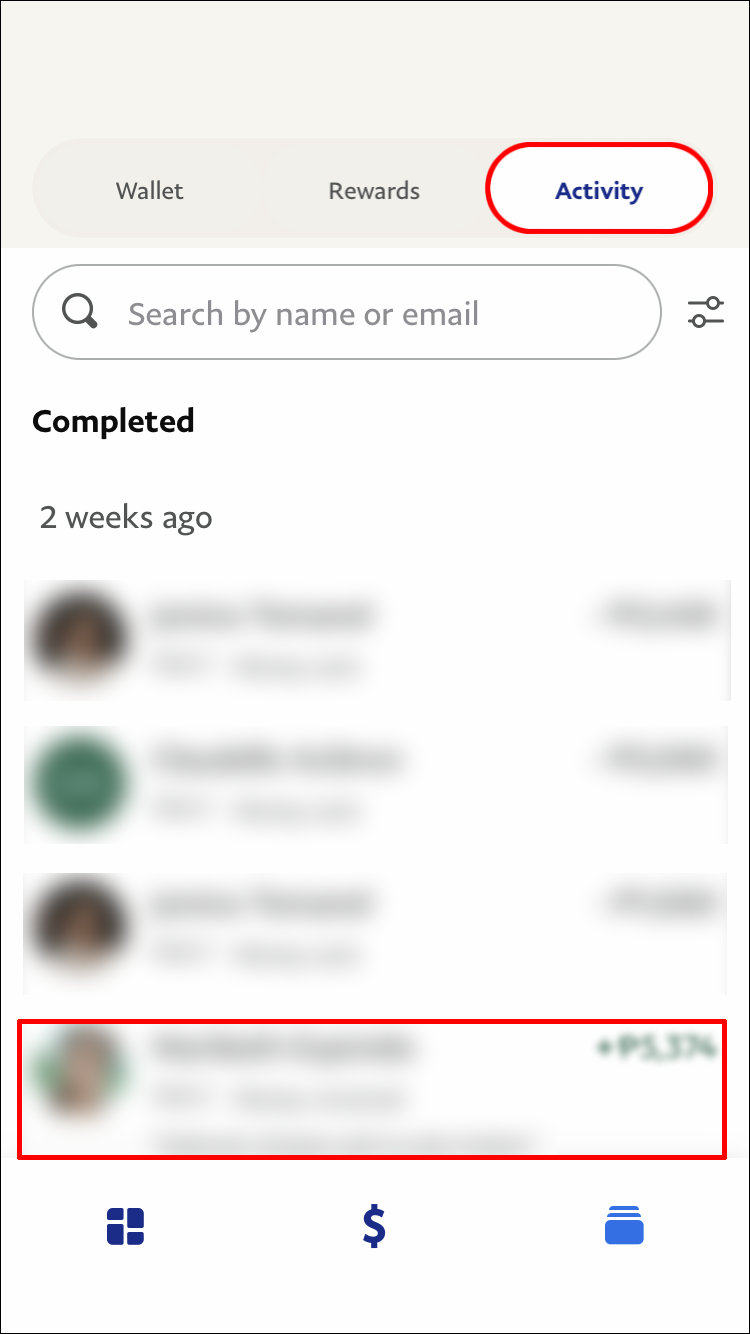
- On the home screen, head to the top of the page and tap on “Activity.”

- Your recent account activity will be displayed on the new page that opens.

- Scroll down the list until you get to the payment that you were expecting.
- The deposit details, along with the sender’s name and date of payment, will be displayed.
How to Check if You Got Paid in PayPal on an iPhone
The PayPal app sends you push notifications every time you receive payment. You will not only get an alert on your phone but an email from the company as well. To view the details of your income, you can access your PayPal account through the app. Let’s take a look at how to do that.
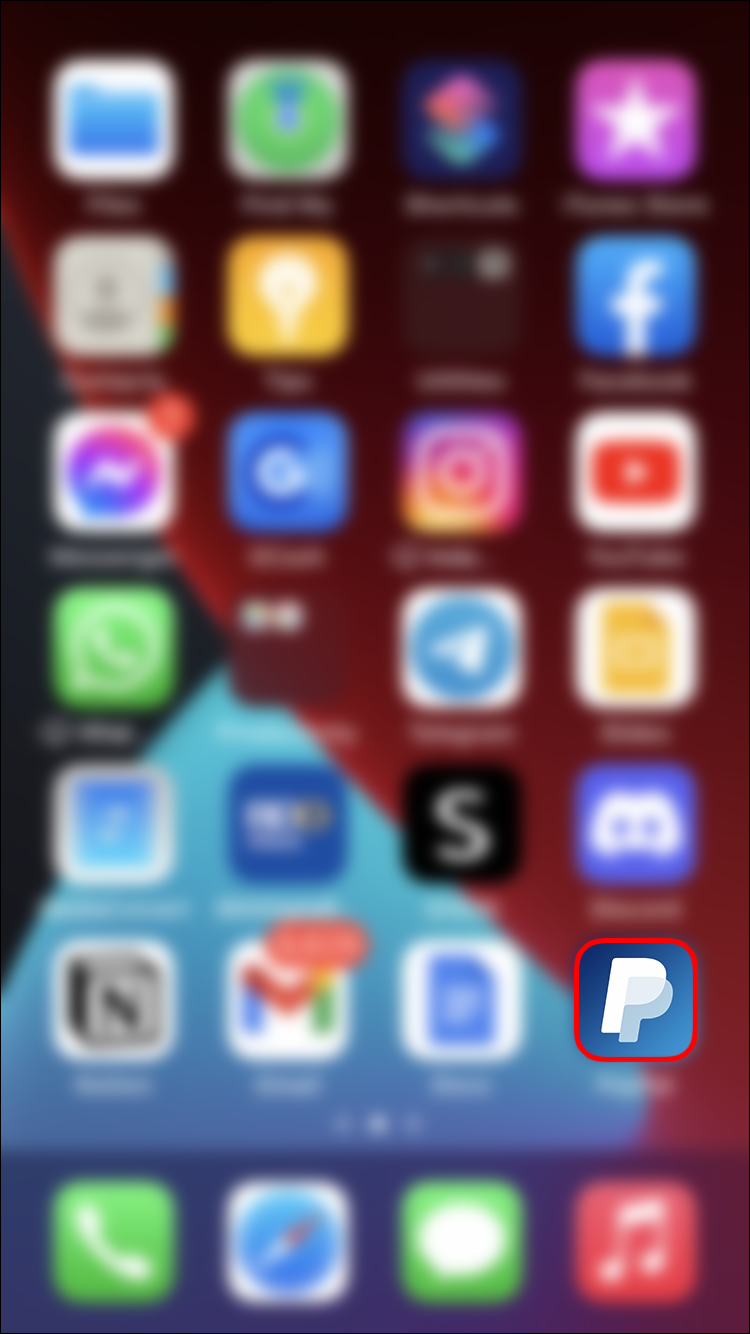
- Launch the PayPal app on your iPhone.

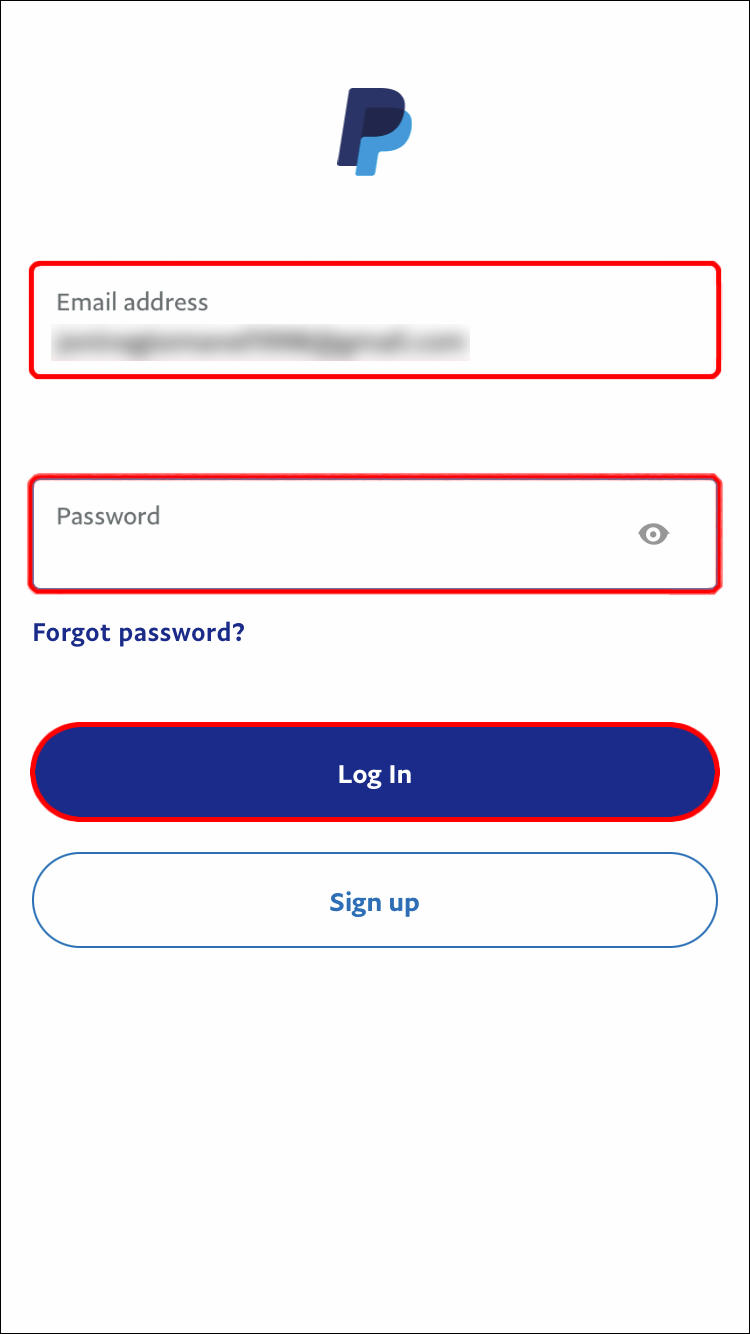
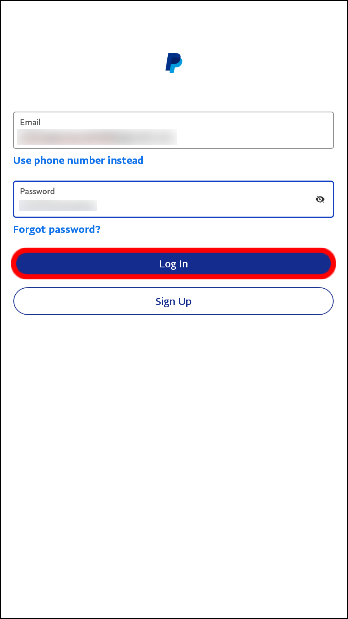
- Type in your login credentials and hit the “Log In” button.

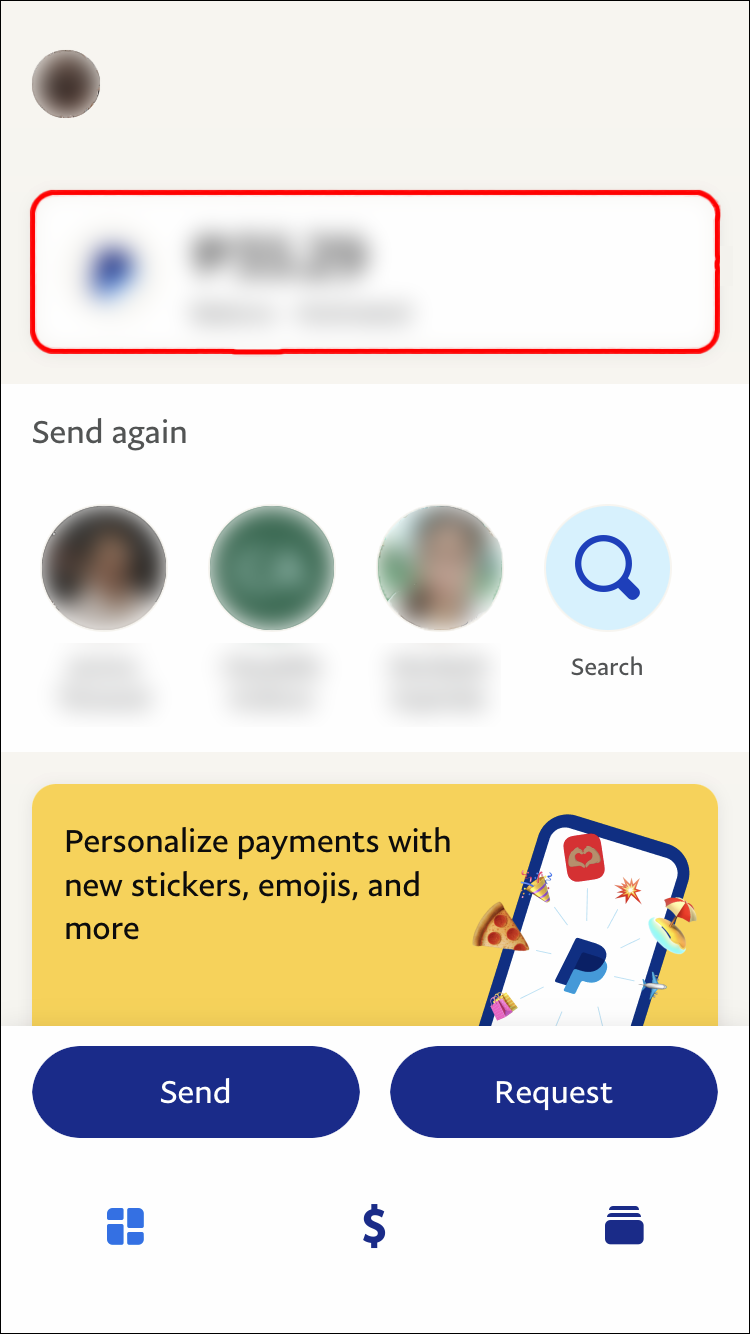
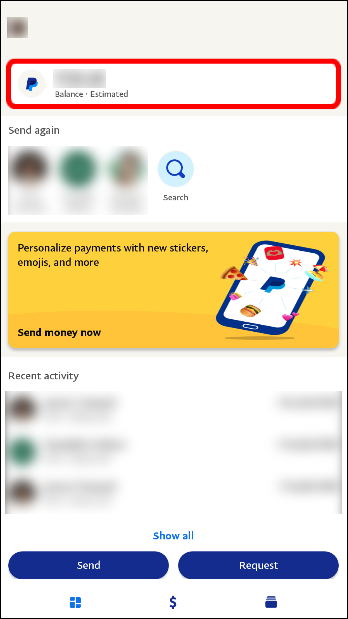
- Once you have logged in, your account balance will be at the top left side of the screen.

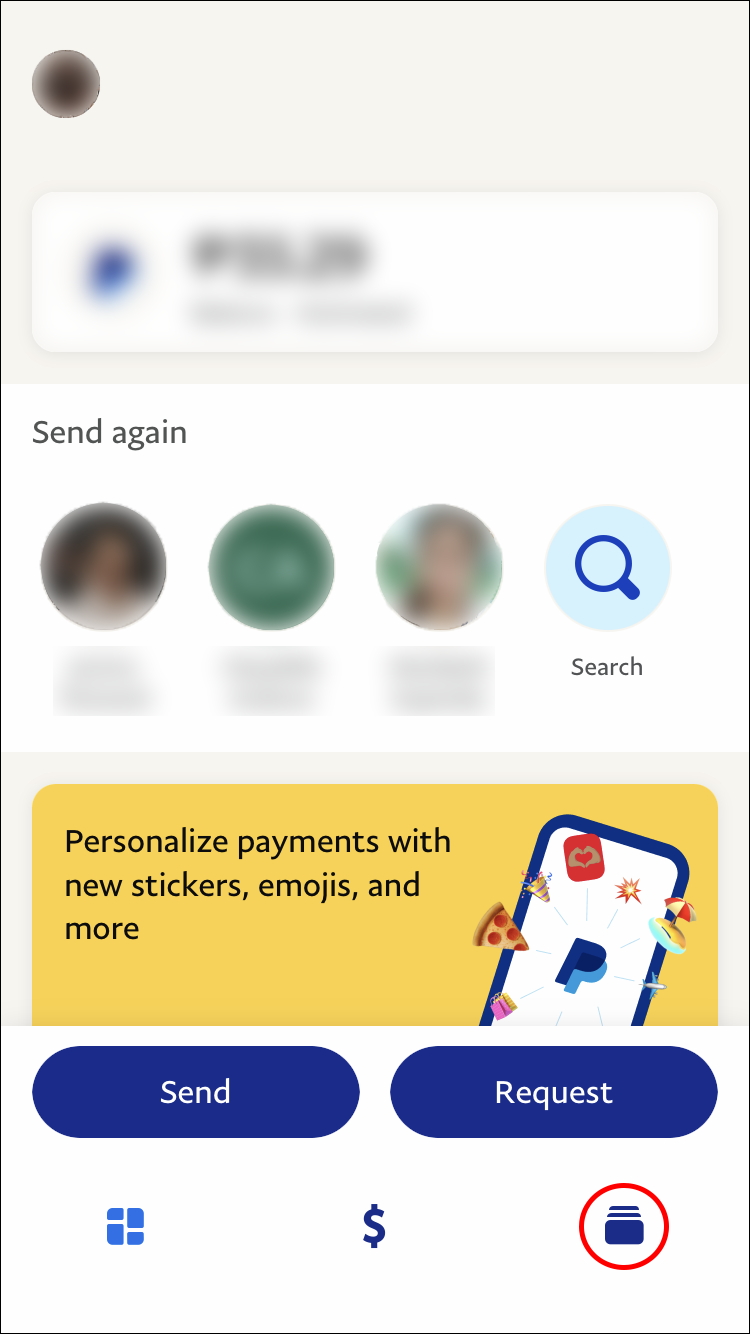
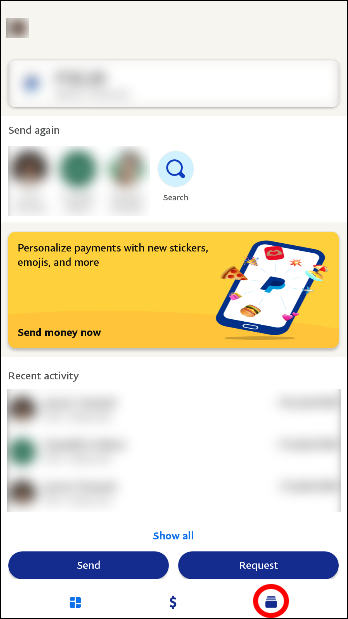
- Scroll down to the bottom of the screen and click on the wallet icon.

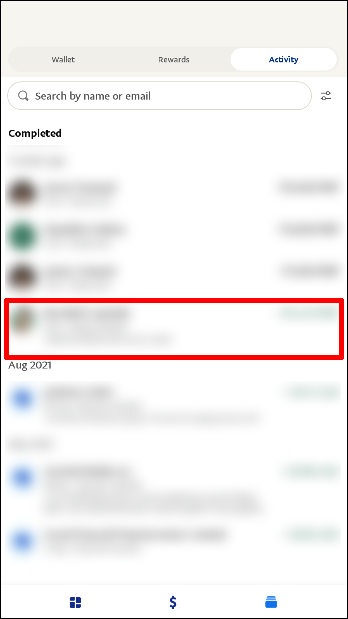
- Press “Activity” and search through “Your Activity” to find the payment in question.

You will now be able to view the details of payments you have received along with the sender’s information.
How to Check if You Got Paid in PayPal on an iPad
If you are using an iPad, you can access your PayPal account using the app. The payment service will send you an alert and an email when you receive a deposit. You can follow the steps below to view the particulars of your payment on your device.
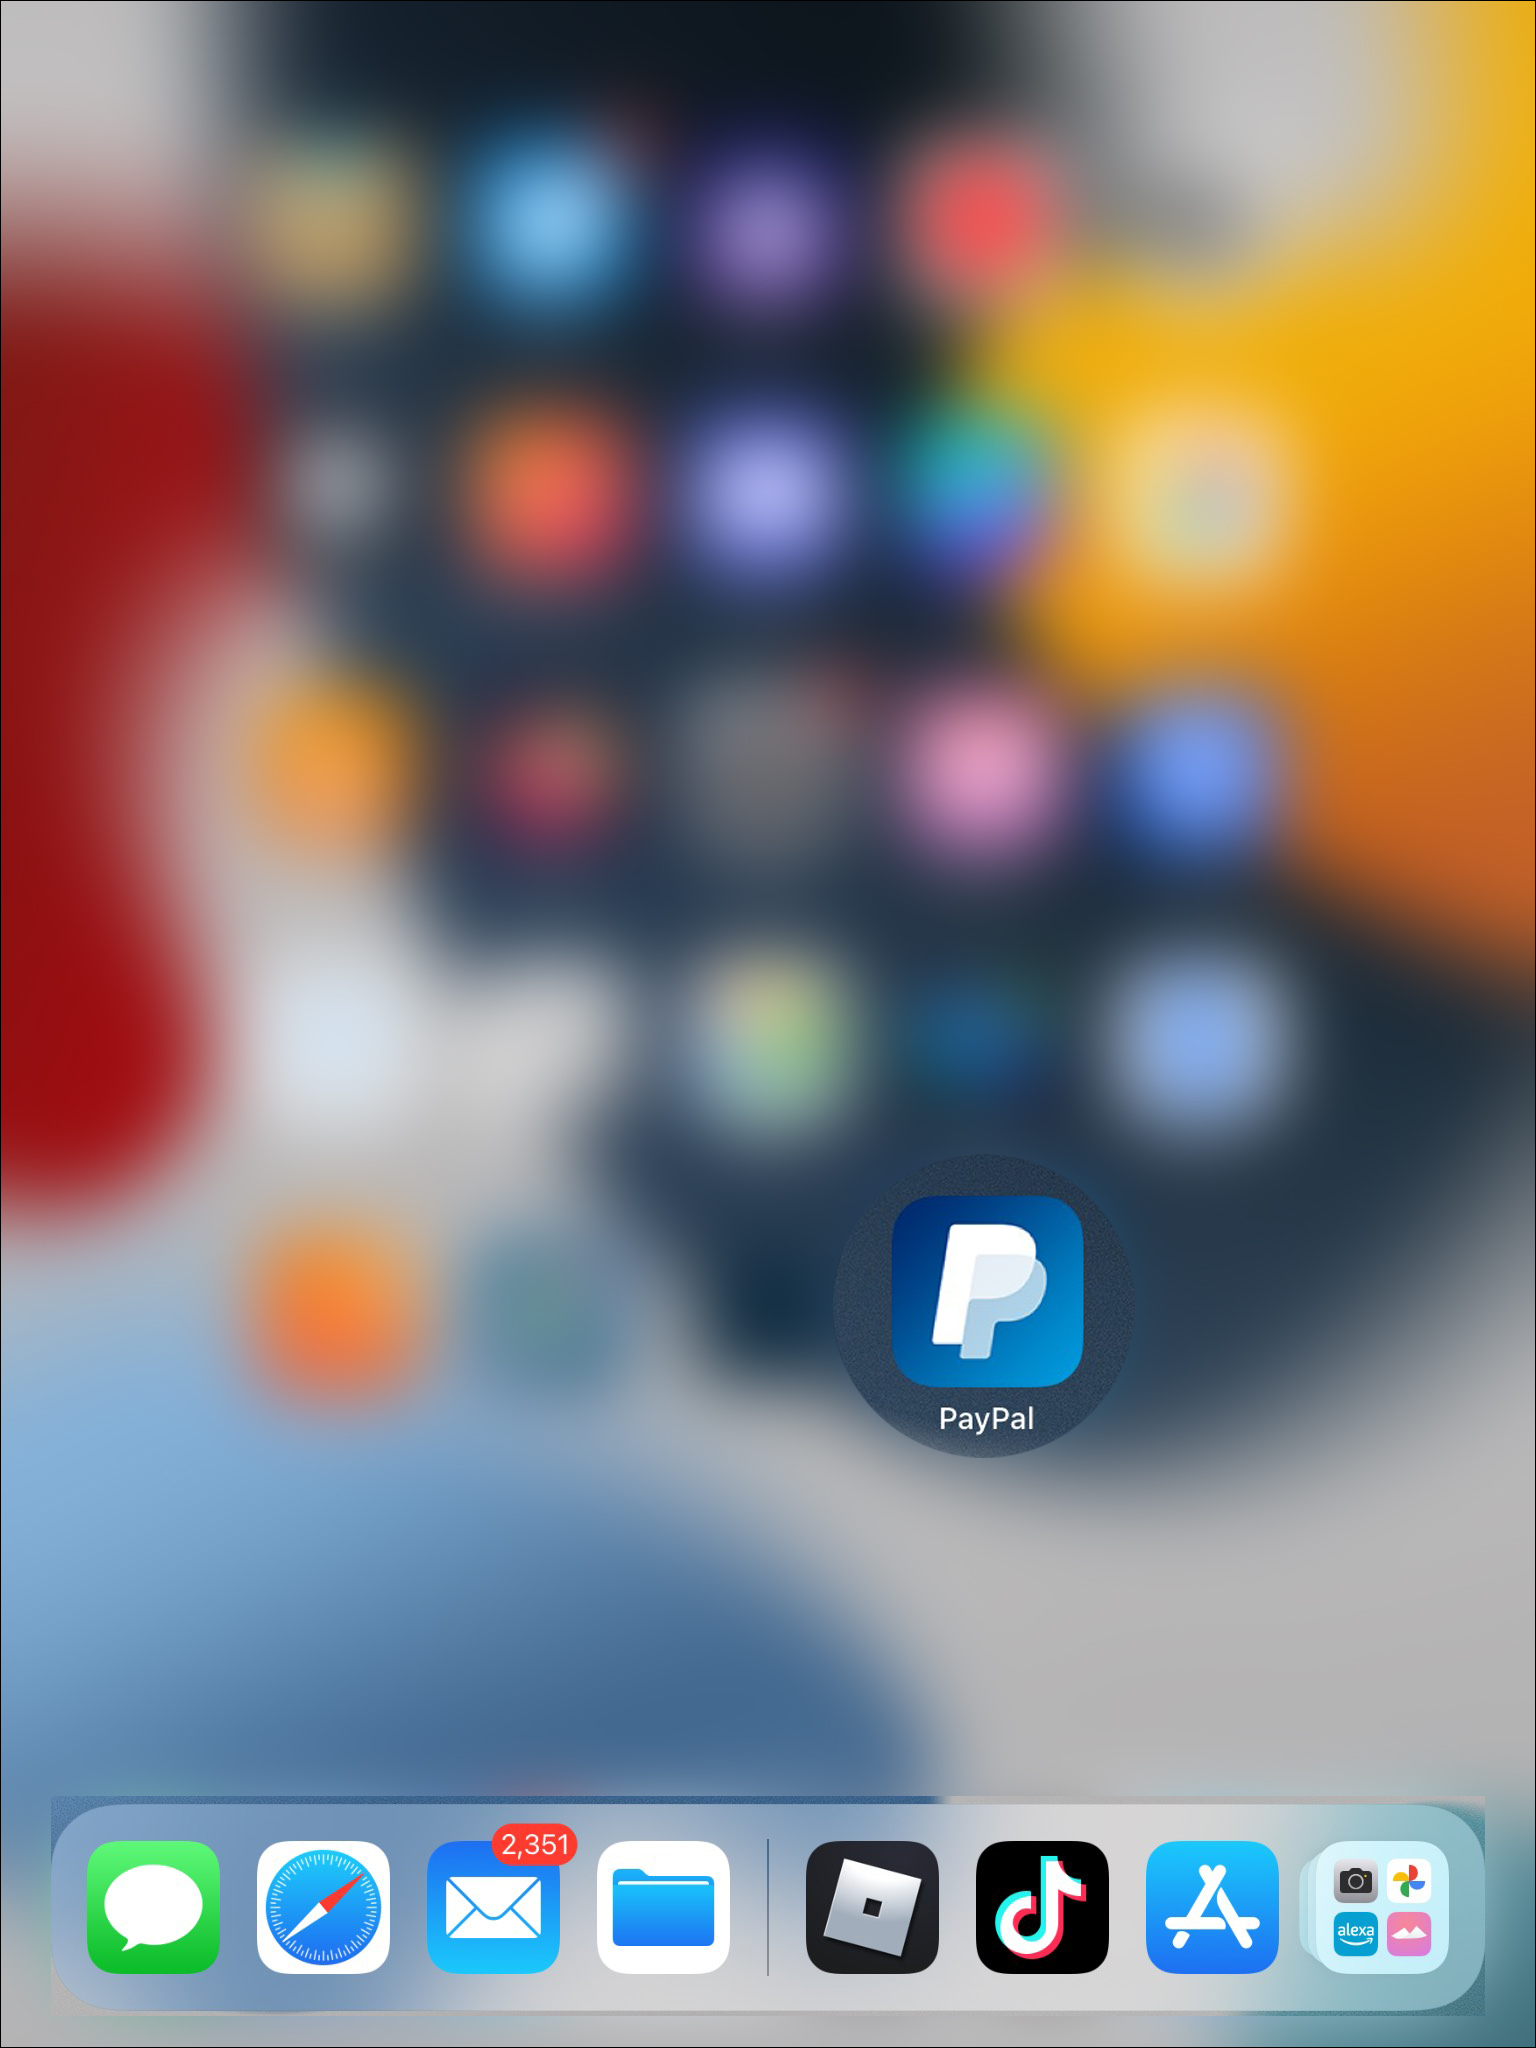
- On your iPad, open the PayPal app.

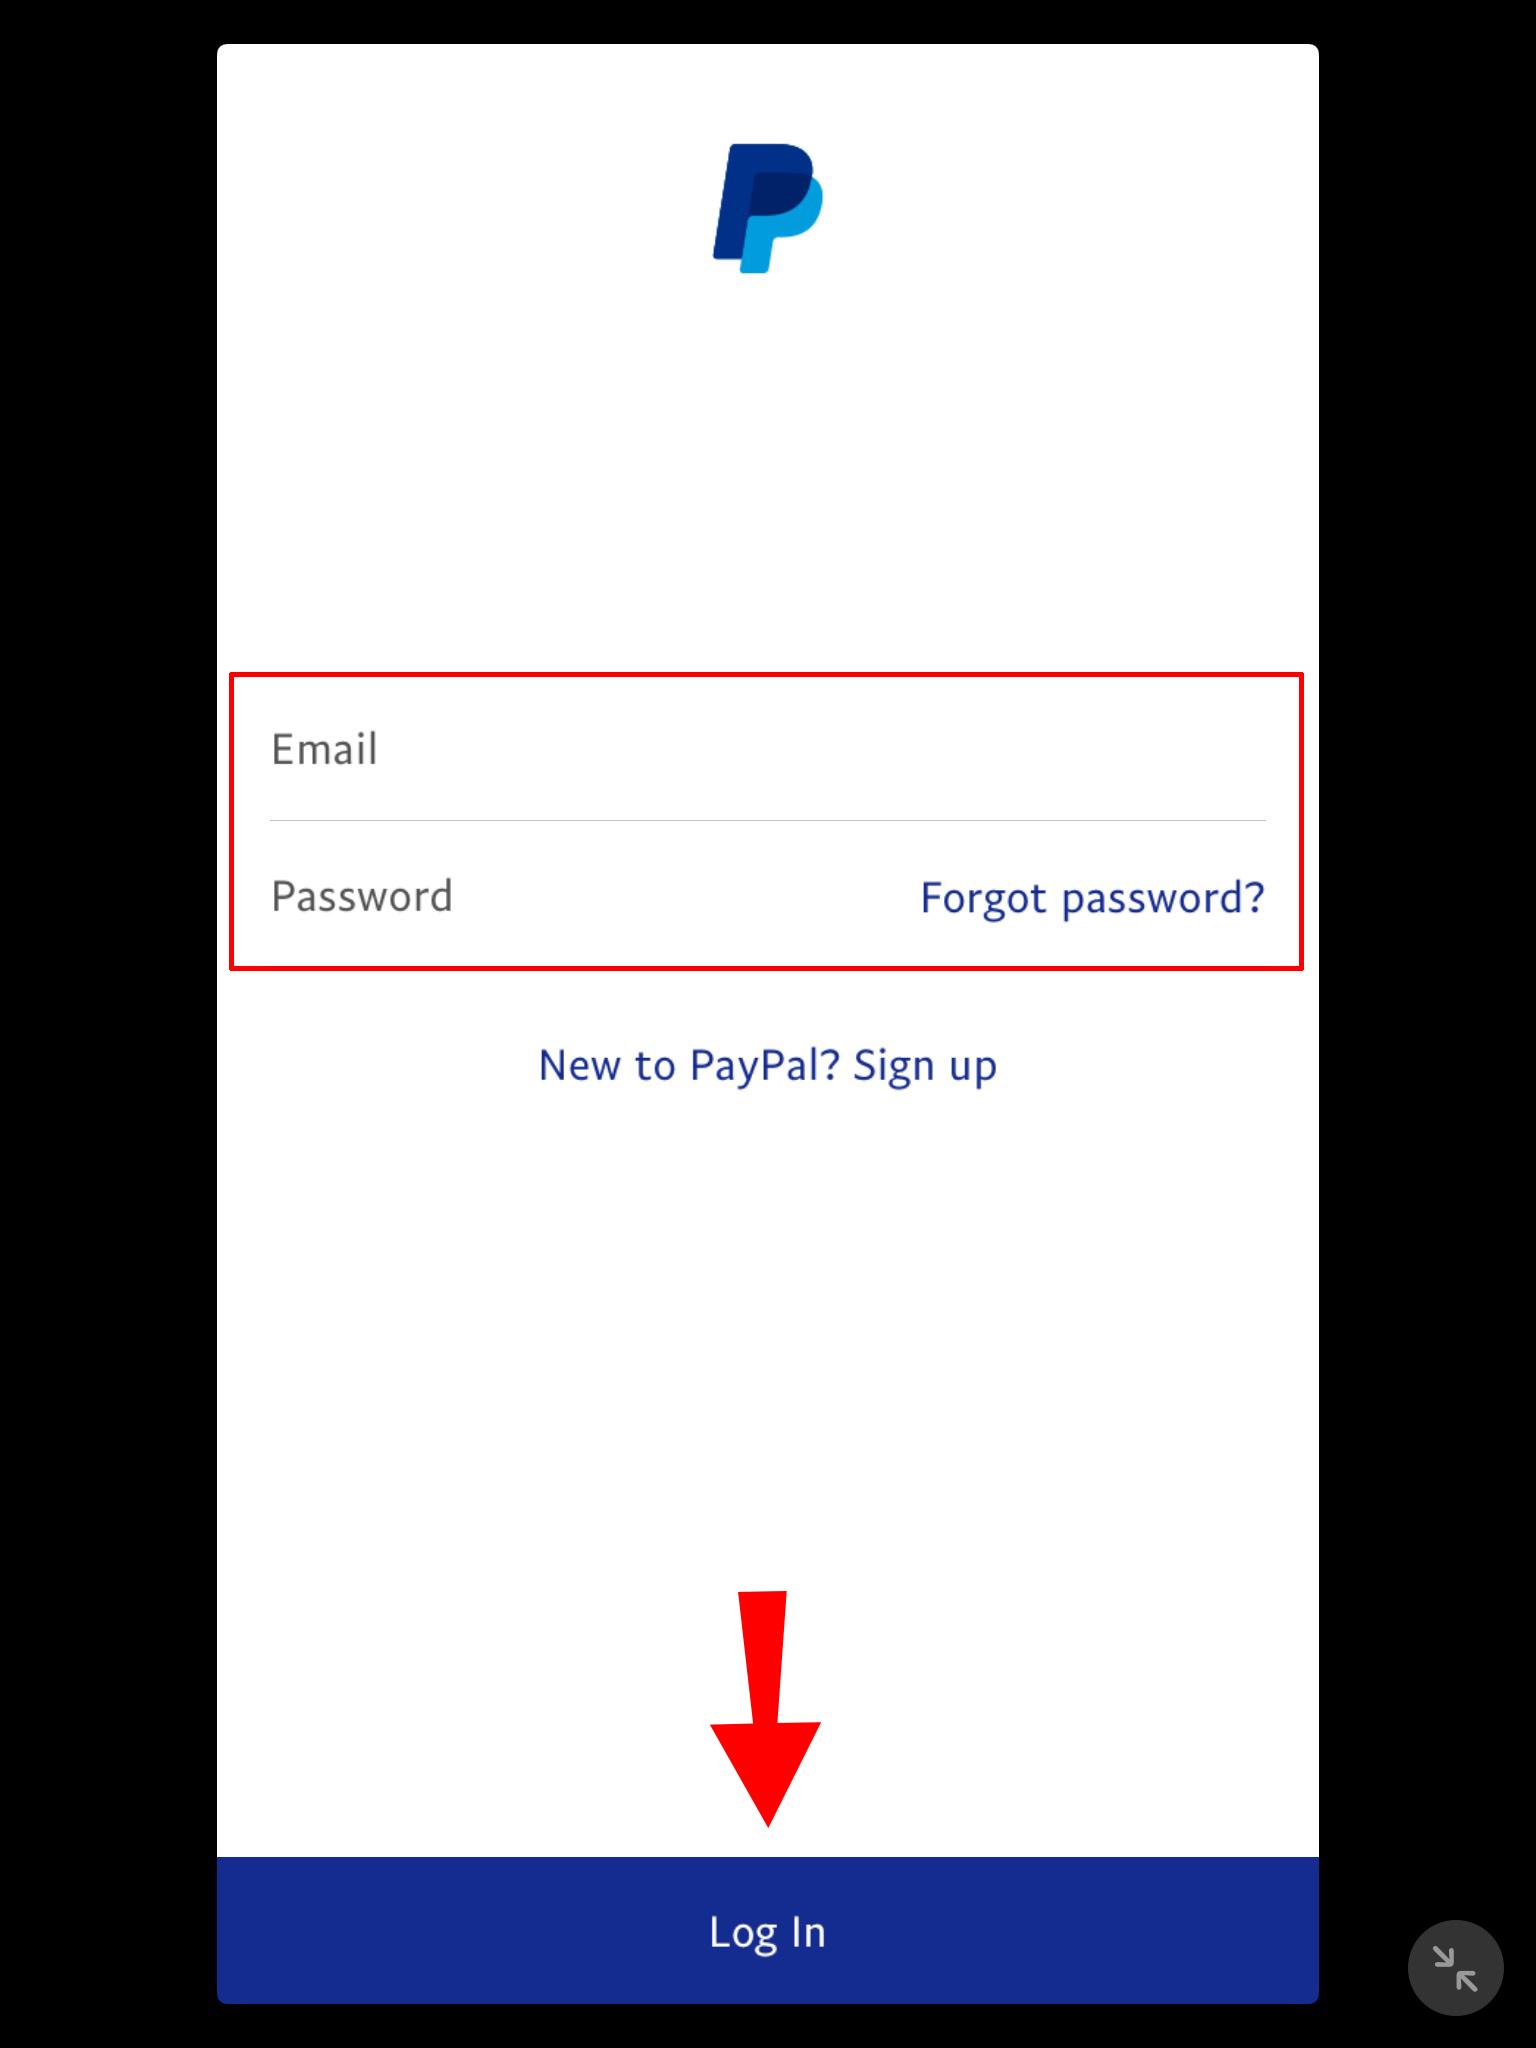
- Enter your username and password, then click “Log In.”

- Your PayPal balance will be displayed at the top left-hand side of your home screen.
- To view payment details, navigate to the bar at the bottom of the page.
- Tap the wallet icon and head to “Activity.”
- Select your deposit from the “Your Activity” section.
The information on the payment received will let you know who sent the amount, how much was sent, and when they made the deposit. You will also be able to see the accompanying fees.
How to Check if You Got Paid in PayPal on an Android
The PayPal app lets you know immediately you receive payment. It will send a push notification to your Android phone along with an email. To retrieve the details of your deposit, head on over to the app and follow the instructions below.
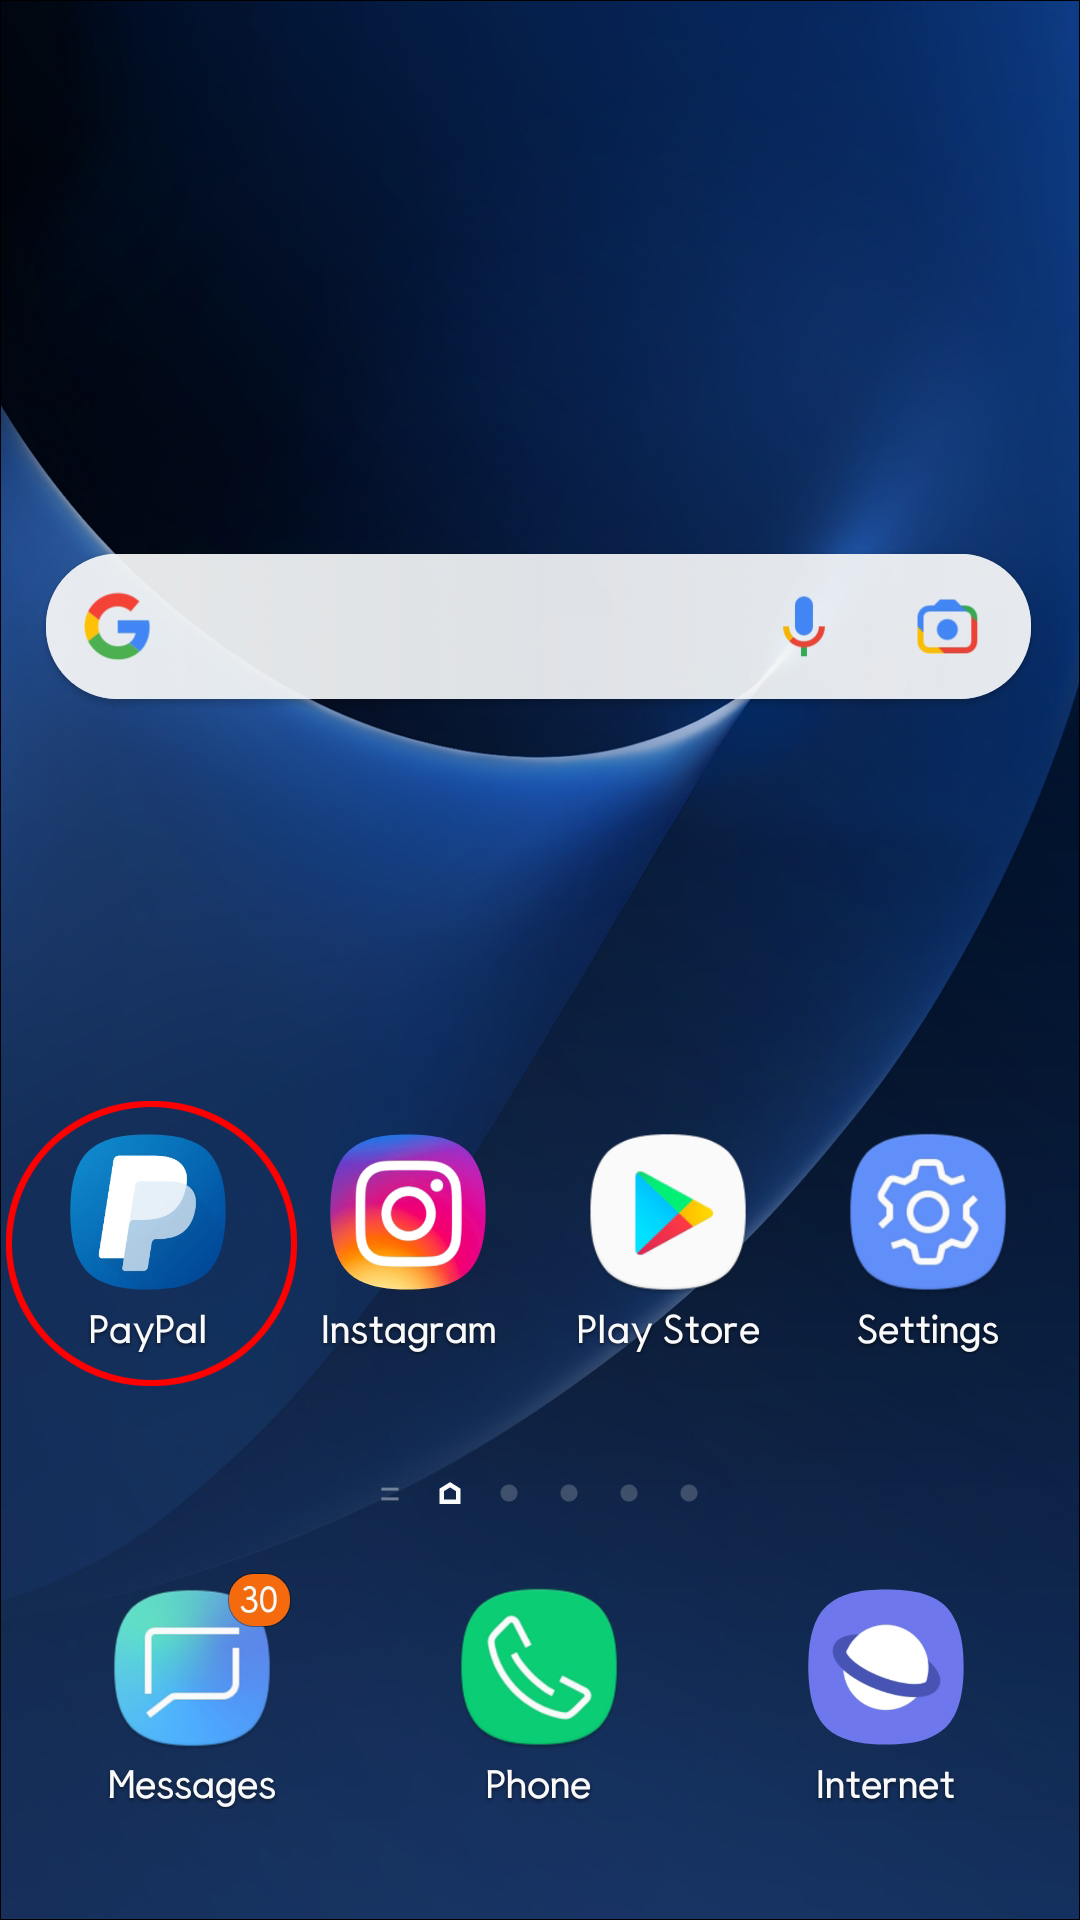
- Tap to open your PayPal app.

- Input your login details and press the “Log In” button.

- You will see your account balance at the top of the screen under “PayPal Balance.”

- To explore the details of your incoming transactions, go to the bar at the bottom of the page.
- Click on the wallet icon.

- Under “Activity,” look for “Your Activity” and search the list for the scheduled payment.

If someone has paid you through PayPal, the transaction will be logged in the “Your Activity” section. You will obtain details like the sender’s name, amount received, and associated fees.
Additional FAQs
Why can’t I see the money someone sent me on PayPal?
There are several reasons why a scheduled payment is not available in your PayPal account.
• The sender could have used the wrong email address to send your payment.
Confirm that the correct email address was used for the deposit. PayPal allows you to have up to eight email addresses attached to your account. If the wrong one has been used, add it to your PayPal account, and the payment will be posted immediately after that.
• You may not have confirmed your email address with PayPal.
Once you sign up, the payment service will send you an email for verification purposes. If you do not verify your address, you will not receive payments on the platform. Your funds will be available in PayPal immediately after you complete this registration process.
• You could be dealing with a fraud case.
Unscrupulous individuals may send you a fake PayPal email indicating that they have made a deposit. Always log in to your PayPal account to confirm payment before shipping an order.
Why is my payment pending?
You may be unable to access funds from the payment due to the funds being on hold. PayPal may withhold your deposit for the reasons listed below.
• Your account has been inactive.
• The money you have received does not fit the usual pattern of funds that comes into your account (payment may be larger than usual).
• They are holding the payment until the buyer acknowledges receipt of their product.
PayPal usually releases pending payments after 21 days.
How long does it take to receive money on PayPal?
The length of time it takes to receive a payment via PayPal depends on the method of payment used. If the funds were sent to you from another PayPal account, you should receive the money within minutes. However, if the amount was sent from a bank account, processing the transaction could take two to three days.
Payment Confirmation
Receiving money through PayPal is convenient because all you need is an email address. The payment platform will let you know the minute funds are deposited in your account with their push notifications and email alerts. However, it is essential to log into the system to confirm that the payment has been made. This guide shows you how to check if someone has paid you in PayPal.
Do you receive payments through PayPal? How do you check your transaction details? Let us know in the comments below.
Disclaimer: Some pages on this site may include an affiliate link. This does not effect our editorial in any way.

